Mockingbird Hill Cottage

Mockingbird Hill Cottage

  • About MHC
    • Disclosure
  • Dollhouses/Minis
    • Hummingbird Cottage
    • The Studio (Formerly TSP)
    • Dove Cottage
    • The Lake House
    • The Folk Art Dollhouse
    • The Modern Dollhouse
    • Dollhouse Source List, Information and Tutorials
  • On the Road
  • Collecting
    • Roseville Pottery
    • McCoy Pottery
    • Egg Cups
    • Bakelite
  • Press
  • Privacy Policy
You are here: Home / Archives for DIY

The (Book)Case of the Two Left Sides

November 30, 2009 at 1:08 am by Claudia

I was driving in an urban area across the river last week, when I saw a sign at a newer shopping center: Hobby Lobby and The Christmas Tree Shops. I let out a little squeal and quickly changed lanes in order to make the turn into the entrance. Some background information is in order: We haven’t had any Hobby Lobbys this far north. Fellow bloggers mention Hobby Lobby all the time. We have Michael’s, which is very good, but no Hobby Lobby. That is, until October apparently, when this one opened. The woman I spoke to at the check-out said it was the first one in the Northeast. By the way, I didn’t buy much this time out, but it is amazing.

My good friend, Donna of An Enchanted Cottage, talks about The Christmas Tree Shops all the time. Previously, I have encountered some that were rather far from here, but this new store is very convenient to my country home. I went in looking for a lampshade for my birthday vintage parakeet lamp (and got one) but then I saw this:


You might remember I have been looking for a bookcase for my upstairs hallway? Looking and looking for a vintage bookcase that wasn’t too tall, too wide, but was just right? Oh, and I didn’t want to pay an arm and a leg for one. I was unsuccessful. Then I saw this sweet, cottagey bookcase. Okay, it is made of particle board…but who cares when it is so gosh darn cute? It was very inexpensive, so I snapped it up and brought it home. When I arrived, Don was out and I thought I would have it put together in about 20 minutes – well before he got back. Things went swimmingly; I screwed the bottom to one of the sides using the pre-drilled holes.


I grabbed the next side piece to screw it to the bottom and realized something was wrong. The manufacturer had given me two left sides, instead of a left and a right. It was late in the day on Wednesday, the next day was Thanksgiving and I didn’t want to turn around and take it back. Determined to make it work, I spent the next 2 hours cursing as I measured and tried to drill new holes that would make a left side into its opposite – a right side. With particle board. Much time elapsed, with me sitting in the midst of bookcase parts, screws, measuring tape and screwdrivers. Sometimes I am just too stubborn for my own good. My husband came home in the middle of all this and gave me a “What is she up to now?” look. Miraculously, I somehow pulled it all together.

Because the backing of these types of bookcases is basically thick cardboard and we see the back of the bookcase coming up the stairs, I used a little Mod Podge and added some neat scrapbook paper I bought when I was in San Diego.

And now I have a home for a small portion of my books – these are mostly theater books.
I added a few things to the top of the bookshelf to personalize it a bit.
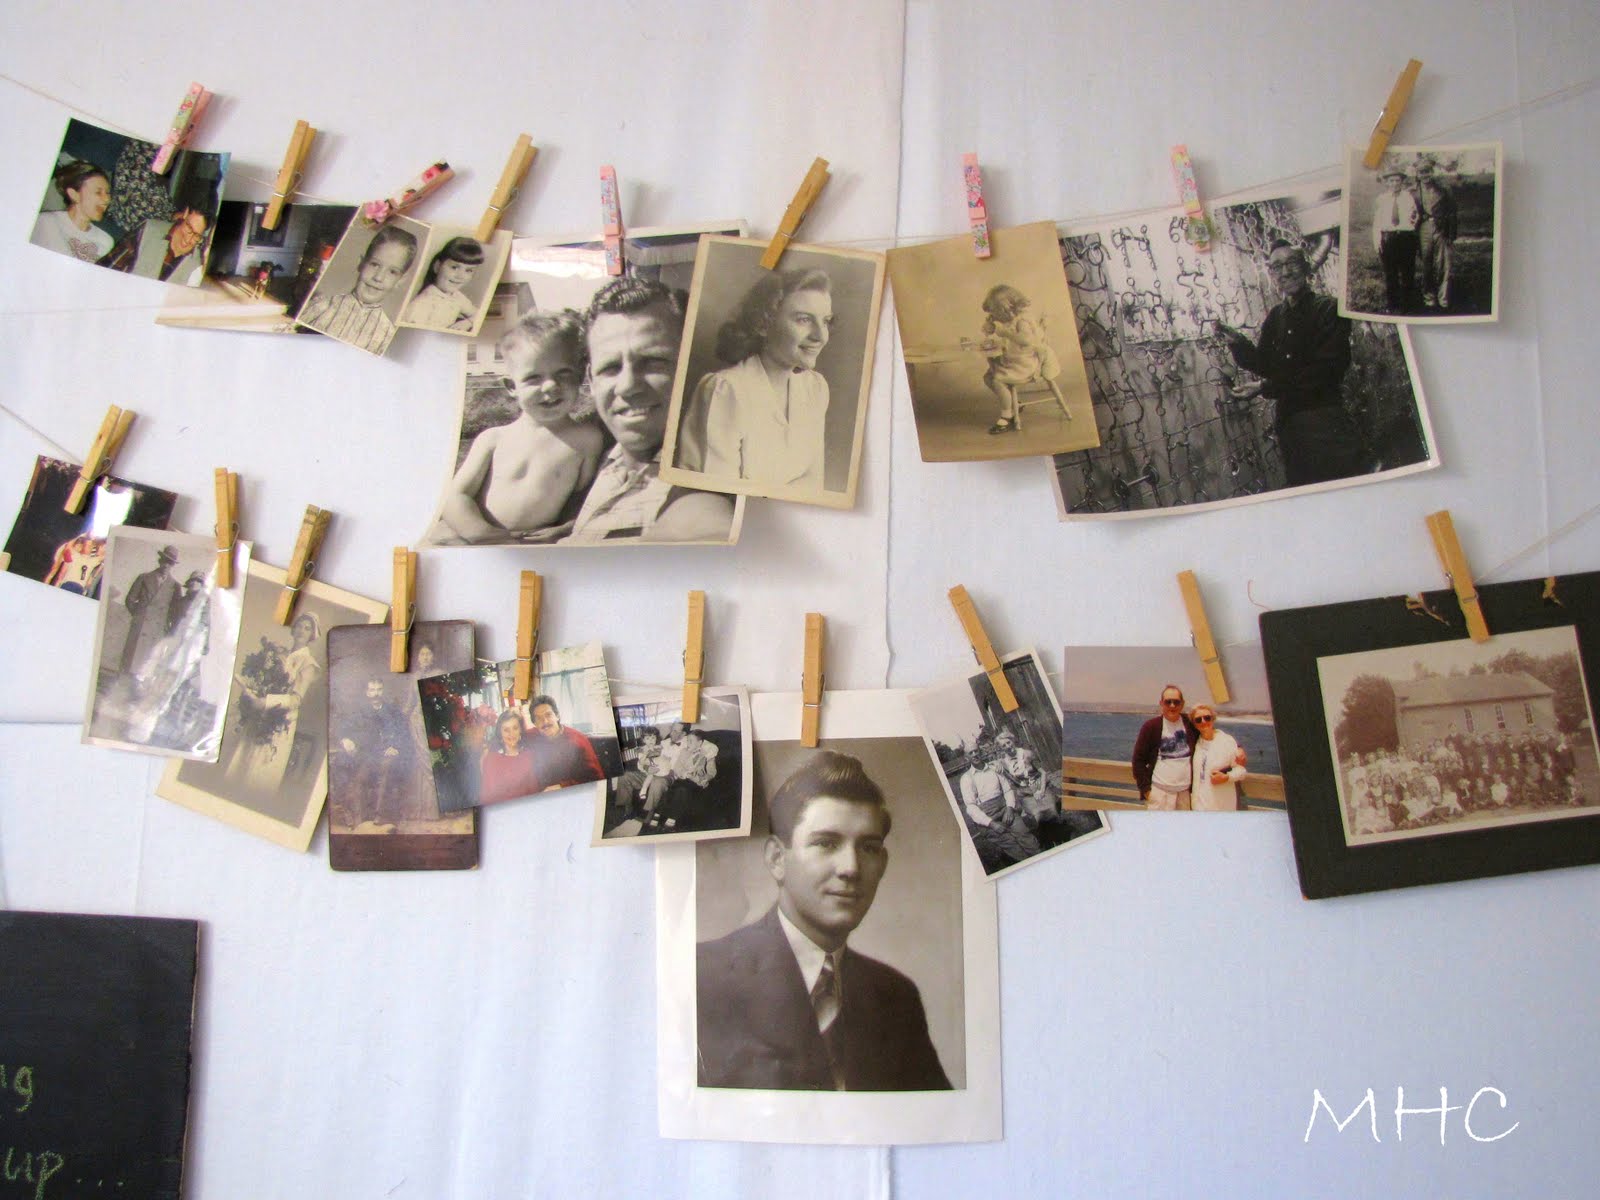
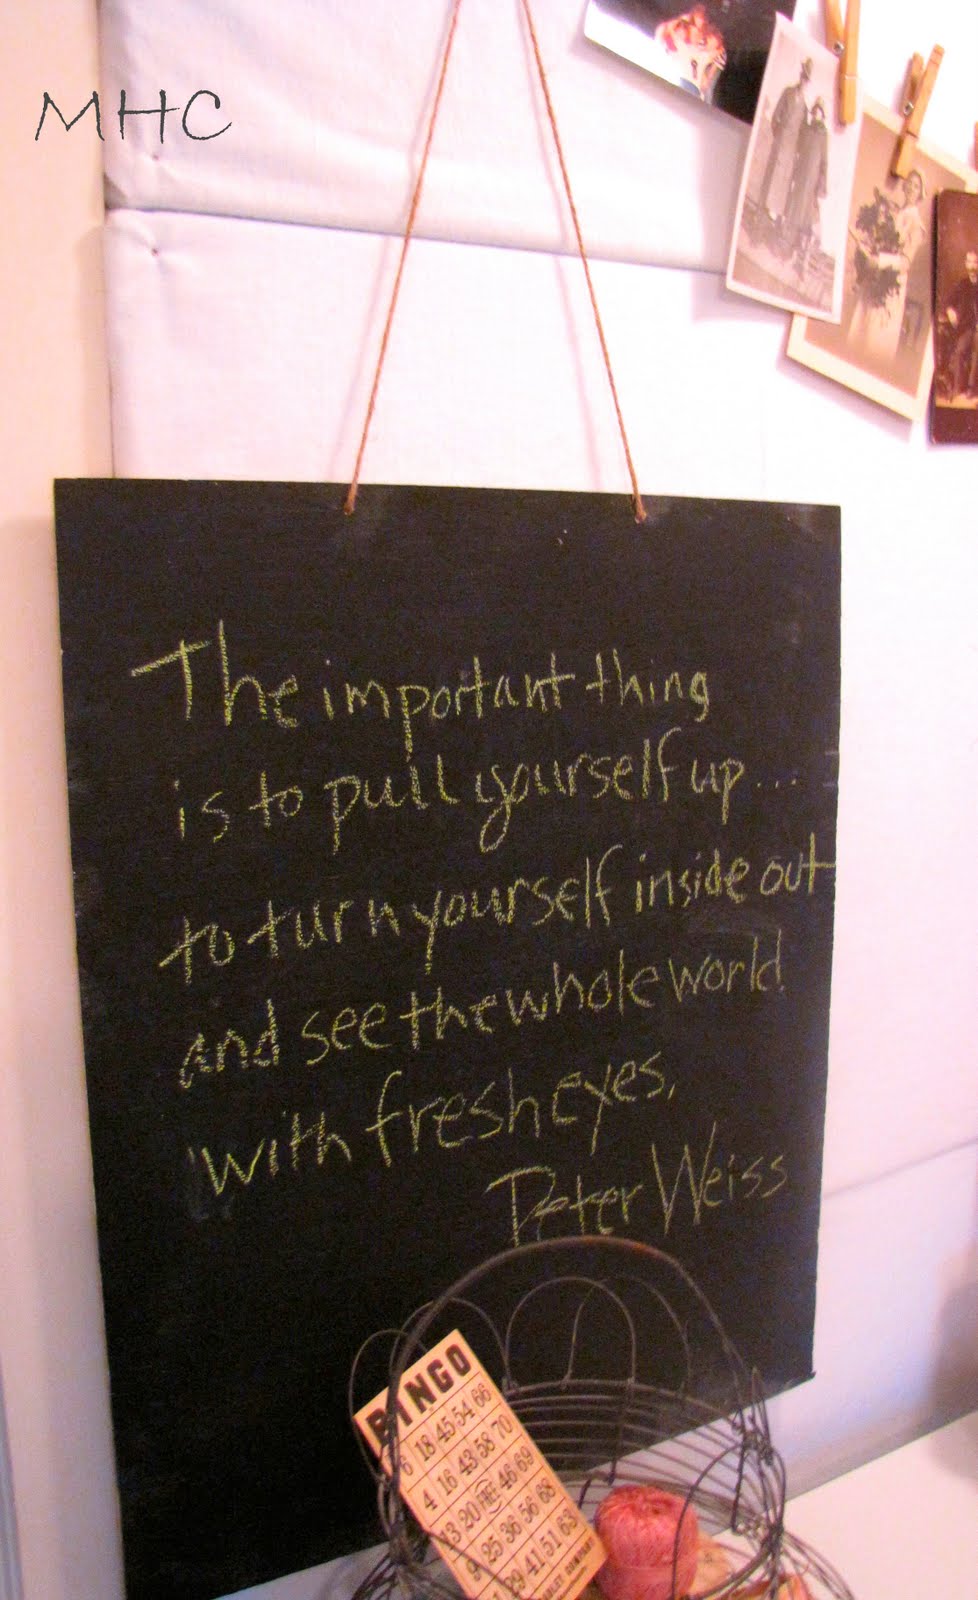
That’s my sister and me – taken a few years ago. And yes, that is a cow’s nose you see in the upper left hand corner of the photo – we were in a local restaurant that had a mural on the wall. And the cow was part of the mural. It looks like he’s watching us.

A cake plate with a serving of Betty’s pincushions. They look good enough to eat, don’t they? I have now officially declared the upstairs hallway to be my studio. It may be small, but it is all mine…okay, I let my husband and dogs walk through it, but it is mine.

My next big project, in the spring, will be constructing some built-in bookcases for the den. I am determined to do it. Our many books need a home and I need to see them. Oh, and I have to paint all the walls, but somehow that isn’t as exciting.

Filed Under: decorating, DIY 24 Comments

More Photos on the Line & a Chalkboard

November 23, 2009 at 8:08 am by Claudia


Thank you, thank you for all the lovely birthday wishes! You are such wonderful, generous friends! I read them all with a full heart. I had a lovely day – actually, a perfect day. My husband and I spent the afternoon exploring part of a nearby town. We had some lunch and walked on our local rail trail. Later, my husband surprised me with a wonderful dinner at a local tearoom/restaurant. It was scrumptious! I don’t often go on and on about a meal while I’m in the midst of eating…but the food was wonderfully good. Don did a great job of surprising me (he is very good at that.) I came home to presents and pie – sent by FedEx overnight from Julian, California. Yum! Tomorrow I will post about my presents – all vintage.


Last week I added another ‘necklace’ of photos to my design board. I won’t bore you with details on every photo, but the young handsome guy in the middle is my Dad as a teenager. You’ll notice he is hanging directly below the photo of my Mom as a teen.

Do you remember the chalkboard tutorial? My first attempt at the actual chalkboard was on plywood that was less than smooth and I ended up using another piece of wood. I didn’t want to toss the first attempt, so I drilled two holes at the top of the chalkboard, knotted some twine and fashioned a hanger. I think it looks perfect hanging in my little studio area and if I use a wet towel, it erases just fine. What do you think?


I’ve written a favorite quote on it for the time being, but I’m sure I will be writing lists of things to do soon enough.

Have a wonderful Monday.

Filed Under: decorating, DIY 21 Comments

Chalkboard Tutorial

November 9, 2009 at 9:32 am by Claudia

Hi there, everyone! I am not a carpenter. Let’s just get that out in the open. I do lot of small jobs around the house and I have made a plate rack and the chalkboard. I’d like to do more in the future, including building a wall of bookshelves in the den. But I digress. Here, as best I can, is what I did to build the chalkboard.

I started with this:


which was originally a piece on the rear of my sideboard-turned-kitchen-island:

It consisted of three pieces that were screwed into the back of the sideboard and attached to each other with metal connections that were about the size of a razor blade. I had to have my husband help pull them apart. After much head scratching, I finally figured out how to remove the metal pieces. I then filled the screw holes with wood putty.

I positioned the three pieces the way I wanted them and used wood glue to hold them together. Originally I thought I would nail them together, but I ended up getting some mending plates which I used to screw them together in the back. Those, along with the wood glue, did the trick.

This is the point where I mention one of my errors. I had planned to use some neat molding on the bottom to form the fourth edge of the chalkboard. I trotted off to Lowe’s and came home with a big long piece of what I thought was the perfect choice. As I was measuring and cutting a piece to use, I realized that there was no flat surface on the top side of the molding. It had a lot of neat curves (that I had planned to use to hold an eraser and chalk), but there was no flat edge wide enough to screw to the frame. After several curse words, I scrambled around looking for piece of scrap wood. I found one in the shed, measured and cut again, and that is what you see in this photo. I attached it to the rest of the frame with wood glue and screws.

In the meantime, I measured and cut (with a hand saw) a piece of plywood for the chalkboard. I sanded and painted it with 2 coats of primer. Okay, time for another error: As I looked at the sanded plywood, the slight ridges in the wood began to worry me. I ran to my laptop, googled ‘chalkboards’ and ‘wood.’ In one of the posts, a warning against using anything but the smoothest wood was given. Apparently, if the surface is uneven it is harder to erase the board. Uh oh. Fast forward to the next morning. I went to the shed, got some of the beadboard paneling left over from the sideboard redo and cut a piece to fit the frame. The back side of the beadboard is very smooth. Again, I painted and primed.

I also primed the frame. Two coats.

Time for the chalkboard paint. I used Valspar, but there are many different manufacturers out there. I used a foam roller, but you can also use a spray.

Here it is on the plywood. I did it all over again for the smooth version. I used 2 coats of chalkboard paint and it was more than enough. You are supposed to wait quite a while between coats, but I just waited 2 hours (because at this point I was on my second piece of wood.)

Time for the paint. I used this paint on the mantel shelf in my sewing area. It is one of those 8 oz. Valspar sample cans. The color is Mermaid’s Song in Satin. This time I mixed in a little ivory paint to mute it a bit. However, when I looked at it under the kitchen lights (which are built-in ceiling lights) the color seemed too intense. What to do? Antique it. I didn’t want to run to the store again (at this point, I was in my flannel pajamas) so I looked through my acrylic paints and found this:

Perfect.


Using a foam brush, I painted the stain on in small sections, immediately wiping it off with a rag. You have to play around with it, but it works beautifully. I took the paint brush and filled in all the crevices in the carved design, still wiping much of it off. If you fill in these crevices, the carving stands out beautifully. I decided the whole thing is like putting on stage makeup. Many is the time I had to highlight and shadow my face to create wrinkles where there were none. Same idea.


Once it was dry, I screwed the chalkboard into the back of the frame, added a hanger and I was done! A word about the chalkboard paint: you should let it dry for 48 hours before you put the whole thing together. And you need to cure the chalkboard before you write on it. Take the side of a piece of chalk and rub it all over the chalkboard, then erase it. You’ve cured it and now you can write wonderful little messages on your chalkboard!

Like this:


I am off to Charlotte, NC for a few days to work on the National Tour of South Pacific. But I have a post or two up my sleeve in the meantime. Have a great Monday!

Edited to add: I am linking up to this party at Cottage Instincts.

Filed Under: DIY, tutorial 43 Comments

  • « Previous Page
  • 1
  • …
  • 28
  • 29
  • 30
  • 31
  • 32
  • 33
  • Next Page »
  • Email
  • Instagram

Welcome!

Welcome!

I live in a little cottage in the country with my husband. It's a sweet place, sheltered by old trees and surrounded by gardens. The inside is full of the things we love. I love to write, I love my camera, I love creating, I love gardening. My decorating style is eclectic; full of vintage and a bit of whimsy.

I've worked in the theater for more years than I can count. I'm currently a voice, speech, dialect and text coach freelancing on Broadway, off Broadway, and in regional theater.

Thanks for stopping by.

Searching?

The Dogs

The Dogs

Scout & Riley. Riley left us in 2012. Scout left us in February 2016. Dearest babies. Dearest friends.

Winston - Our first dog. We miss you, sweetheart.

Lambs Like to Party

Lambs Like to Party

A Note

Thanks for visiting! Feel free to browse, read and enjoy. All content is my own; including photos and text. Please do not use anything on this site without permission.

Disclosure/Privacy Policy can be found in the Navigation Bar under ‘About MHC.’

Also, I love receiving comments! I do, however, reserve the right to delete any comment that is in poor taste, offensive or is verging on spam. It’s my blog. If you’re a bot or a troll you’ll be blocked. Thanks!

Archives

All Content © 2008 - 2025 Mockingbird Hill Cottage · Log in

This website uses cookies to improve your experience. We'll assume you're ok with this, but you can opt-out if you wish.Accept Reject
Privacy & Cookies Policy

Privacy Overview

This website uses cookies to improve your experience while you navigate through the website. Out of these, the cookies that are categorized as necessary are stored on your browser as they are essential for the working of basic functionalities of the website. We also use third-party cookies that help us analyze and understand how you use this website. These cookies will be stored in your browser only with your consent. You also have the option to opt-out of these cookies. But opting out of some of these cookies may affect your browsing experience.
Necessary
Always Enabled
Necessary cookies are absolutely essential for the website to function properly. This category only includes cookies that ensures basic functionalities and security features of the website. These cookies do not store any personal information.
Non-necessary
Any cookies that may not be particularly necessary for the website to function and is used specifically to collect user personal data via analytics, ads, other embedded contents are termed as non-necessary cookies. It is mandatory to procure user consent prior to running these cookies on your website.
SAVE & ACCEPT