Have you heard about iPiccy? This photo editing site is a great deal like Picnik, with many of the same features. It’s very user-friendly. It’s in the Beta stage, which simply means it’s still in the testing stage. Let me show you what I did with it yesterday.
Here’s what the site looks like:

By the way, I made that sign using the Painter feature. It’s pretty nifty. How about this one?

You can see Editor, Effects, Text, Retouch and Painter at the top of the window and each one of these has all sorts of individual features that show up on the left side of the screen. The usual things are there, as well as some others that I haven’t fully investigated. The Rotate and Flip tool is like Picnik’s in that you can straighten an image. I use that a great deal on Picnik, especially when I discover that the picture I took is slightly crooked. I haven’t found it anywhere else but on iPiccy.
iPiccy’s fonts are interesting and, for the most part, different than Picnik’s. Variety is the spice of life.
Okay, let’s look at some photos:

I grabbed this one out of my photo library. I played around with it in iPiccy and came up with this:

I played with saturation and something called ‘Bloom’ in the Effects. Just for fun, I added a Drop Shadow Frame. I added a watermark using this pretty text, which is called Quilline Script. I rather like it.
Here’s the same photo edited with Engrave Photo:
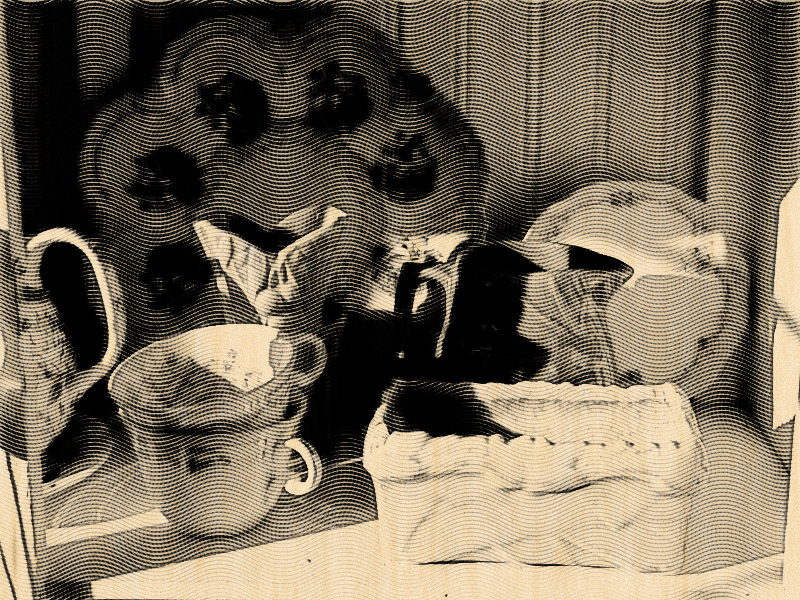
Next up is a photo of Ms. Scout:

She’s a photogenic little cutie, isn’t she?

I did the usual: resized the photo, cropped it and used the Cross Process effect, which I love. What’s nice about these effects is that you can control how much or how little of the effect you want. I just wanted a touch of it.
Now, here’s the neat thing: many of these sites are actively soliciting suggestions from all of us. So I sent an email to iPiccy suggesting they think of adding a collage feature because so many bloggers use Picnik’s collage feature to make banners and headers and all sorts of things. Almost immediately – on a Saturday – I received an email from a gentleman at iPiccy. He told me they are working on a collage feature as well as a layering feature right now and they should be adding them in about a week or so! This is great news for those of us who are searching for a way to make collages. I have no idea what this feature will be like or how similar or different it will be to Picnik’s but I sure am looking forward to exploring it. By the way, iPiccy has a Facebook page and they post about all their updates there.
There’s hope, fellow bloggers! There a lot of photo editing sites out there and I’m sure many of them are preparing to jump into the space vacated by Picnik. Every one of them is slightly different. Some are more like Photoshop Elements. Others are more like Picnik. They all want our suggestions.
In other news, the winner of the 3 Prime Suspect mysteries is Susy of The Feathered Nest! Susy, I’m sending an email your way. I need your address to forward to TLC Book Tours.
Have a great Sunday.