Hi there, everyone! I am not a carpenter. Let’s just get that out in the open. I do lot of small jobs around the house and I have made a plate rack and the chalkboard. I’d like to do more in the future, including building a wall of bookshelves in the den. But I digress. Here, as best I can, is what I did to build the chalkboard.
I started with this:

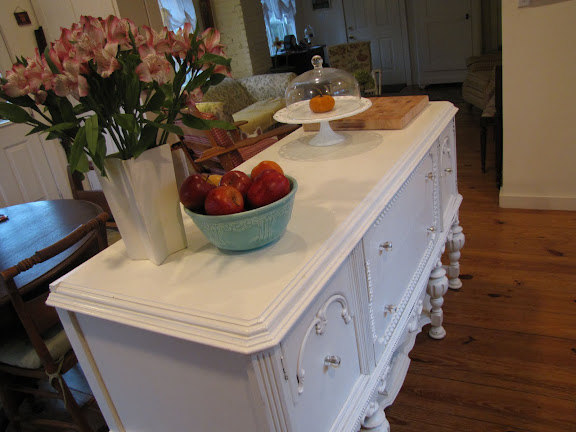
which was originally a piece on the rear of my sideboard-turned-kitchen-island:
 It consisted of three pieces that were screwed into the back of the sideboard and attached to each other with metal connections that were about the size of a razor blade. I had to have my husband help pull them apart. After much head scratching, I finally figured out how to remove the metal pieces. I then filled the screw holes with wood putty.
 I positioned the three pieces the way I wanted them and used wood glue to hold them together. Originally I thought I would nail them together, but I ended up getting some mending plates which I used to screw them together in the back. Those, along with the wood glue, did the trick.
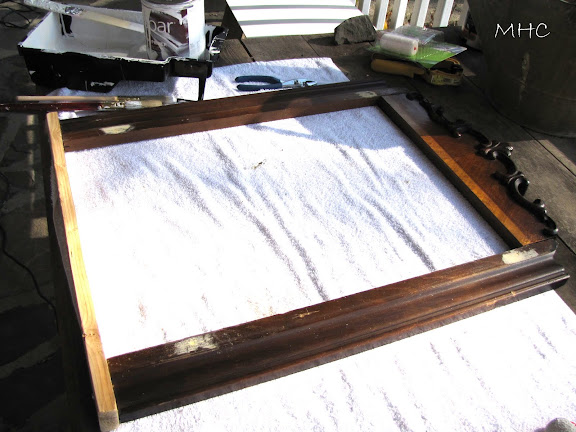 This is the point where I mention one of my errors. I had planned to use some neat molding on the bottom to form the fourth edge of the chalkboard. I trotted off to Lowe’s and came home with a big long piece of what I thought was the perfect choice. As I was measuring and cutting a piece to use, I realized that there was no flat surface on the top side of the molding. It had a lot of neat curves (that I had planned to use to hold an eraser and chalk), but there was no flat edge wide enough to screw to the frame. After several curse words, I scrambled around looking for piece of scrap wood. I found one in the shed, measured and cut again, and that is what you see in this photo. I attached it to the rest of the frame with wood glue and screws.
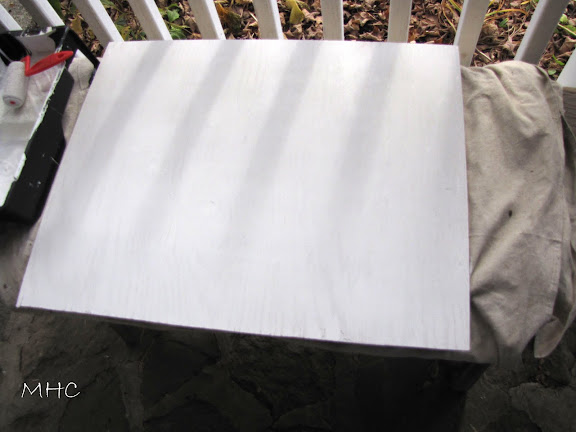 In the meantime, I measured and cut (with a hand saw) a piece of plywood for the chalkboard. I sanded and painted it with 2 coats of primer. Okay, time for another error: As I looked at the sanded plywood, the slight ridges in the wood began to worry me. I ran to my laptop, googled ‘chalkboards’ and ‘wood.’ In one of the posts, a warning against using anything but the smoothest wood was given. Apparently, if the surface is uneven it is harder to erase the board. Uh oh. Fast forward to the next morning. I went to the shed, got some of the beadboard paneling left over from the sideboard redo and cut a piece to fit the frame. The back side of the beadboard is very smooth. Again, I painted and primed.
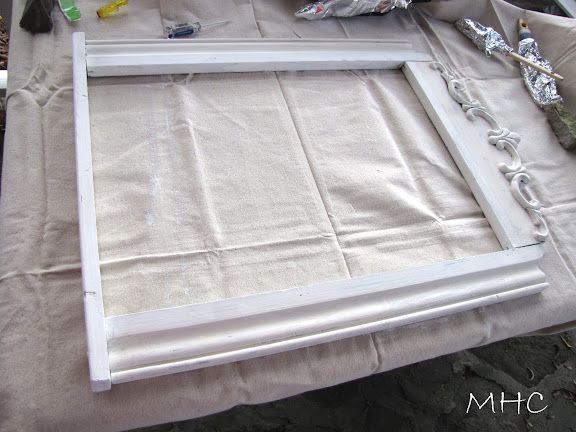 I also primed the frame. Two coats.
 Time for the chalkboard paint. I used Valspar, but there are many different manufacturers out there. I used a foam roller, but you can also use a spray.
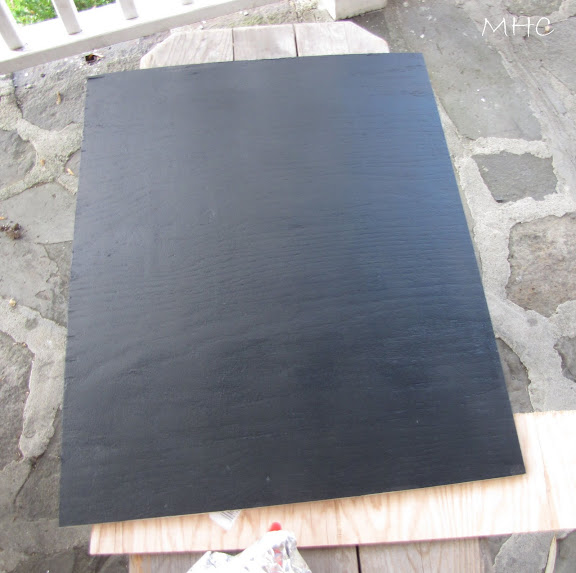 Here it is on the plywood. I did it all over again for the smooth version. I used 2 coats of chalkboard paint and it was more than enough. You are supposed to wait quite a while between coats, but I just waited 2 hours (because at this point I was on my second piece of wood.)
 Time for the paint. I used this paint on the mantel shelf in my sewing area. It is one of those 8 oz. Valspar sample cans. The color is Mermaid’s Song in Satin. This time I mixed in a little ivory paint to mute it a bit. However, when I looked at it under the kitchen lights (which are built-in ceiling lights) the color seemed too intense. What to do? Antique it. I didn’t want to run to the store again (at this point, I was in my flannel pajamas) so I looked through my acrylic paints and found this:
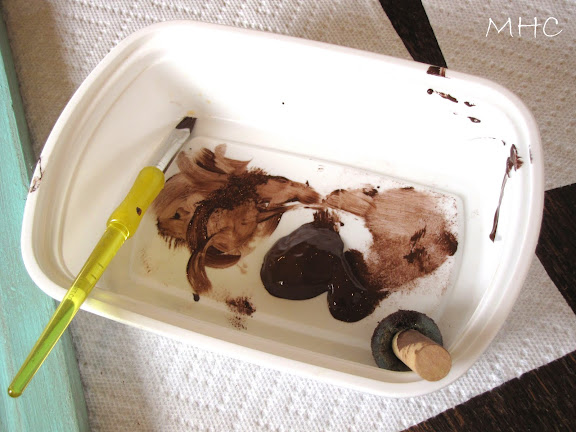
Using a foam brush, I painted the stain on in small sections, immediately wiping it off with a rag. You have to play around with it, but it works beautifully. I took the paint brush and filled in all the crevices in the carved design, still wiping much of it off. If you fill in these crevices, the carving stands out beautifully. I decided the whole thing is like putting on stage makeup. Many is the time I had to highlight and shadow my face to create wrinkles where there were none. Same idea.
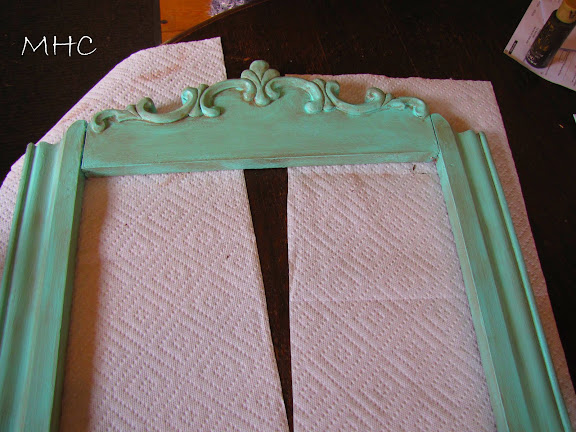
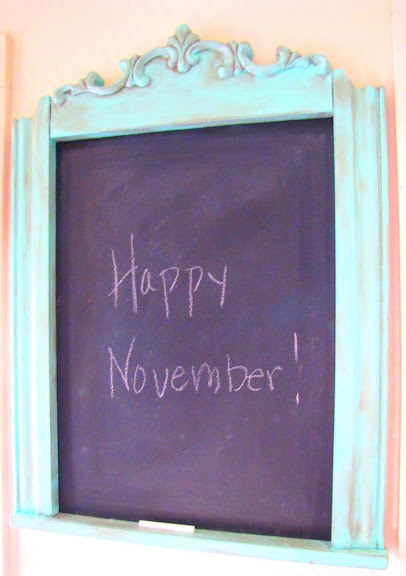
 Once it was dry, I screwed the chalkboard into the back of the frame, added a hanger and I was done! A word about the chalkboard paint: you should let it dry for 48 hours before you put the whole thing together. And you need to cure the chalkboard before you write on it. Take the side of a piece of chalk and rub it all over the chalkboard, then erase it. You’ve cured it and now you can write wonderful little messages on your chalkboard!
Like this:
I am off to Charlotte, NC for a few days to work on the National Tour of South Pacific. But I have a post or two up my sleeve in the meantime. Have a great Monday!
Edited to add: I am linking up to this party at Cottage Instincts.
