Except for the Christmas a few years ago when Don was away working in California, I don’t think I’ve ever done Christmas as simply as I have this year. I’m a great believer in trusting my instincts and they gently advised me to “Cut back.”
I’ve never been one to decorate every room of my home for the holidays. At the most, I decorate the living room and den – the two rooms we live in the most. There are always simple outdoor lights and a wreath on the door.
This year, I didn’t even put up the small white tree that is normally in the living room. Not because I’m not in the Christmas spirit – I am. I simply had no urge to. So I didn’t.
It’s enormously freeing. The den seems to be the decorated room this year and that makes perfect sense. It’s the room in which we gather every evening. It’s the room where I blog and read. So, (let’s not bother with a drumroll) here are our Christmas decorations for Mockingbird Hill Cottage.
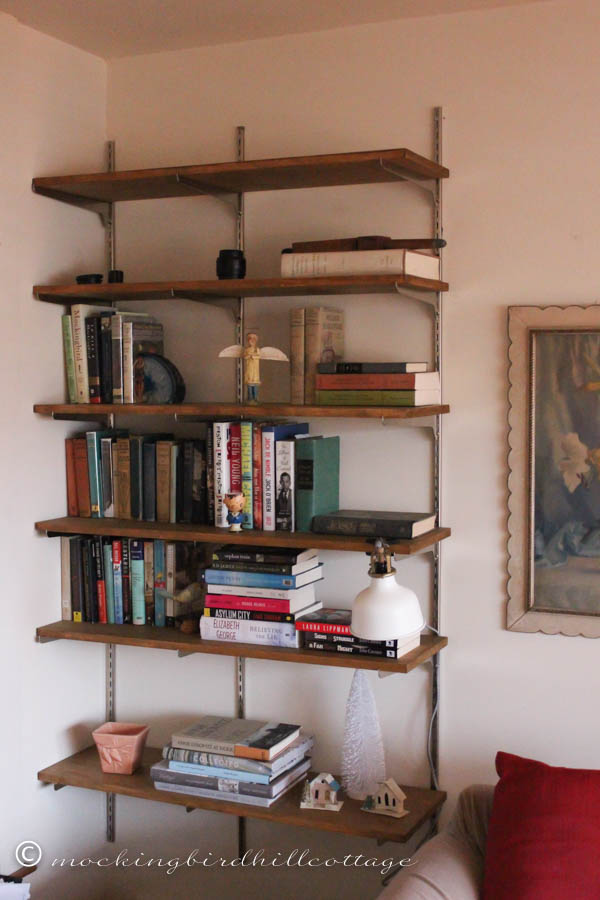
You’ll recognize our new bookshelves in the den. On one of the upper shelves is my Debbee Thibault wooden angel. She was recently rediscovered and now she is a part of our Christmas.
Let me stop and share my little lamp with you. I bought this over a year ago. It’s the companion lamp to the one in my studio – from Ikea’s Ranarp line. I kept it in a closet until we finally got the bookshelves up.
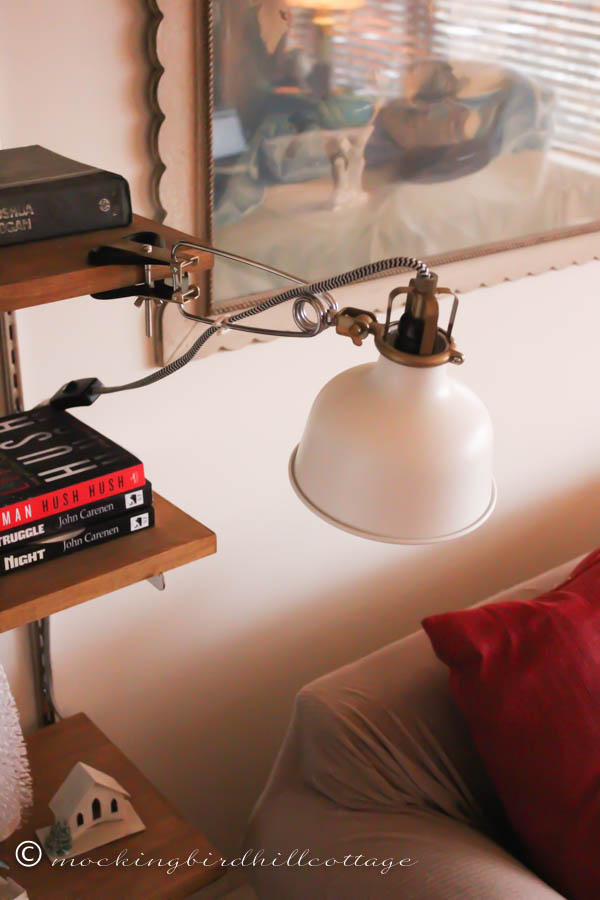
I love the cloth covered cord. I love the white powder coated metal. It provides some reading light for the other end of the sofa.
Back to decorations.
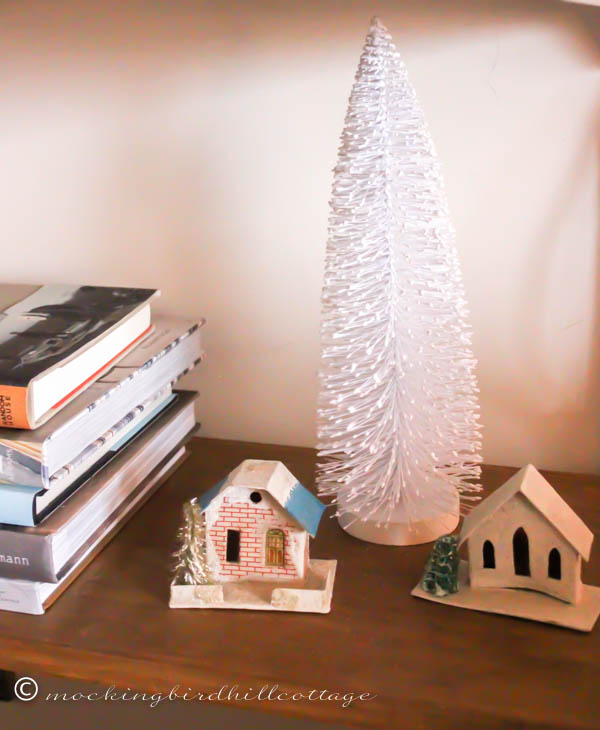
A simple bottle brush tree and two vintage putz houses on the bottom shelf.
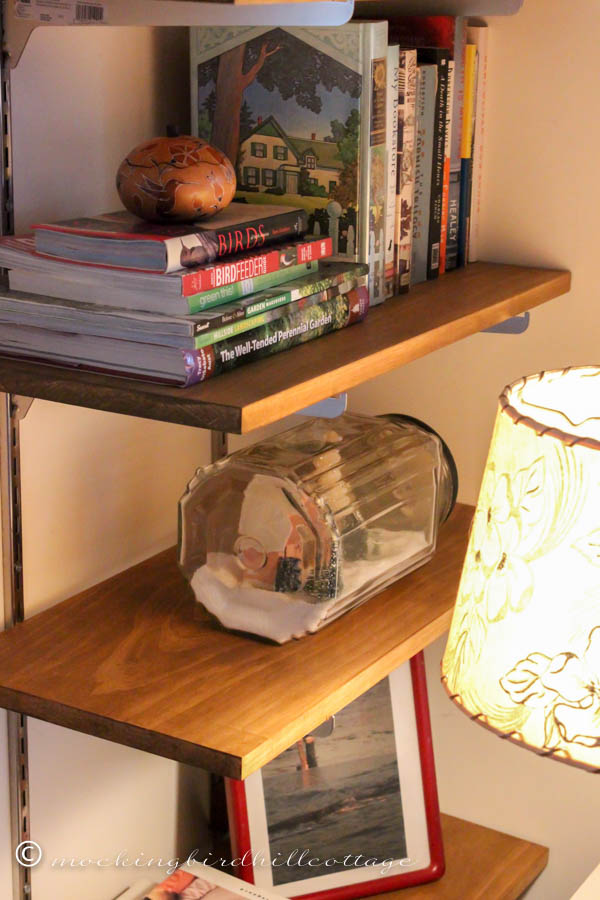
The Necco Snow Globe on the other side of the sofa.
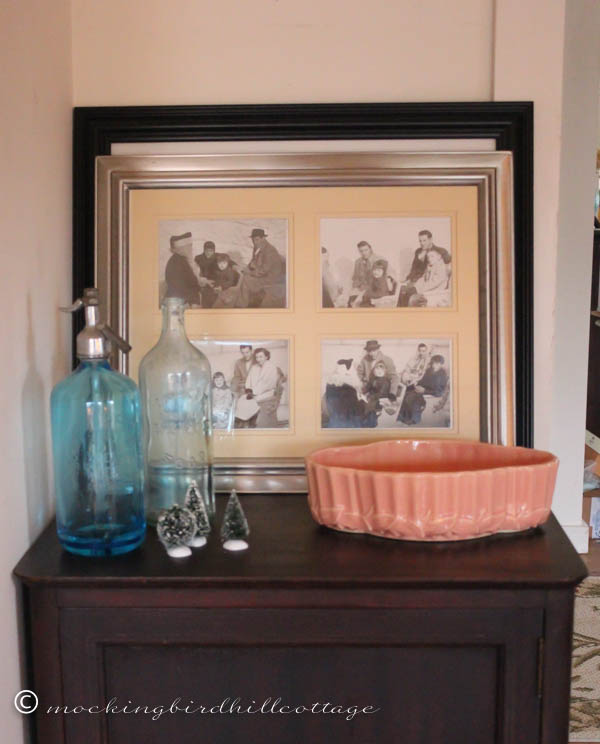
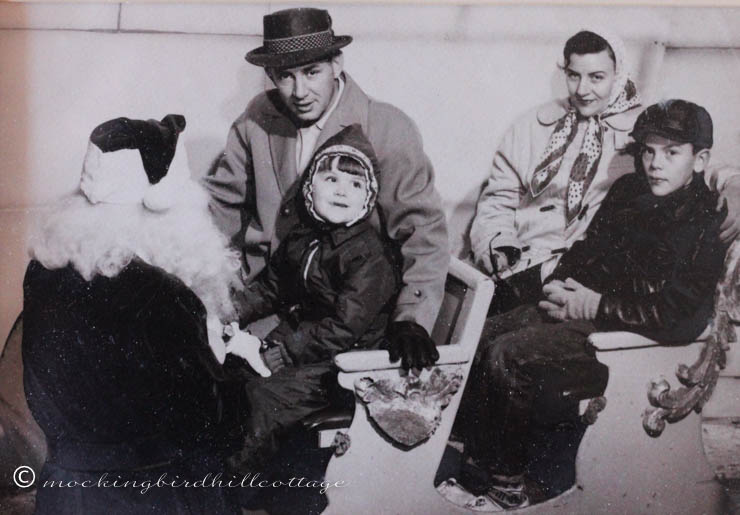
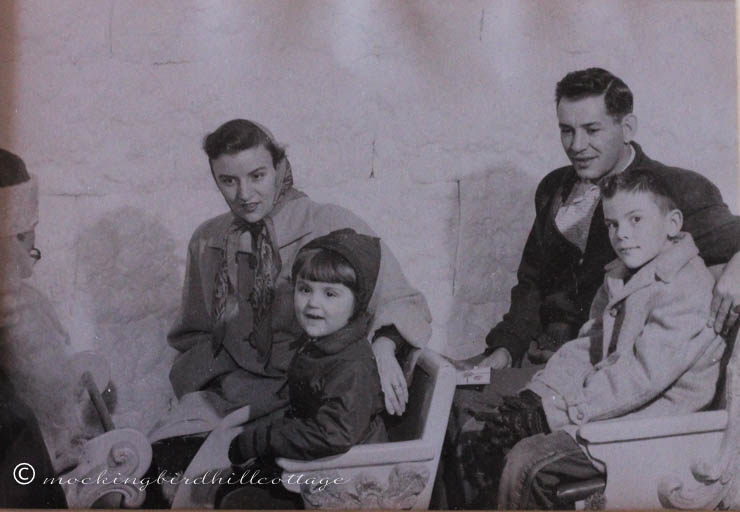
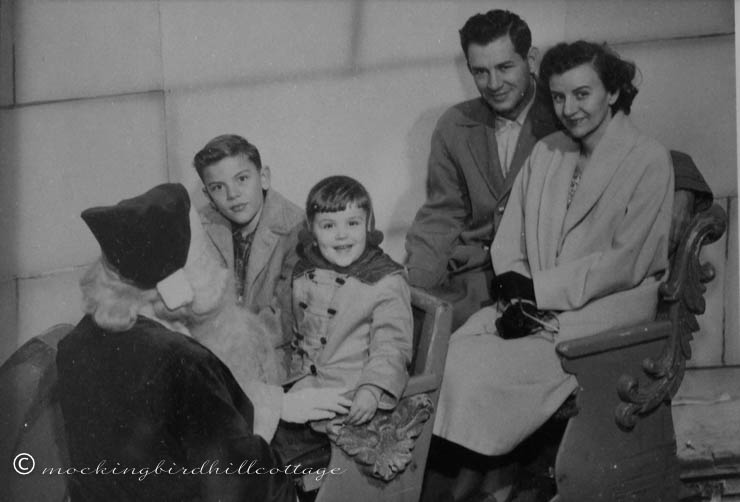
The framed photos of childhood visits to Santa are propped up on the music cabinet, along with three little bottle brush trees.
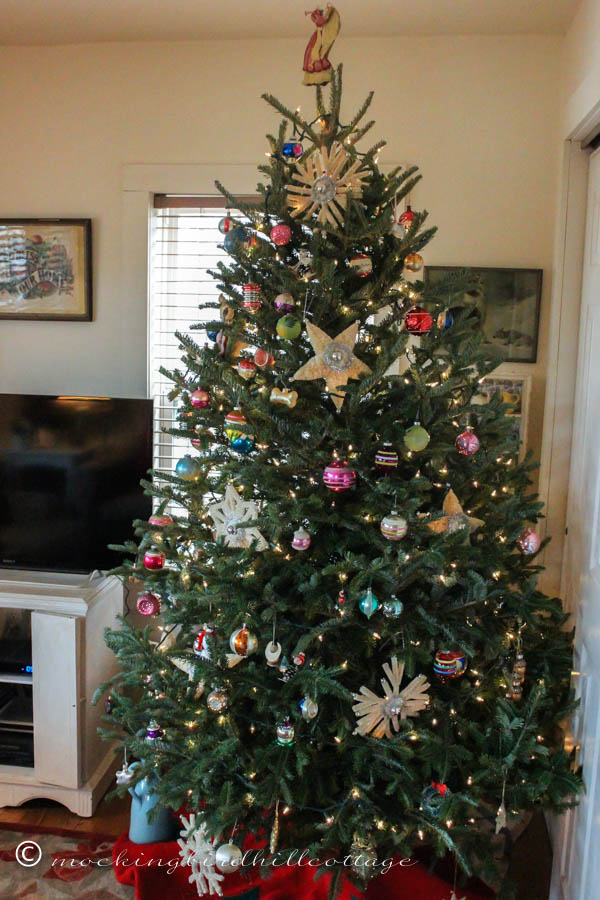
And the Christmas Tree, a fragrant Noble Fir.
That, my friends, is it.
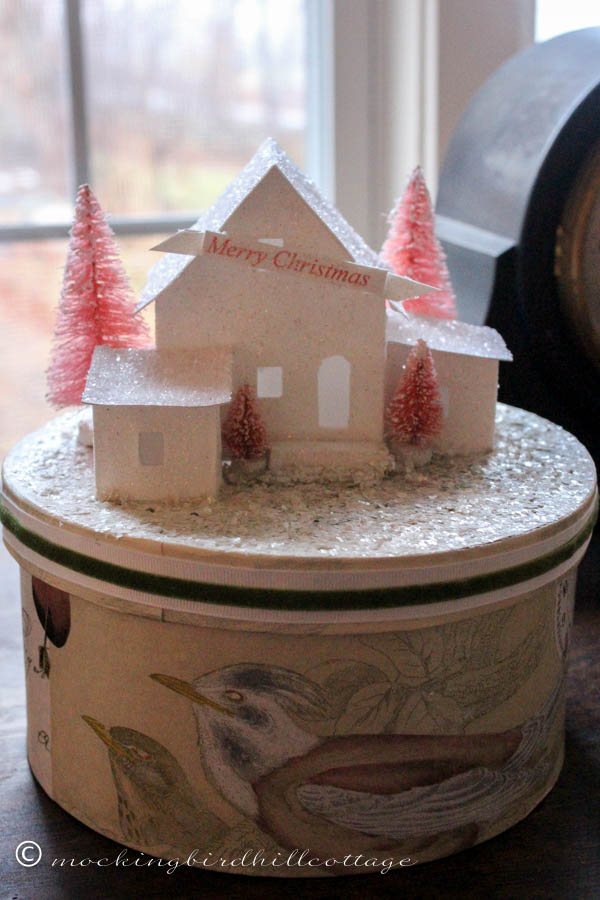
Except for the beautiful putz houses given to me by Chris. They are in the living room. I love them.
I can’t tell you enough how liberating this is. No stress. No craziness. No elaborate decorations for a Christmas Blog Tour (though I probably would never be invited to take part in one, anyway!) Just simple, heartfelt decorations that we love and treasure and have the time to appreciate.
I find I am embracing simple; less rather than more. I’ll let department stores and Santa Lands and Rockefeller Center do the ‘more.’ That’s as it should be. I love seeing all of that. It’s beautiful and magical. But here, in our home, we’re going with simple. Who knows? Next year, I may put up the little white tree and the bottle brush wreaths again. But really, in the end, all I need is the real tree, beautiful and majestic, which I’m feasting my eyes on at this very moment.
Caroline seems to be on the same page as me. She does her own thing, you know that, but I’ve peeked into her home and I think you’ll notice some similarities.
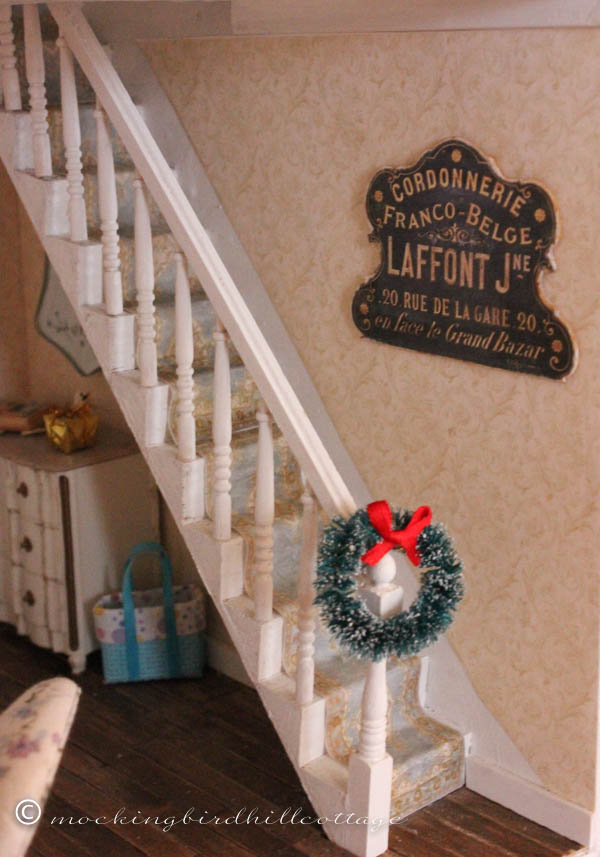
There’s a wreath on the front door and a wreath hanging on the newel post. That’s it for downstairs.
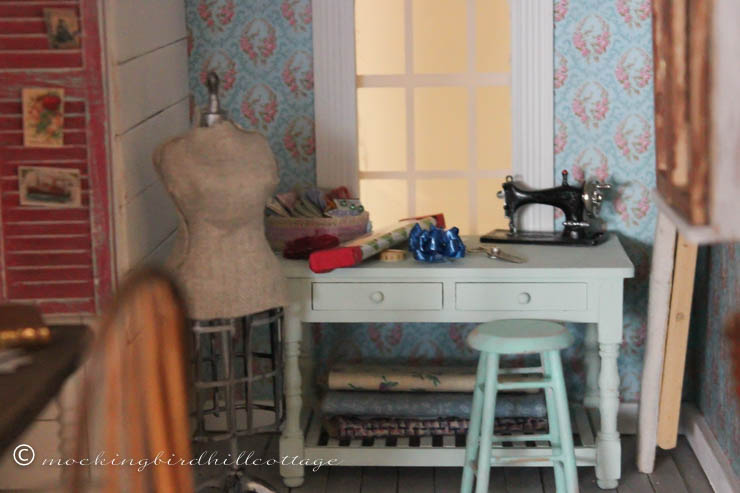
Her studio/office shows signs of gift wrapping.
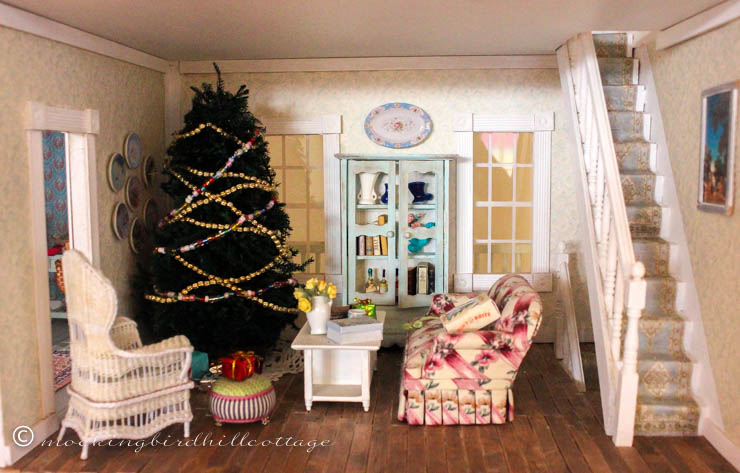
But here is the room where the decorations are: her den on the second floor. There’s the tree, clearly the centerpiece of the room.
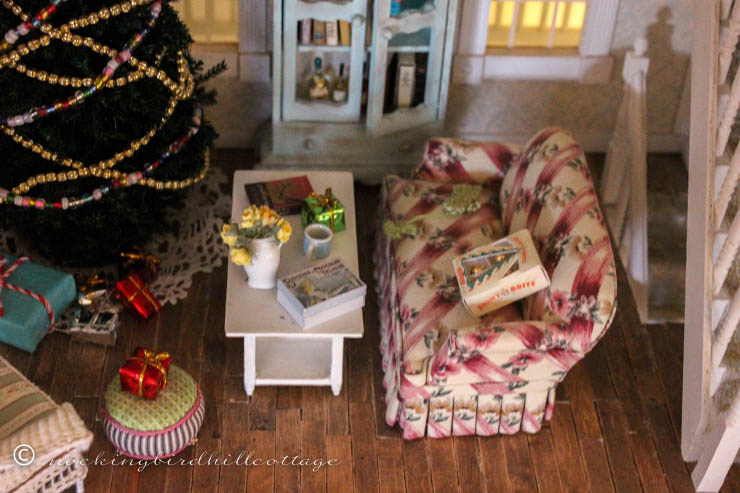
And there are the gifts, waiting under the tree.
Caroline, like me, spends most of her time in her den, so it seems to be the perfect place for celebrating the season.
She likes simple, too.
To close, a bit of bokeh for you.

There is a new post up on Just Let Me Finish This Page today.
Happy Monday.

