As in the real-life decorating of Mockingbird Hill Cottage, decorating the dollhouse’s rooms has been about collecting things over time, about gifts given and/or inherited and proudly displayed, about re-imagining older pieces of furniture and making them ‘new.’ I looked at each room this week and wrote down the story/source of each item. I wanted to get it all down on real and virtual paper – partly for me, and also for you. I often get emails asking me about where I source things for the dollhouse. I will provide all of the information I can for you. Links will be at the end of the post.
Today? The living room.
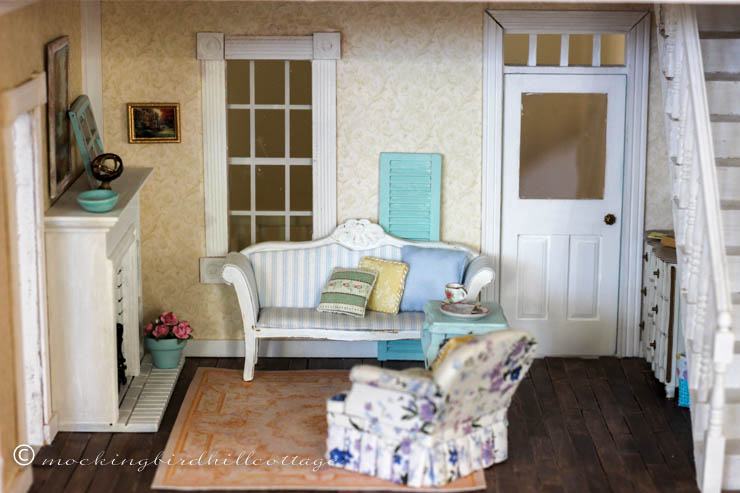
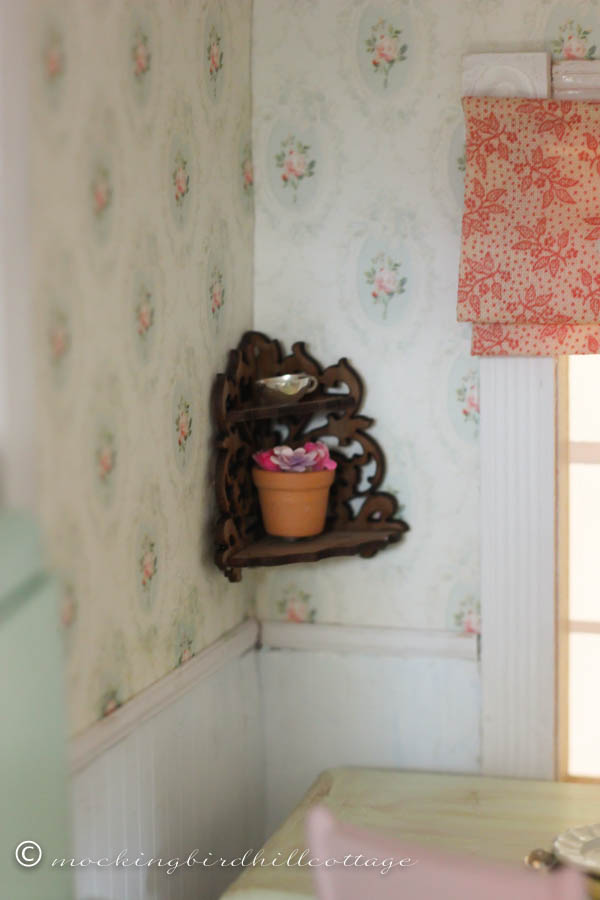
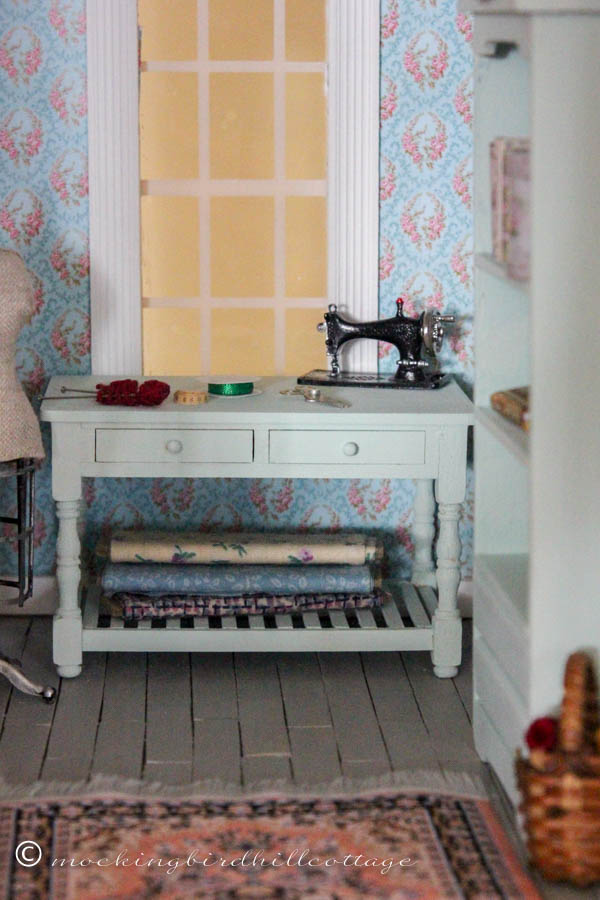
Wallpaper: ItsyBitsyMini; Moldings and trim: Hobby Builder’s Supply/Miniatures.com. Flooring: Made by me from popsicle/craft sticks.
Sofa: Made-to-order by Etsy shop FloraDollhouse (Italy); Shutter: from my stash, originally ordered from miniatures.com; Throw pillows: gifts from Marsha, Casey and Flora; Blue table: from a bag of dollhouse items given to me by my friend Heidi – I painted and aged it; Tea cup: from a set purchased at a craft store; Plate and fork: from Etsy shop, A LavenderDilly (Australia); Blue flowered chair: from Dollhouses and More; Aubusson rug: from A LavenderDilly.
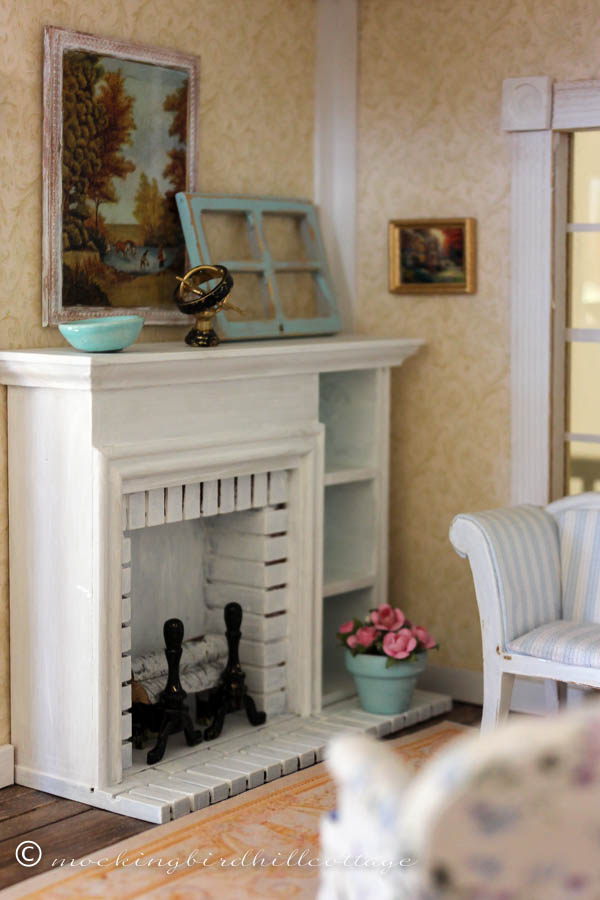
Fireplace and andirons: a gift from Don, I painted the fireplace white and the brass andirons black; Logs: from miniatures.com; Flowers and pot: a gift from Jayne (who sent me all sorts of wonderful things when I first started on this dollhouse.) I painted the pot aqua; Blue bowl: also from Jayne; Armillary: a gift from fellow blogger Lady Hawthorne of Canterbury Cottage; Painting over the fireplace: purchased at a dollhouse shop, frame was ‘aged’ by me; Architectural salvage window: a bash from another piece (given to me by blogging friend Rizzi), I painted and ‘aged’ it; Little painting on the wall: purchased at Chautauqua Miniatures.
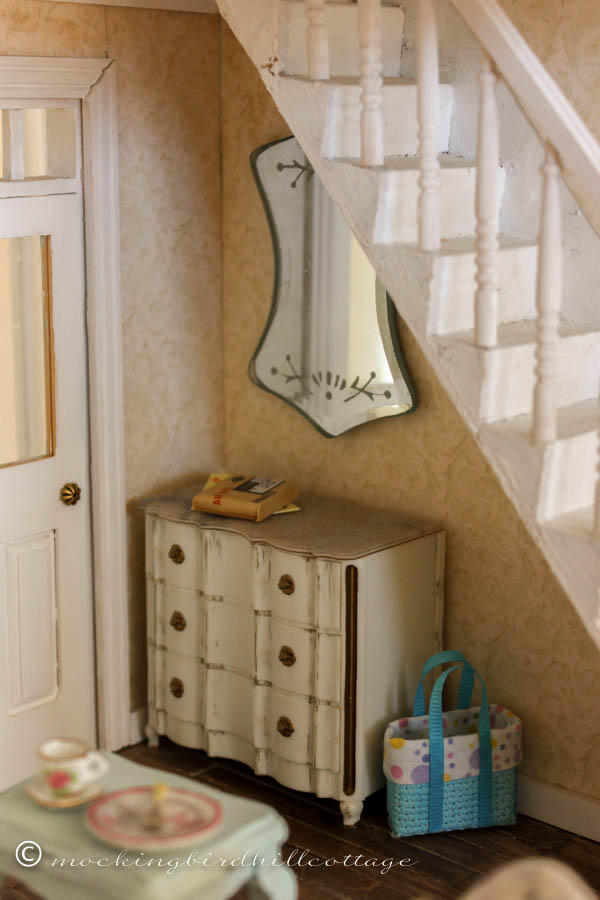
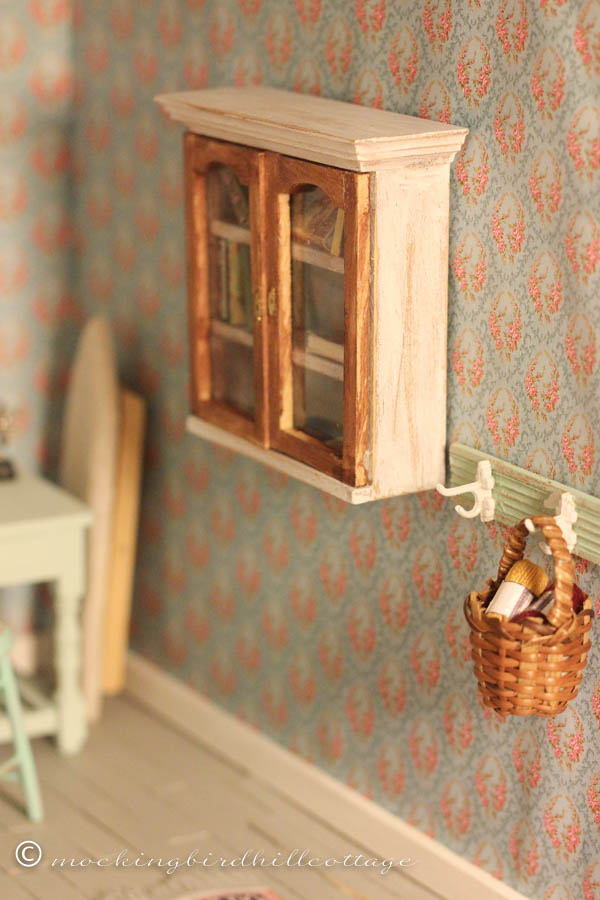
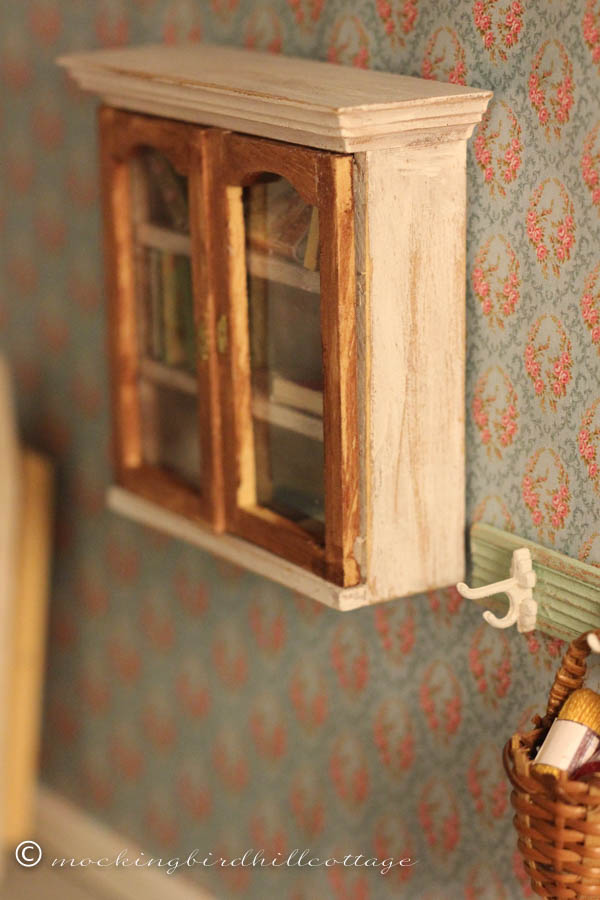
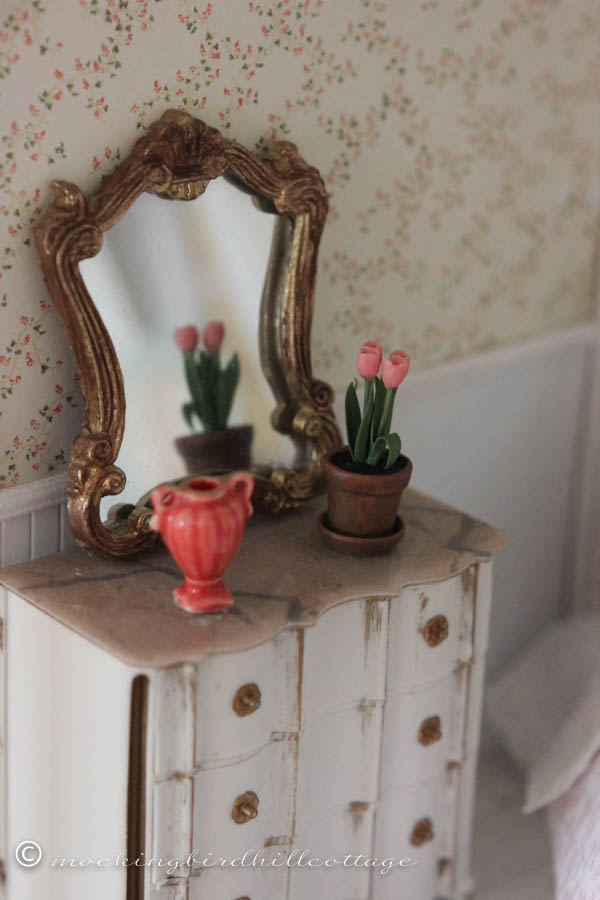
Chest: from the Ideal Petite Princess Line which was made in the sixties. I have two of these – one I found in a local shop, one was found on eBay; Package and mail: a gift from Barbara; Mirror: a gift from Linda; Tote bag: a handmade gift from Jill.
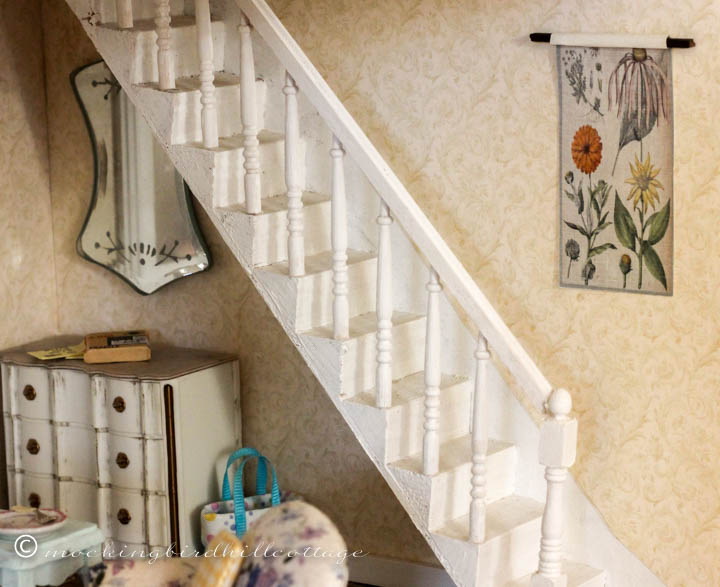
Botanical Chart: from Etsy shop of L. Delaney.
Sources
Hobby Builders Supply/miniatures.com
Itsy Bitsy Mini
Flora Dollhouse (an Etsy shop)
A LavenderDilly (an Etsy shop)
Dollhouses and More
Chautauqua Miniatures
LDelaney (an Etsy shop)
I hope this helps those of you who are working on your very own dollhouses. Of course, I already have plans to add some things, so the list will change over time. But the basic information will stay the same.
Stealing a little: It takes a village to make a dollhouse come to life. That’s for sure.
More tomorrow.
Happy Sunday.