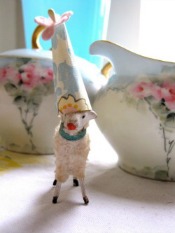
I shudder at my temerity in presenting any sort of miniature tutorial. But then I remember that a lot of you are just like me. We’re women who love the idea of having our very own dollhouse to decorate. We’re not miniaturists. We just want to putter and play. So, without further ado, here is a little tutorial on putting in a hardwood floor in your dollhouse. Every room in the dollhouse, save for the bathroom, has one. I’ve used a wood stain in some of the rooms and a painted floor in others.
When I was ready to install my first floor, I went to a restaurant supply store and bought a big box of coffee stirrers. However, when I got them home, I quickly realized that they were too narrow for the dollhouse. (Anyone need some coffee stirrers?)
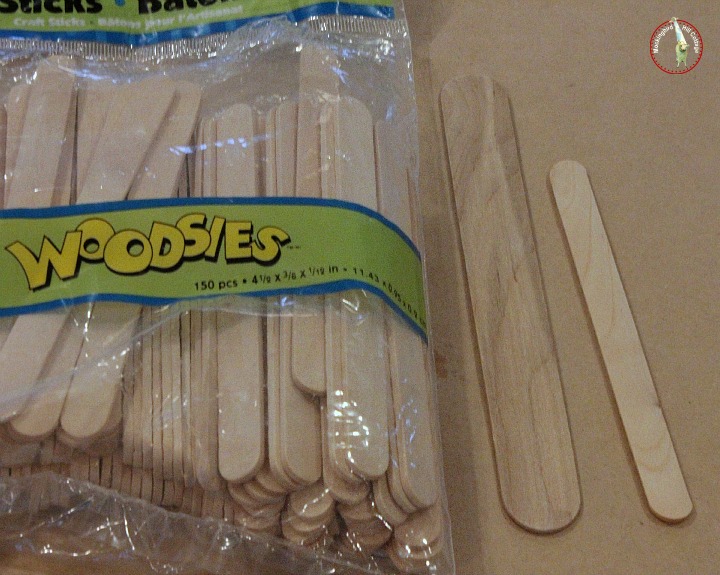
So I went to Michael’s and bought some wooden sticks. The stick on the right is the size of a popsicle stick. The one on the left is tongue-depressor sized. I used that one in the bedroom.
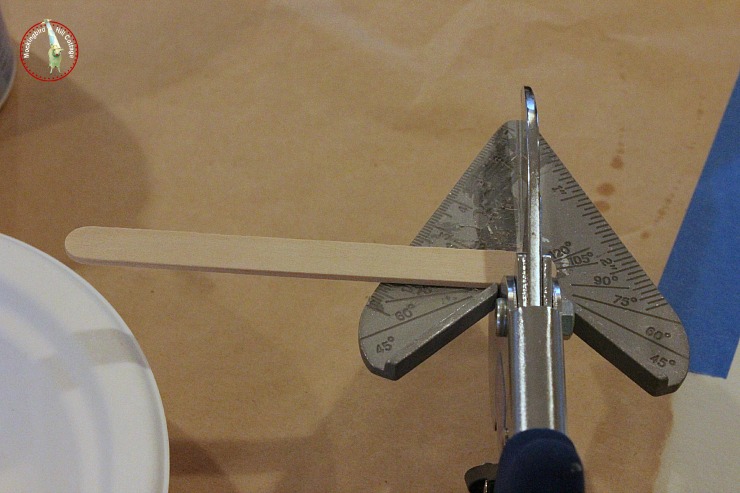
Using my favorite tool, the Easy Cutter, I cut off the rounded ends of the sticks. (The Easy Cutter is a must have if you’re going to be cutting wood to make moldings or baseboards or flooring. Or just about anything. You can find one at Miniatures.com.)
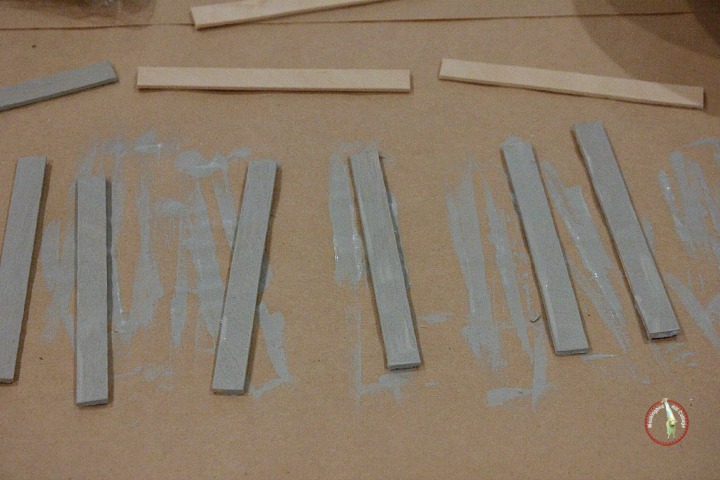
Then I paint or stain the sticks. It’s important to do this before you install your floor. If you wait to paint the wood until after it’s installed, you run the risk of the floor warping.
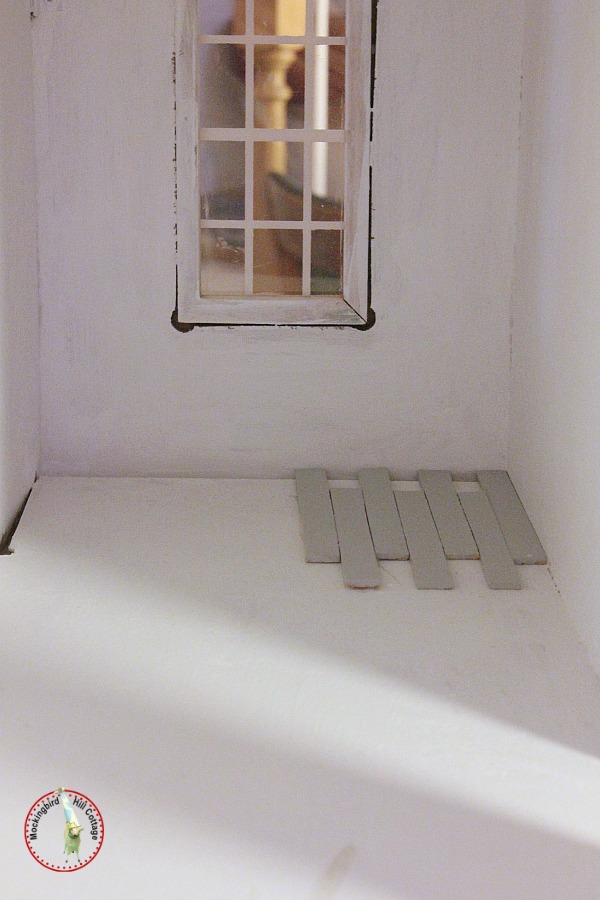
Then you begin the layout. (We’re working in the office/craft room and I’m choosing to go with a painted floor.) As you can see, I stagger the sticks just as you would in laying a real-life hardwood floor. This is the painstaking part of the process. I glue down the first row of sticks, then cut shorter lengths to fill in the spaces near the wall. Basically, I sit there and glue, cut, and glue again. (It’s messy – I find myself peeling dried glue off my fingers for several hours afterward.) It’s really like putting together a jigsaw puzzle.
I rescued this dollhouse when I found an ad for it on Craig’s List. There was water damage on the downstairs floors. It also wasn’t assembled correctly. I fixed what I could but short of taking it all apart, there were some quirks that I had to live with. See the area on the left where the wall and floor should join? They don’t. So I have to make some adjustments as I cut the wood for the floor.
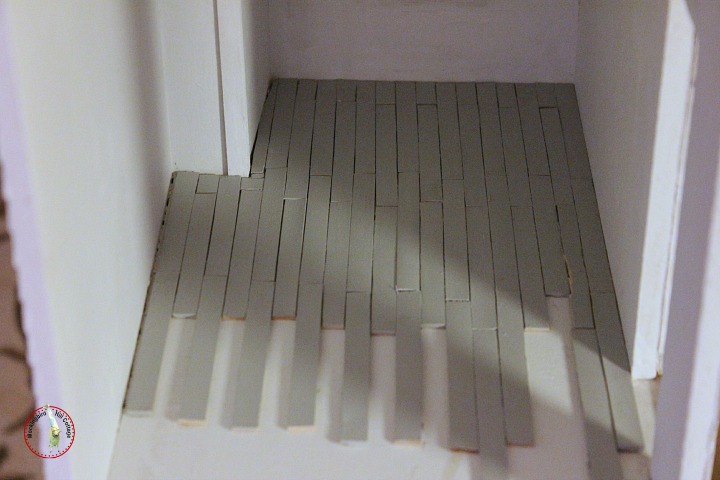
Sometimes I have to tweak the size of a stick – either the length or the width- to make the pieces fit together. Then I go back and touch up any areas of the floor that show the raw wood. I haven’t done that yet.
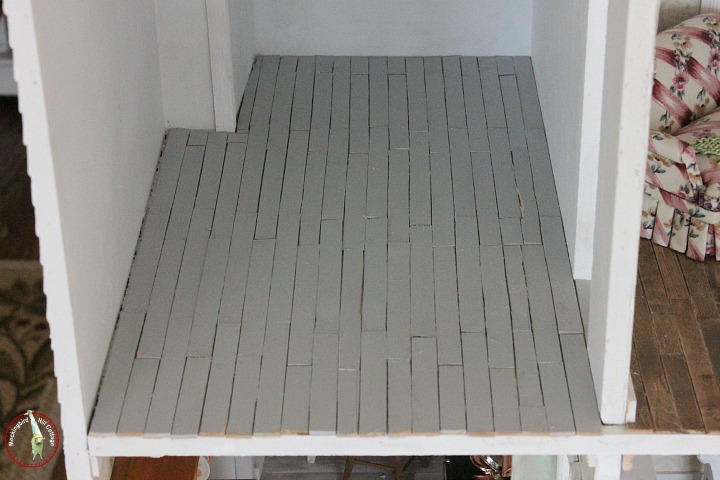
And there it is.
It’s slow, methodical work. This floor took about three or four hours to install, from start to finish. On the right you can see a stained wood version in the den.
There are faux-wood versions out there for those of you who are not interested in this sort of painstaking work. I wanted the real thing, however. And I wanted the look of floors installed long ago, that are slightly uneven, with gaps here and there. That’s the look in my real-life house, as well.
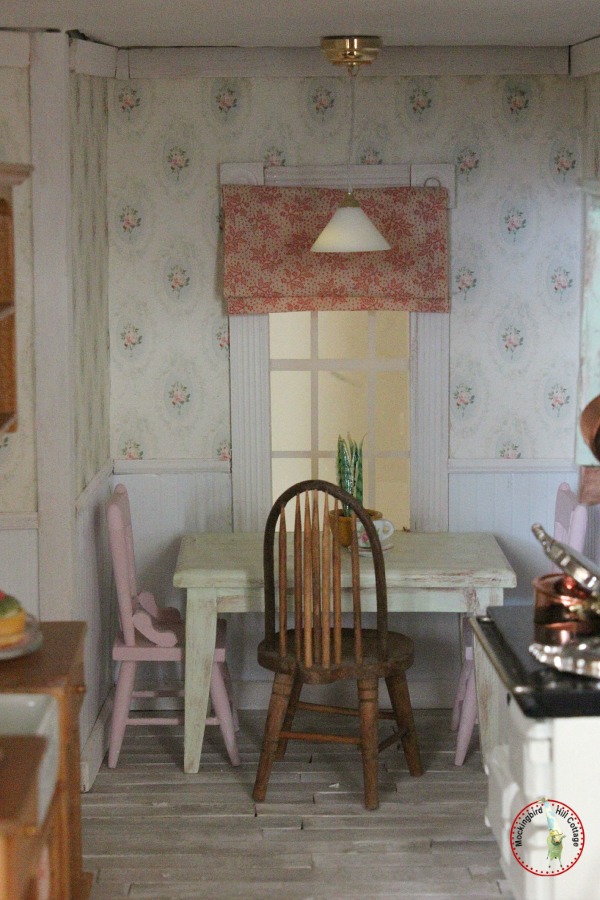
In the kitchen, I laid the floor in the opposite direction so there would be some contrast with the adjoining living room. It’s painted white and ‘aged’ with some gray.
Do you see my new light over the table? It’s a battery operated LED light that attaches to the ceiling with a magnetized base. Ingenious. When I want to turn it on, I can simply pull it from the base, flip a switch, then reattach it. I may paint that base. We’ll see.
Santa, I need a macro lens for my camera.
They aren’t cheap. I don’t think Santa will go for it.
Do you remember this chair?
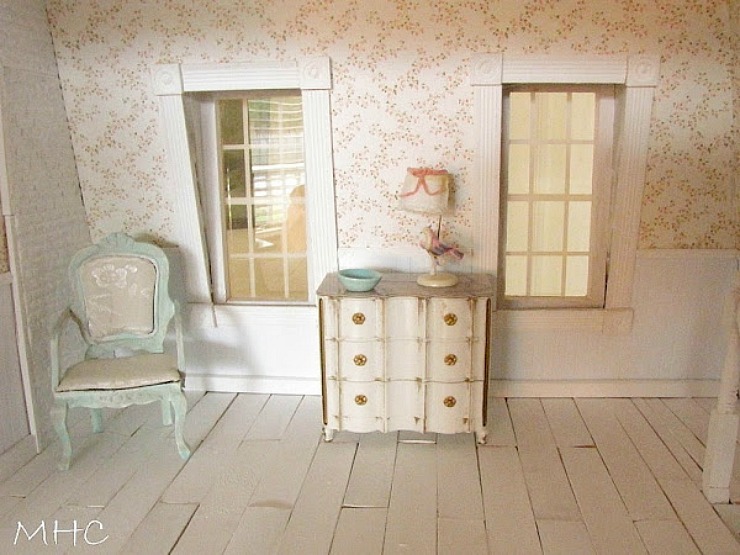
This was an inexpensive chair; I spent about $3 for it. It came with the usual dark, shiny wood and was one of the first pieces that I painted. That white fabric, though pretty, wasn’t the look I was going for. Yesterday, I finally looked though my fabric and found this pattern:
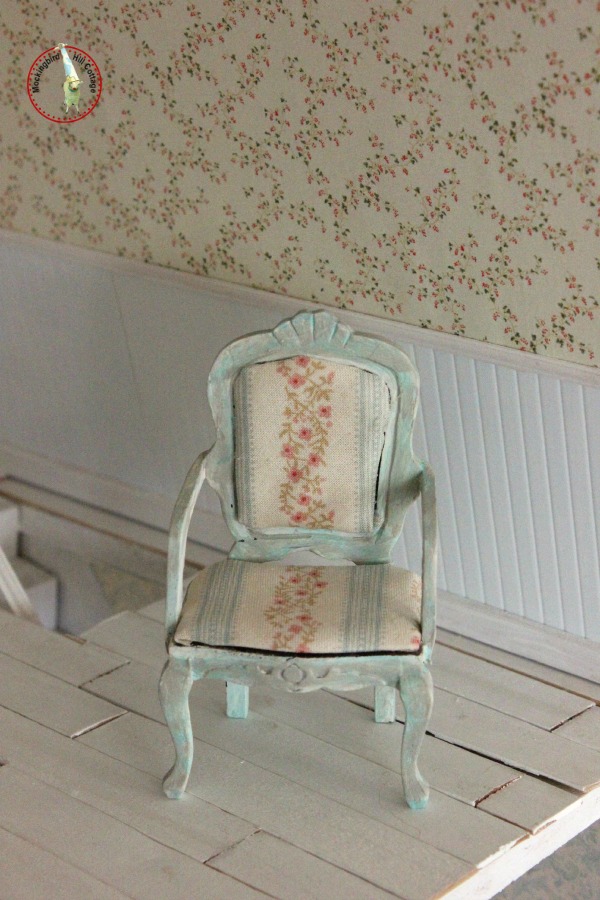
Be still my heart. This little sweetie will reside in the bedroom. Note the wide-plank floors. They were made with the tongue-depressor sized sticks. My thought was that the third floor was an attic that had been made into a bedroom and the owner simply painted the existing floors. Oh, there’s a method to my madness.
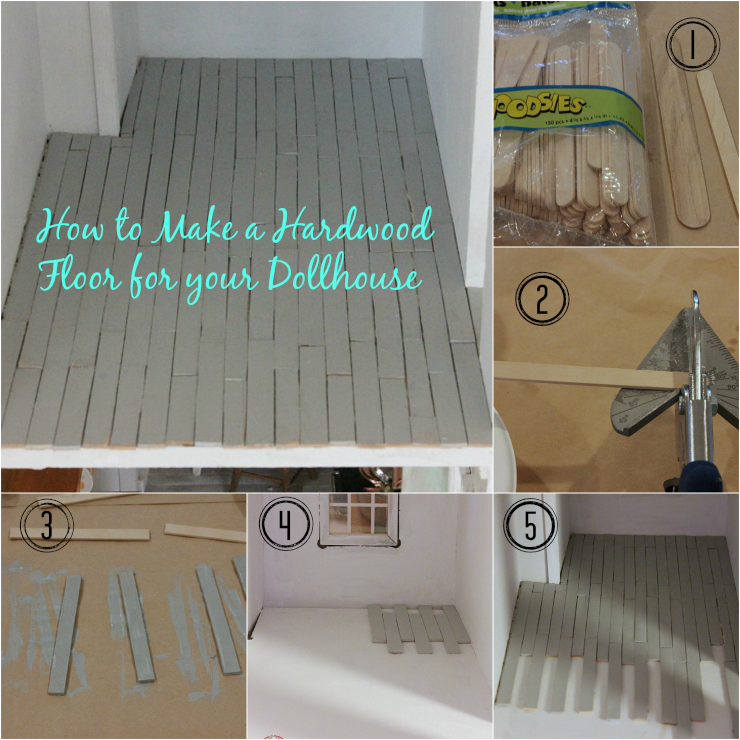
Thought you might like a pinnable image. If you click through to Comments, you’ll find a Pinterest button at the bottom of the post.
I hope you’re all enjoying this Friday after Thanksgiving. We ate too much. But it was good!
Happy Friday.


