I found this heart-shaped stone on our walk the other day. It’s small and pretty nearly perfect. I put it in my coat pocket and promptly forgot about it until this morning. It needed rescuing from the dark depths of my pocket – it needed to see the light of day.

Heart shapes evoke strong feelings. Yes, there is the “I love…” symbolism, Valentine’s Day and all that. But within that heart are joy, sorrow, despair, hope, pain, loss, heartbreak, and compassion. So many things contained in one symbol. I never used to be a fan of heart-shaped anything. There was too much of it everywhere. It had become trite. Every bumper sticker I saw had “I {heart-shape} something or other.” Too much. Too little meaning.
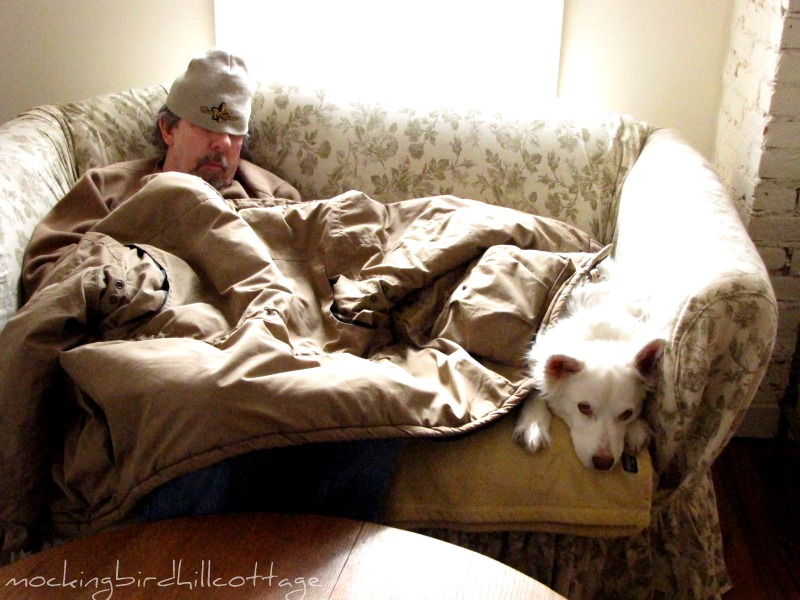
But Scout has a heart-shape on her side. Is that a message of some sort? I like to think so.
When I think of heart-shapes these days, I think of so much more than the romantic symbolism. I think of all the emotions we experience every day. I think of those in pain, suffering at this very moment. Of those who are lost and frightened. Those who have lost a loved one. Those whose compassion for their fellow man is astonishing. Those who fight for the rights of our animal friends. I think of everyday people who do heroic things. I think of those who are struggling to hang on to their houses or jobs, whose hearts are breaking. I think of those who have no home and are trying to rebuild their lives.
I think of my dad who told me last night that he thinks his body is shutting down – who feels heartbreak every day. Or my mom whose heart is still beating, even though she is desperately tired and unhappy and has given up.
I think of all of us who are striving to be good people every day. Those whose simple acts of kindness can turn a so-so day into a beautiful one. And of those who are pursuing a dream, hoping that it will come true.
I think of my beloved willow tree. Trees have energy and feelings, of that I have no doubt. If I could carve a heart into the willow, I would do that. But today I will have to say goodbye. It comes down tomorrow.
Heart-shapes have come to mean something entirely different for me than the traditional boy meets girl stuff. Now, when I sew one of my little hearts or find a heart-shaped stone, or discover this heart etched in the gravel just beyond our porch the morning after the destruction of Hurricane Irene —

I take heart.
I hope you take heart, as well, my friends.