Mockingbird Hill Cottage

Mockingbird Hill Cottage

  • About MHC
    • Disclosure
  • Dollhouses/Minis
    • Hummingbird Cottage
    • The Studio (Formerly TSP)
    • Dove Cottage
    • The Lake House
    • The Folk Art Dollhouse
    • The Modern Dollhouse
    • Dollhouse Source List, Information and Tutorials
  • On the Road
  • Collecting
    • Roseville Pottery
    • McCoy Pottery
    • Egg Cups
    • Bakelite
  • Press
  • Privacy Policy
You are here: Home / Archives for dollhouse

Who, What, Where: Dollhouse Living Room

November 16, 2014 at 10:32 am by Claudia

As in the real-life decorating of Mockingbird Hill Cottage, decorating the dollhouse’s rooms has been about collecting things over time, about gifts given and/or inherited and proudly displayed, about re-imagining older pieces of furniture and making them ‘new.’ I looked at each room this week and wrote down the story/source of each item. I wanted to get it all down on real and virtual paper – partly for me, and also for you. I often get emails asking me about where I source things for the dollhouse. I will provide all of the information I can for you. Links will be at the end of the post.

Today? The living room.
WWW DH LR1

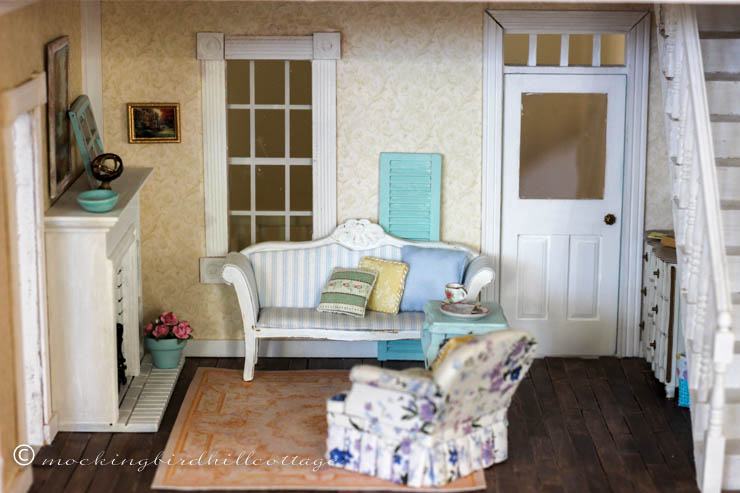
Wallpaper: ItsyBitsyMini; Moldings and trim: Hobby Builder’s Supply/Miniatures.com. Flooring: Made by me from popsicle/craft sticks.

Sofa: Made-to-order by Etsy shop FloraDollhouse (Italy); Shutter: from my stash, originally ordered from miniatures.com; Throw pillows: gifts from Marsha, Casey and Flora; Blue table: from a bag of dollhouse items given to me by my friend Heidi – I painted and aged it; Tea cup: from a set purchased at a craft store; Plate and fork: from Etsy shop, A LavenderDilly (Australia); Blue flowered chair: from Dollhouses and More; Aubusson rug: from A LavenderDilly.
WWW DH LR2

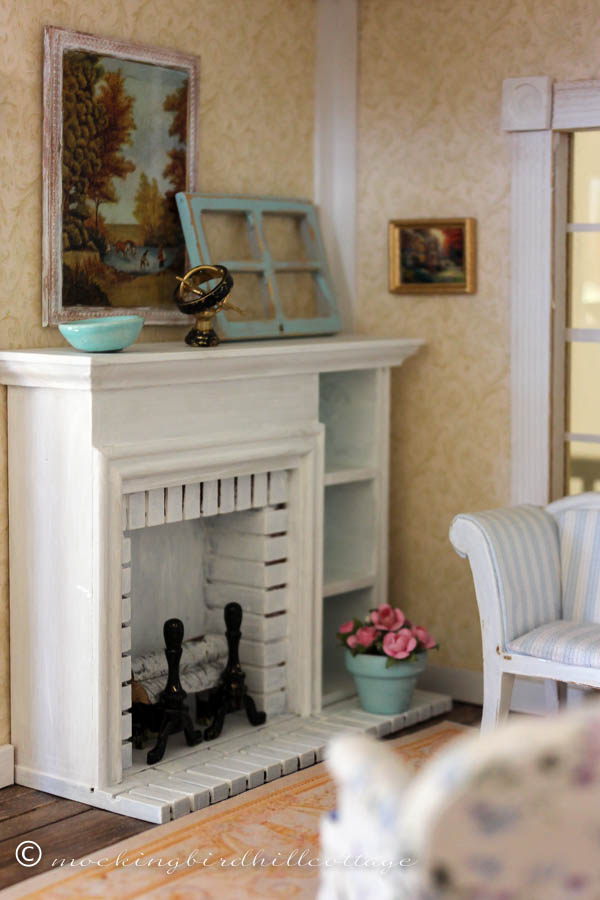
Fireplace and andirons: a gift from Don, I painted the fireplace white and the brass andirons black; Logs: from miniatures.com; Flowers and pot: a gift from Jayne (who sent me all sorts of wonderful things when I first started on this dollhouse.) I painted the pot aqua; Blue bowl: also from Jayne; Armillary: a gift from fellow blogger Lady Hawthorne of Canterbury Cottage; Painting over the fireplace: purchased at a dollhouse shop, frame was ‘aged’ by me; Architectural salvage window: a bash from another piece (given to me by blogging friend Rizzi), I painted and ‘aged’ it; Little painting on the wall: purchased at Chautauqua Miniatures.
WWW DH LR3

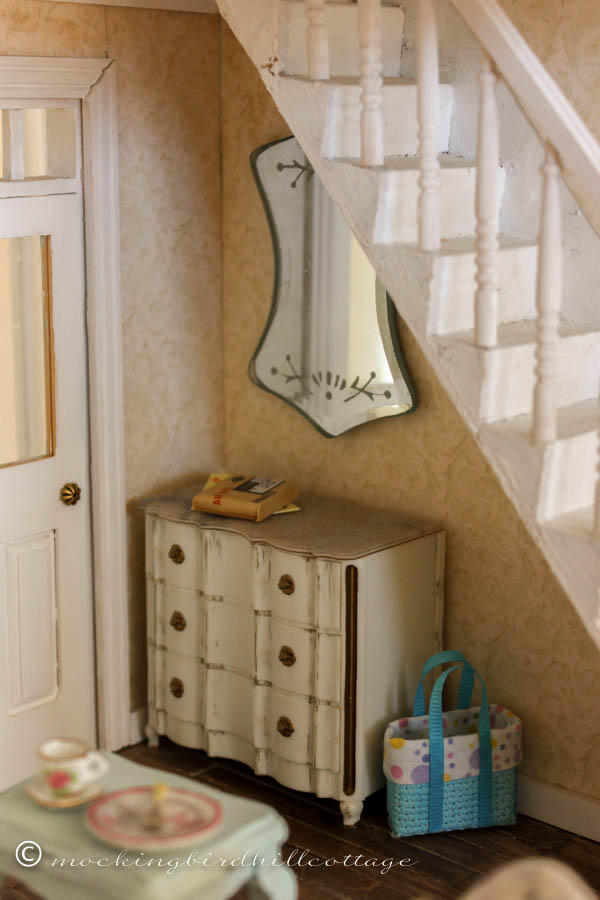
Chest: from the Ideal Petite Princess Line which was made in the sixties. I have two of these – one I found in a local shop, one was found on eBay; Package and mail: a gift from Barbara; Mirror: a gift from Linda; Tote bag: a handmade gift from Jill.
WWW DH LR4

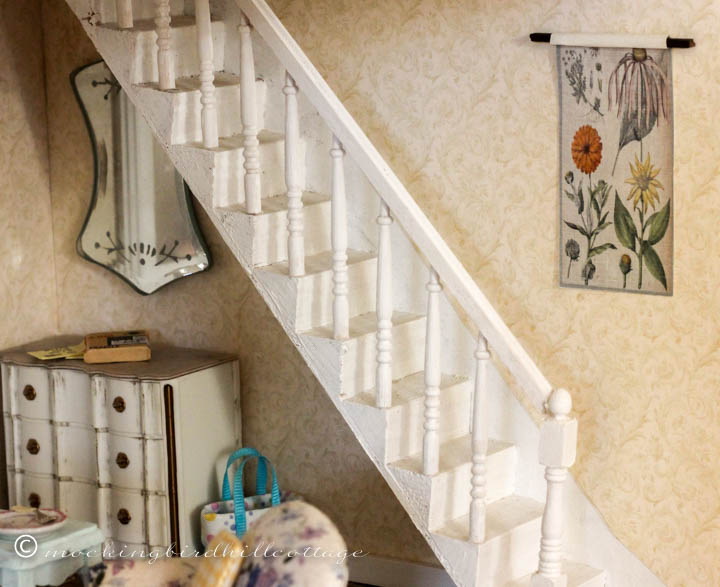
Botanical Chart: from Etsy shop of L. Delaney.

Sources

Hobby Builders Supply/miniatures.com
Itsy Bitsy Mini
Flora Dollhouse (an Etsy shop)
A LavenderDilly (an Etsy shop)
Dollhouses and More
Chautauqua Miniatures
LDelaney (an Etsy shop)

I hope this helps those of you who are working on your very own dollhouses. Of course, I already have plans to add some things, so the list will change over time. But the basic information will stay the same.

Stealing a little: It takes a village to make a dollhouse come to life. That’s for sure.

More tomorrow.

Happy Sunday.

ClaudiaSignature140X93

Tagged With: dollhouse, miniaturesFiled Under: dollhouse, gifts, miniatures 33 Comments

Evolution of the Dollhouse – Part Six

June 19, 2014 at 9:08 am by Claudia

I’ve been so busy with the garden and Spring and working on the road that I have neglected my little series. I believe I owe you one more segment, right? Since I plan to visit Chautauqua Miniatures on Monday, let’s get back into a dollhouse kind of mood.

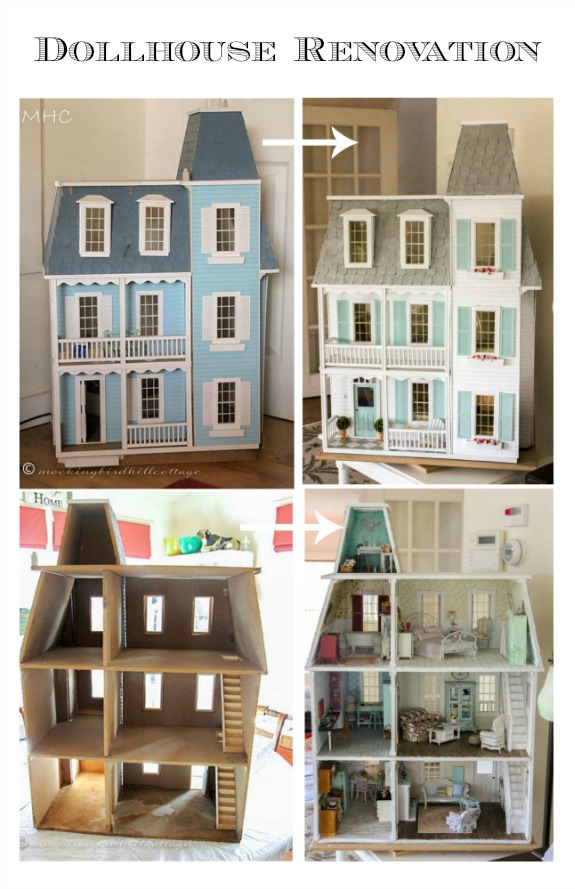
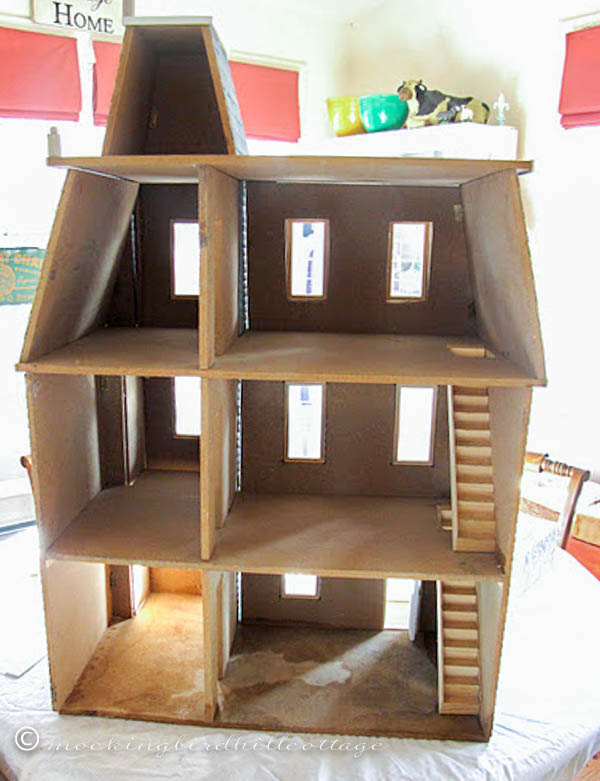
dhevolutiongraphicAll through the renovation, there was one room that I totally ignored. You can see it at the very top of the house on the left. On occasion, I would stop and wonder what the heck I was going to do with it, but the main house was my priority. So I thought of it as a potential attic and figured I’d artfully stash some minis up there and call it a day.
weddollhouse3

Have I ever told you how creative my husband is? One day we were looking at the dollhouse and I was going on and on about my ideas for it and I mentioned my lack of inspiration for that space. My husband knows what a devoted gardener I am, so, to him, having it be some sort of potting shed or greenhouse made sense and he told me so.

Brilliant. (It had never occurred to me.)

Well, that got me going and I suddenly found myself excited about the possibilities for that room and for the roof itself (the roof will eventually be Part Seven of the Renovation Series.)

pottingshedsaturday

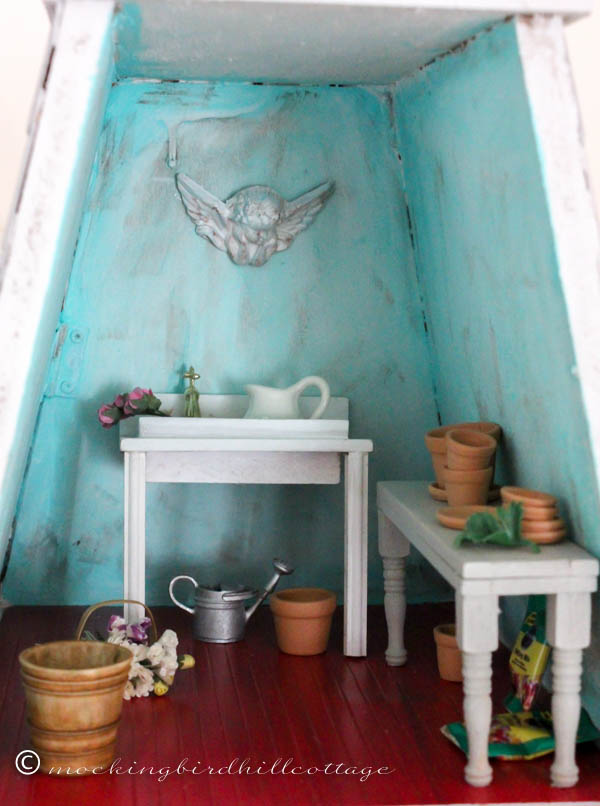
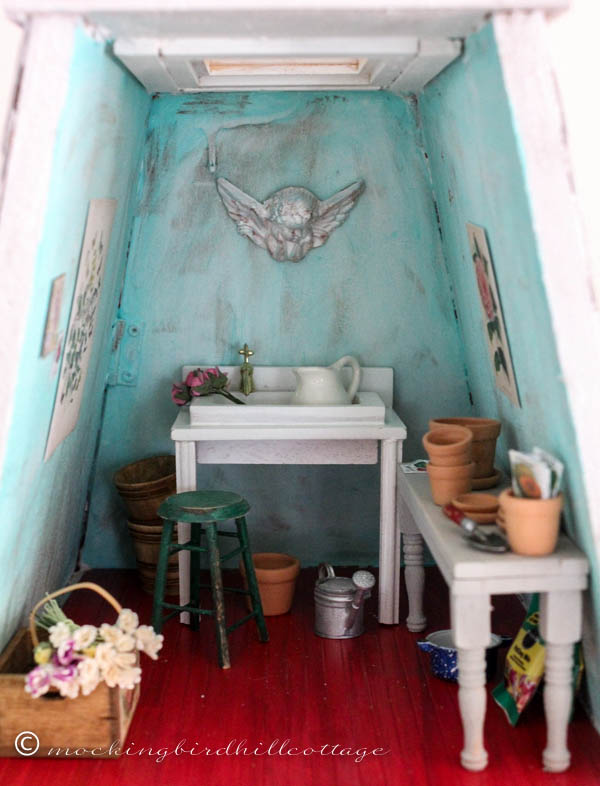
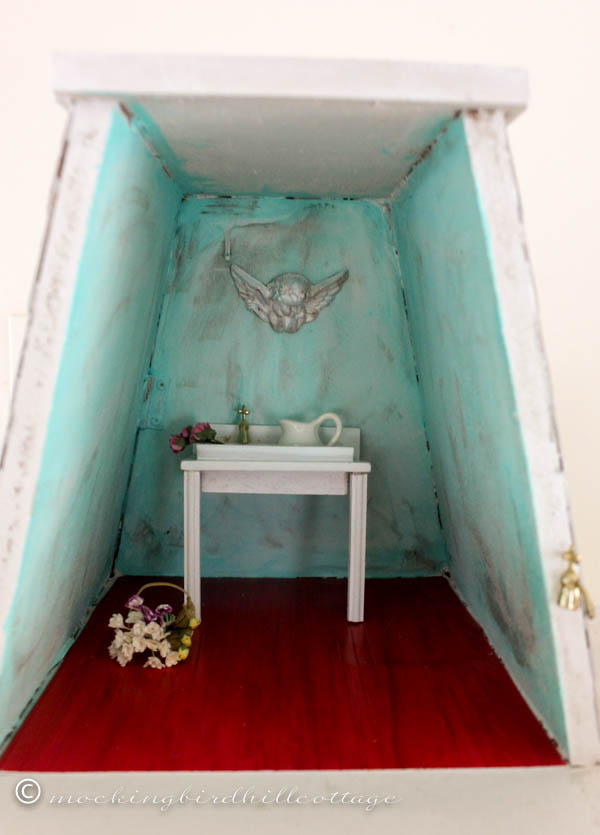
One day, I just went for it. I grabbed some aqua colored paint and painted the walls. Since the texture of the walls was already uneven, I went with that and rubbed some of the paint off, adding some antiquing gel to age them further. I wanted the room to look shabbily aged, like an attic room that has been repurposed for very little money.

At this point, I wasn’t in the mood to lay a wood floor made out of popsicle sticks, so I grabbed some leftover beadboard, cut it to fit the floor space, and painted it red. It was a time saving move, but it ended up being one of my favorite things about this room.

I had a bathroom vanity that someone had given me, but I wasn’t going to use it because it was out of scale – it was too tall. But you have to think outside the box and I realized I could definitely use the sink. So I took it apart and made some legs from trim that I had on hand, put it together and, what do you know? It worked!

The cherub on the wall came from my stash of all sorts of stuff that I keep in the cupboard in the studio. I thought it would be the perfect architectural artifact for the room. I had the big white pitcher and the flowers and basket in my stash.

dhpottingroom3

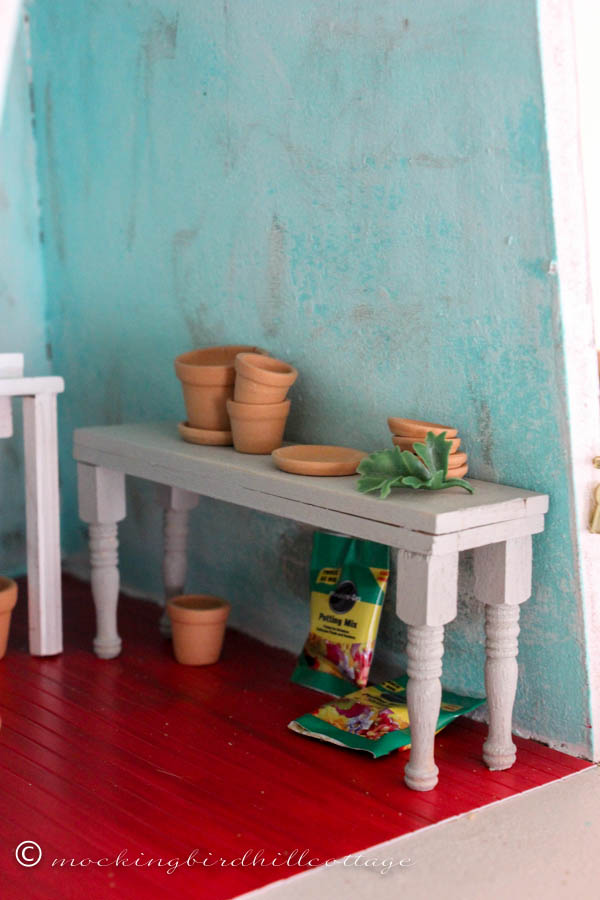
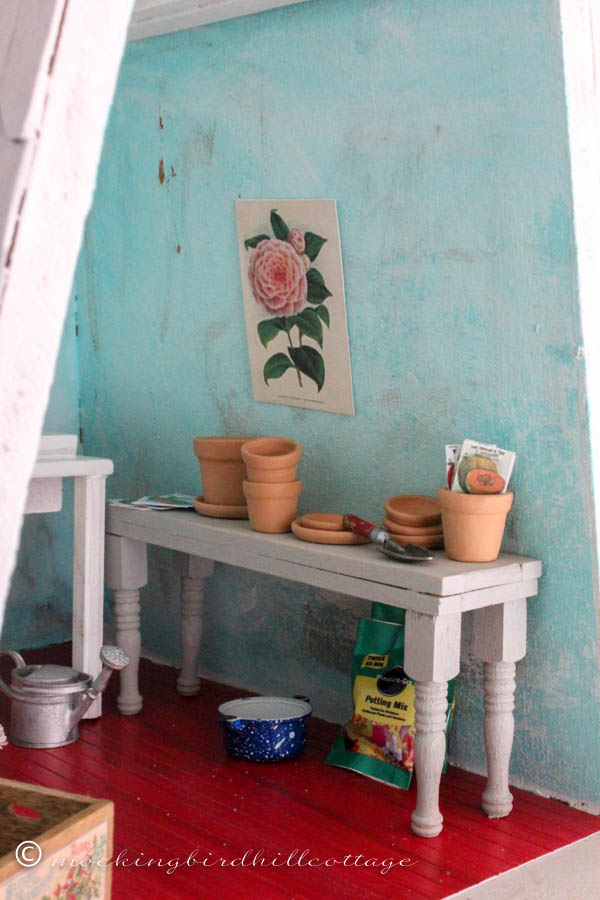
Next on the agenda was some sort of potting bench. I made this from some shutters in my stash. The legs were made from some newel posts that I had on hand and I cut them down to work with the table top. I ordered the pots and the potting soil from miniatures.com.

dhpottingroom1

The watering can and large pot on the left also came from miniatures.com.

So far so good, but not quite there yet.

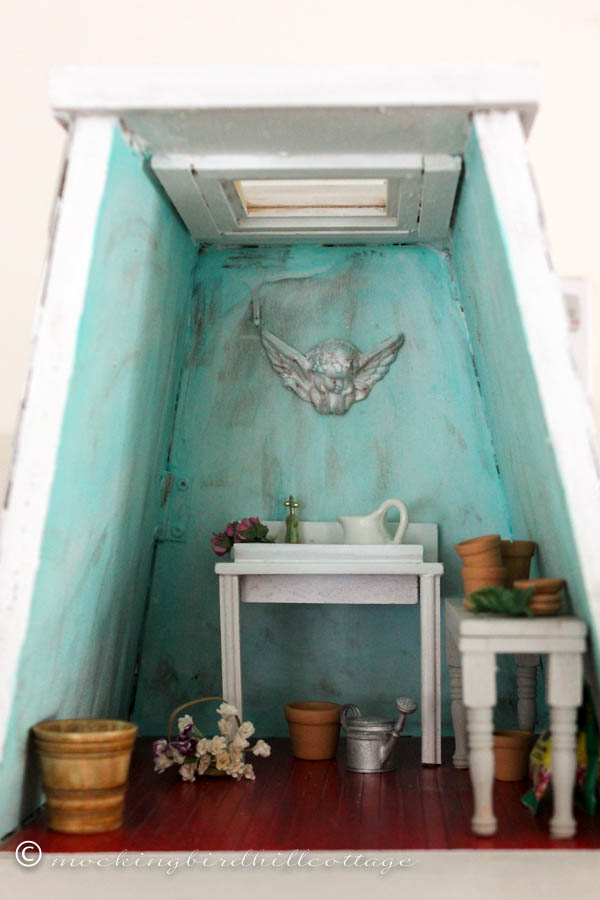
There was one idea that kept percolating in my brain. I measured the space and ordered the necessary element. It arrived. But I was a little hesitant and I didn’t do anything until I was in one of those What the heck? kind of moods and then I went for it. Out came my keyhole saw. I traced the opening. I drilled a starter hole. And then I sawed. And sawed.

It worked.

dhskylight

Behold, my skylight! I love, love it. And it’s one of the tweaks I made to the dollhouse that I am proudest of. After all, the owner needs some natural light in her potting space, don’t you think?

I keep adding things here and there:

mondhcamelliapotting

The internet is an amazing source for dollhouse printables. That’s where I found the seed packets and the botanical poster on the wall.

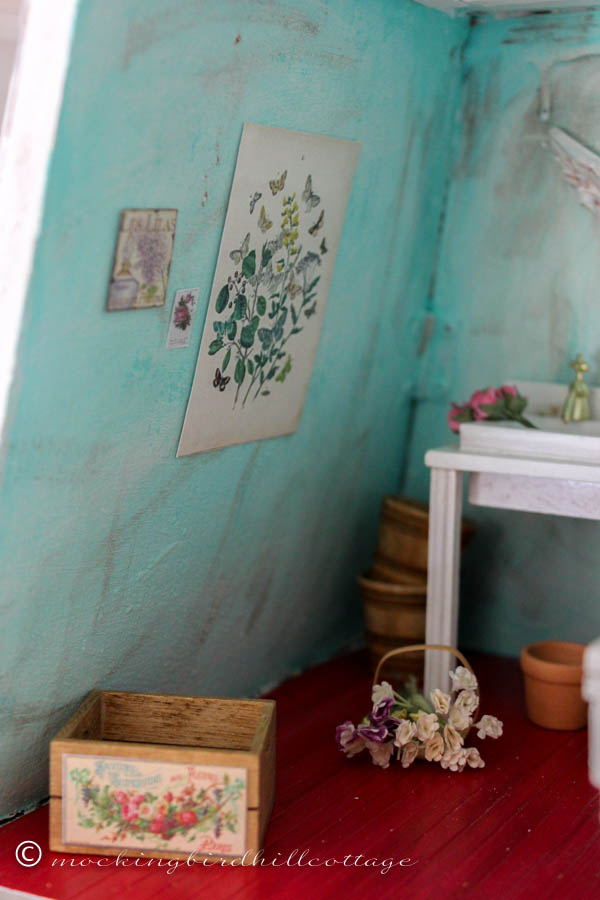
mondhbotanicalpotting

And these. I love the butterflies. I got that crate from Weston Miniatures (on Etsy.) It inspired the crates I made for the Miniature Swap. (By the way the minis from that swap have arrived, but I have to wait until I get home to open the box!)

sundhcorner1

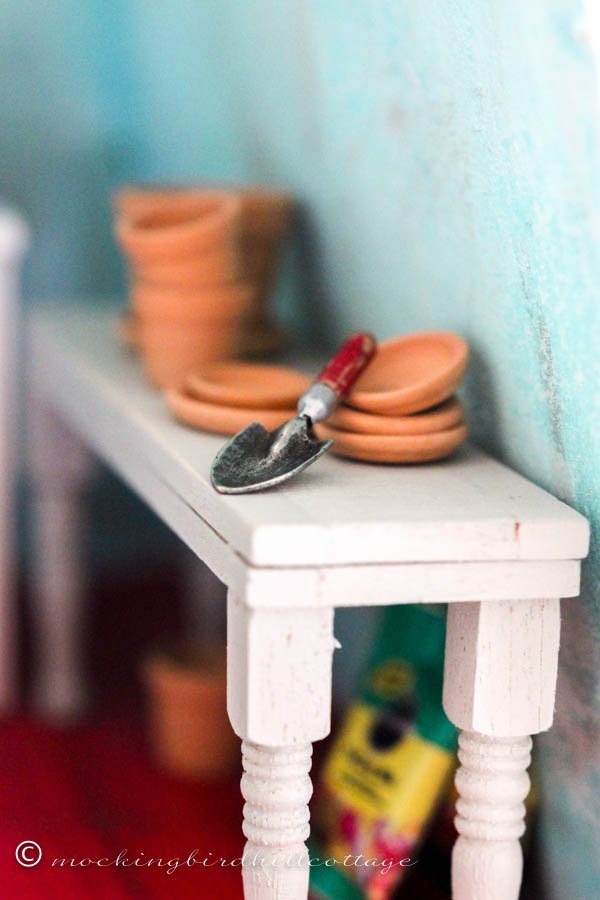
The trowel also came from Weston Miniatures.

fridaypottingshed

The latest addition is the green stool, which I ordered from miniatures.com and painted and aged. (That hinge, by the way, was added by the dollhouse’s original owners. I’ve managed to cover most of them up. I’m plotting what to do to hide this one. To Be Determined.)

Next up, when I have the time and the funds, will be the rooftop garden. Oh, do I have plans for that space!

The winner of a copy of Moving Day is Linda from A La Carte! Congratulations, Linda!

Happy Thursday.

ClaudiaSignature140X93


Tagged With: dollhouseFiled Under: DIY, dollhouse 29 Comments

Evolution of the Dollhouse – Part 5

May 29, 2014 at 9:30 am by Claudia

dhevolutiongraphicIt’s no secret that I’m jealous of the owner of the dollhouse. She has several things that I – let’s just say it – covet. A fireplace, an AGA oven, a wrought iron bed, a potting room/shed and….an office/studio in its own enclosed space. Yes, I have a studio/craft area here at MHC but it’s in the upstairs hallway. So, charming as it is, I can’t go in there and close the door. You see? Envy.

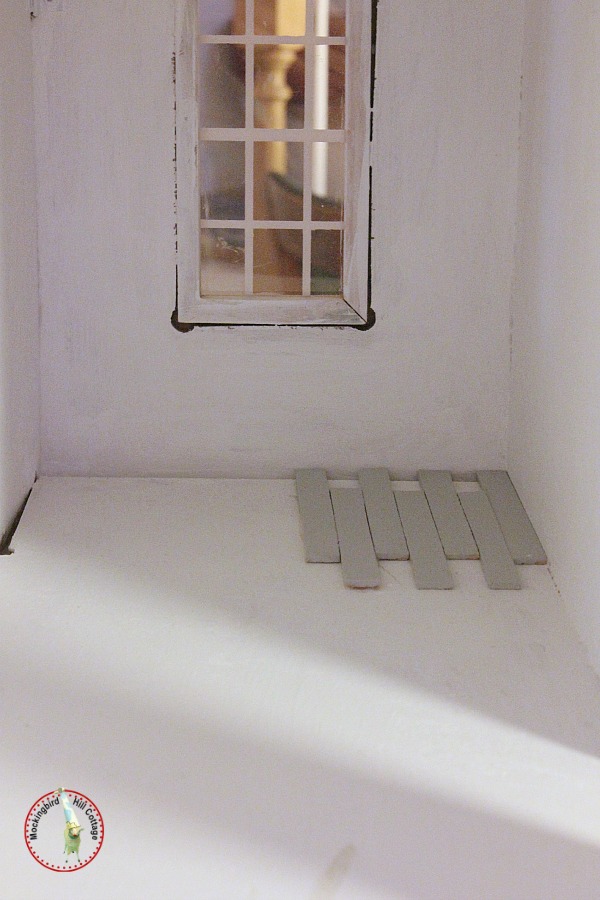
I decided early on that the room on the left on the second floor would be an office/studio. I knew that much. But getting to it took a long time. I didn’t have a specific look in mind, so I wasn’t sure where to start. I decided to start with the floor.

frilayout4

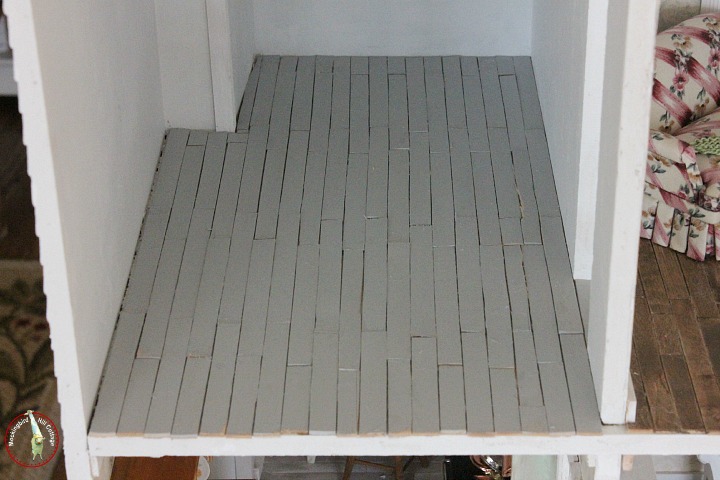
I wanted a painted floor so I went with gray. The idea is that the house is old and a fixer-upper, so sometimes the owner paints the floors, like in the kitchen and bedroom, rather than have them redone.

frilayout3

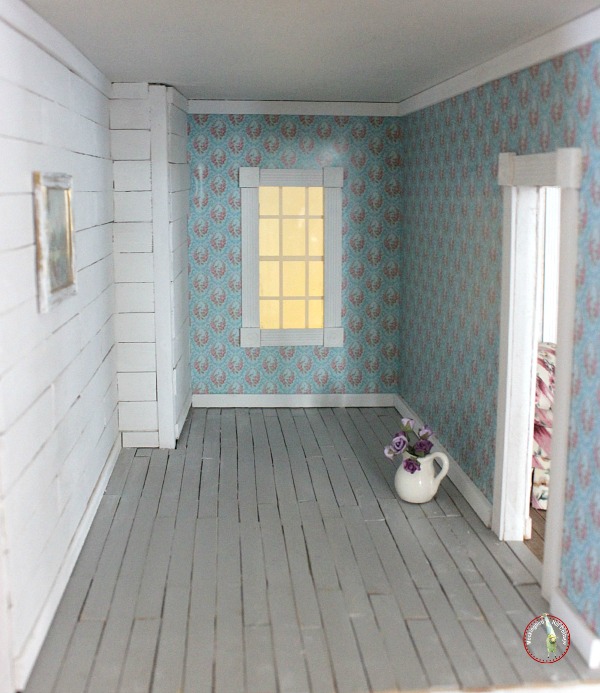
There are several irregularities in this room. You can see that the corner is a bit wonky. That made for some fiddling with the sticks that make up the floor – cutting and shaping them so they would work.

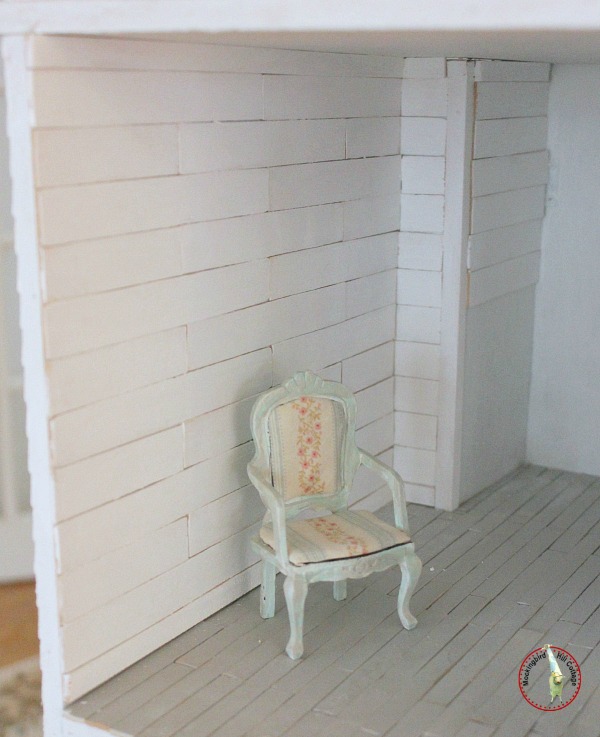
Still uninspired, the room stayed in this condition for a while, until one day I had an idea. I thought about it for several days before I went for it. I wanted one of the walls to be a planked wall. I see them all over blogland and I love that look. Using craft sticks, this time the ones that are the size of a tongue depressor, I went for it.

dhplankwalls1

And there is the finished product. Adding this really made a difference. Though I flirted with the idea of doing all the walls that way, I decided to stay with one planked wall. So it was time to pick some wallpaper.

tueswallpaper3

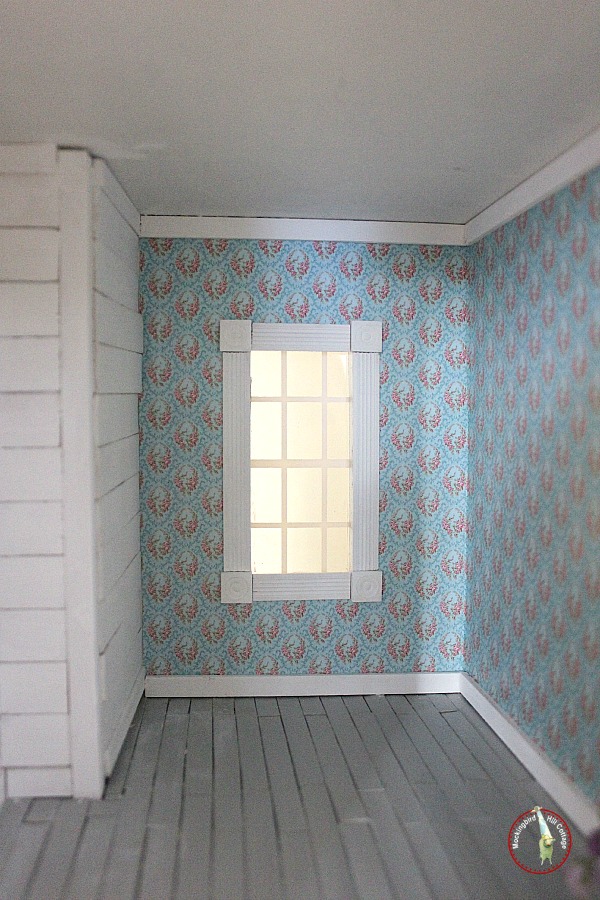
I found this French-inspired design on Itsy Bitsy Mini. It would have been too busy for an entire room, especially one without wainscoting, but thanks to the planked wall, it works.

tueswallpaperwholeroom

Then I added the window and door trim, baseboard and molding.

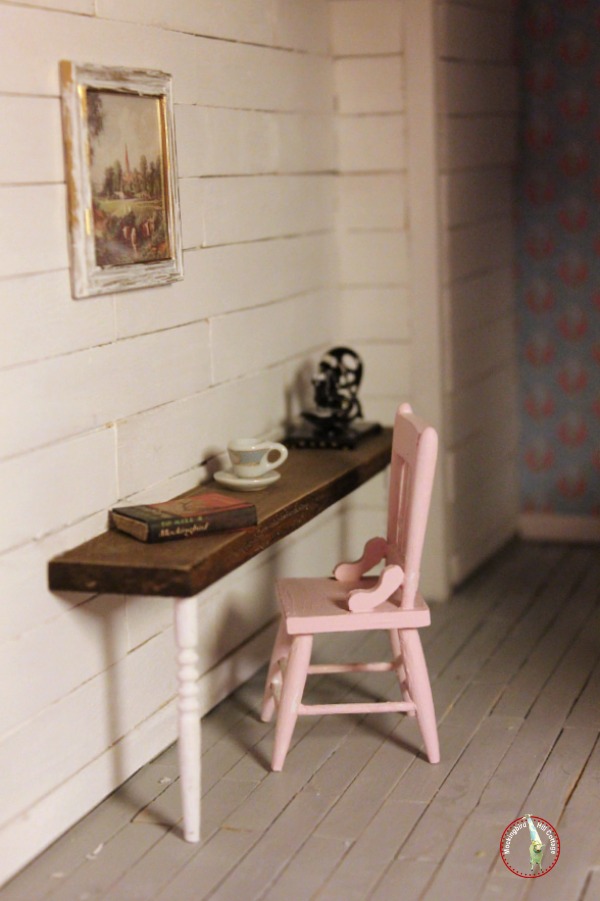
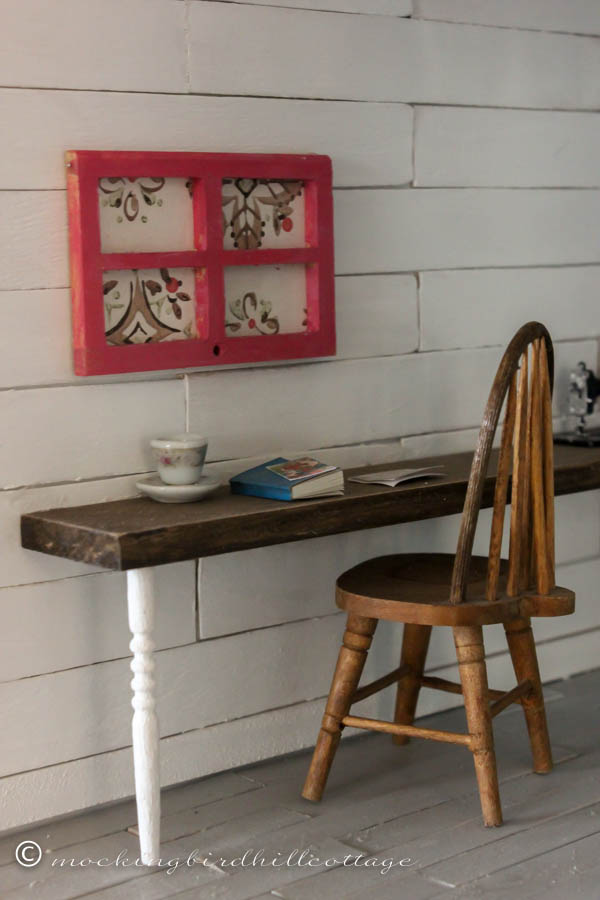
What next? Another little idea I’d had noodling around in my head: a work surface that would extend the length of the planked wall. I measured and cut a thick piece of wood I found in a hobby shop, stained it, and this is what I came up with:

desk1

I used leftover spindles for the legs. My concept was that of a long desk that could be used for office work and sewing.

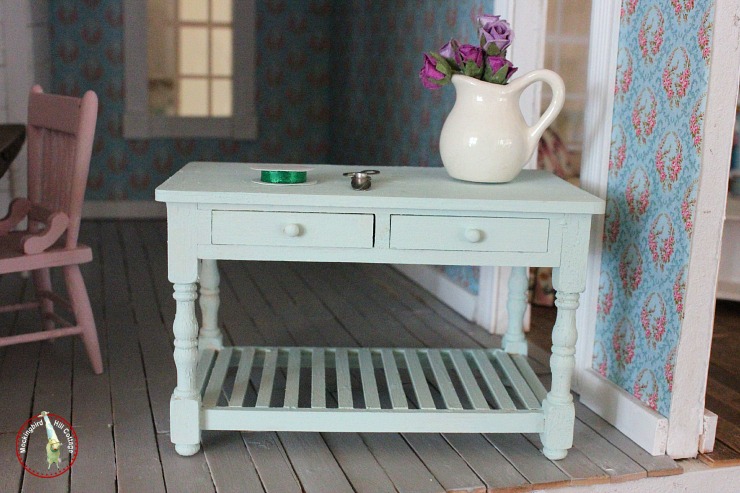
After that, the rest of the room took shape rather quickly. I bought an unfinished work table and painted it.

worktable

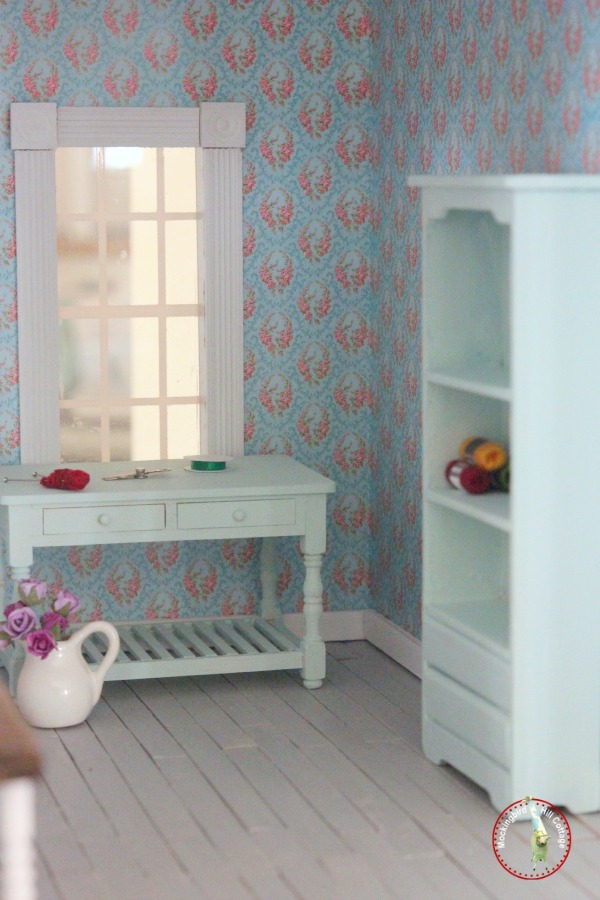
And then I found a bookshelf that was in my stash and painted it to match the worktable.

worktablebookshelf

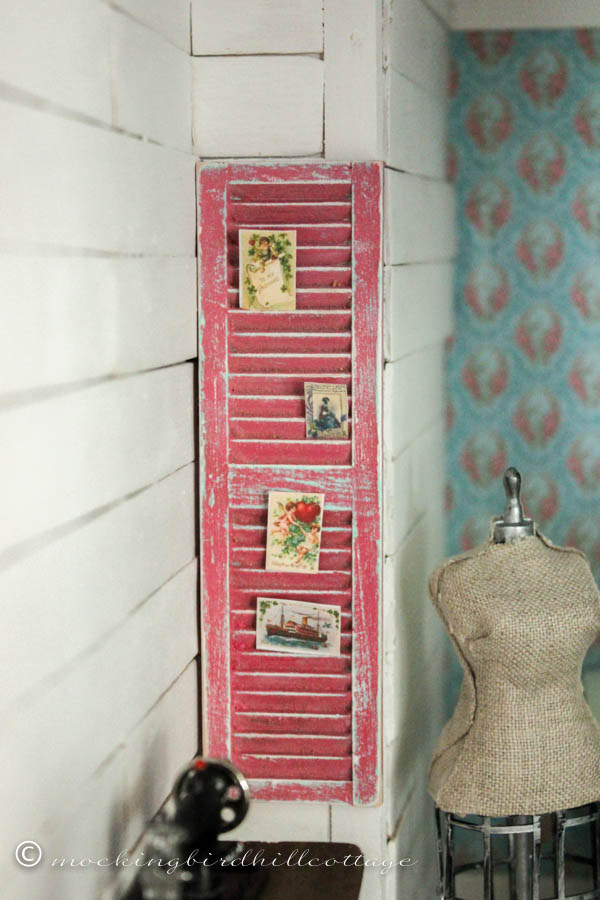
Then it was time to add some fun details – all from my stash. I love the deep pink/rose color of the flowers in the wallpaper, so I played around with my paints until I came up with something close to that shade. I grabbed one of the many shutters I have in my stash. This one had already been painted aqua (from the early days when I was experimenting with colors for the shutters on the outside of the house,) so I painted it in the new shade, sanded it to reveal some of the blue and hung it on the wall.

mondhshutter

It can be used to hold postcards and notes and mementos. (Don thinks we should do something like this in MHC. I’m inclined to agree with him.)

Since I had the paint already mixed, I grabbed the other ‘window’ that I had on hand from an earlier project. It, too, got a coat of paint and was backed by some vintage wallpaper Elyse had given me.

mondhpinboard

Voilà! A pinboard for the owner, handily positioned above the desk.

And, of course, one of my favorite additions:

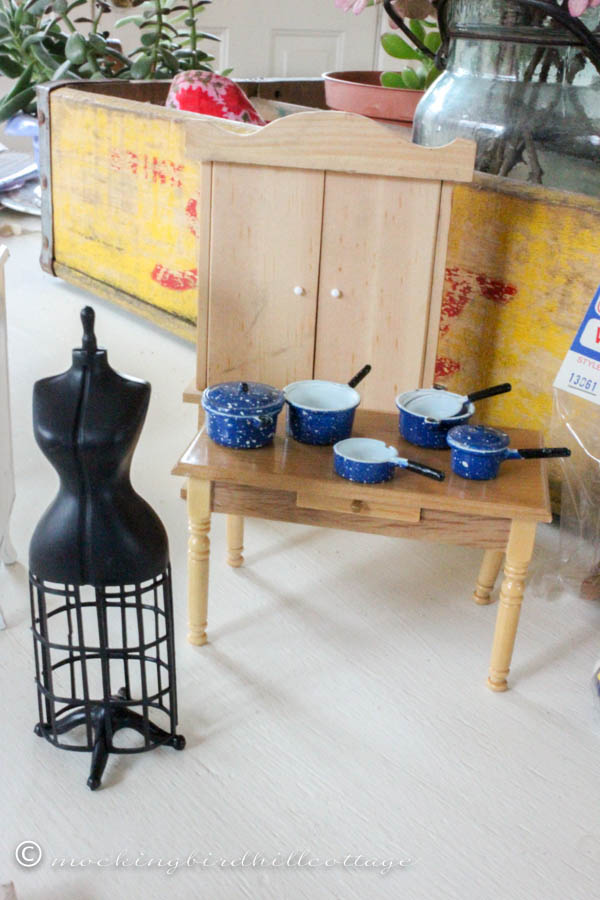
mondhdressformunfinished

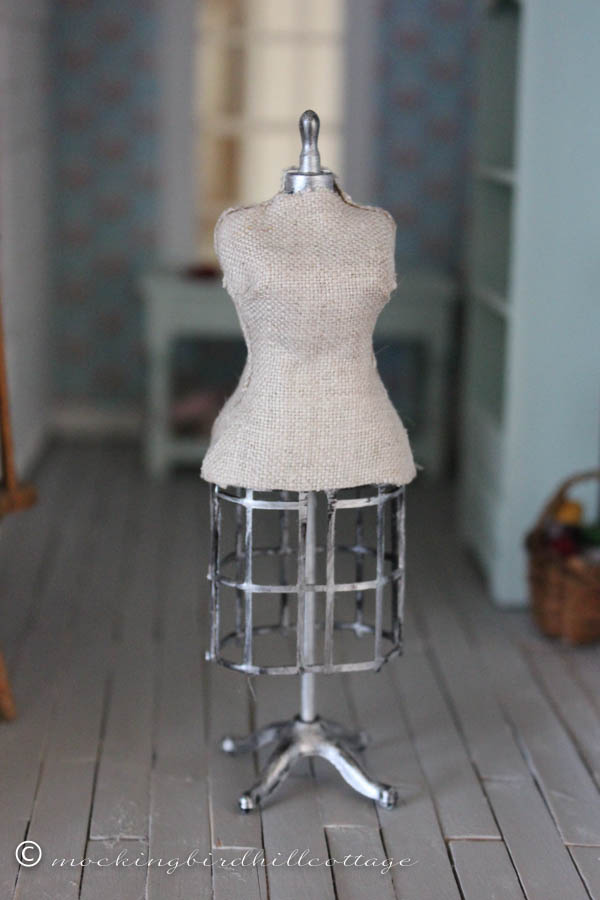
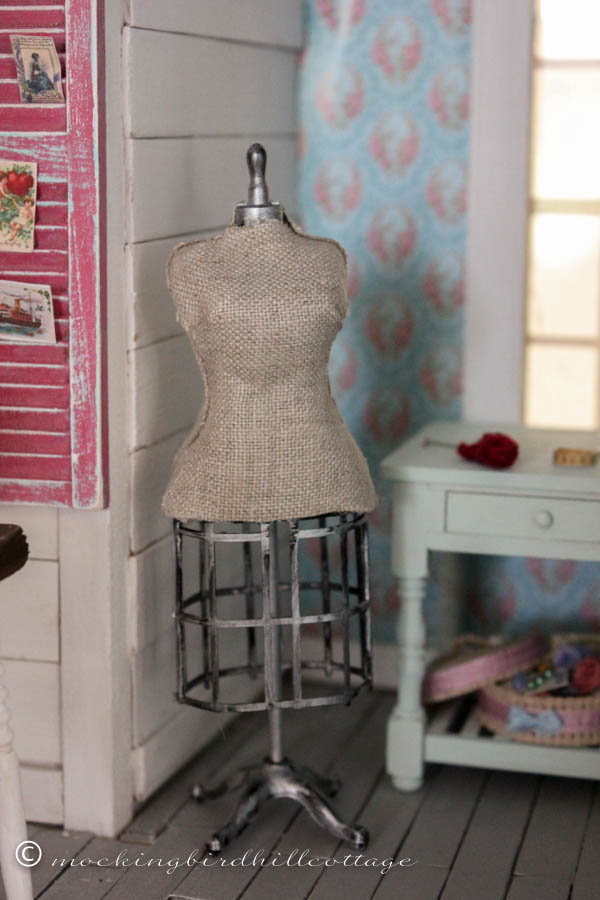
That black plastic dress form that I fashioned into this:

mondhdressform

Speaking of fiddly work, this definitely falls in that category! But it was worth it. I painted the ‘metal’ part of the dress form with Rub n’ Buff in silver, made a spindle out of the wooden part of a Q-tip, and used some linen fabric that I had in my stash to cover the body.

mondhdressforminplace

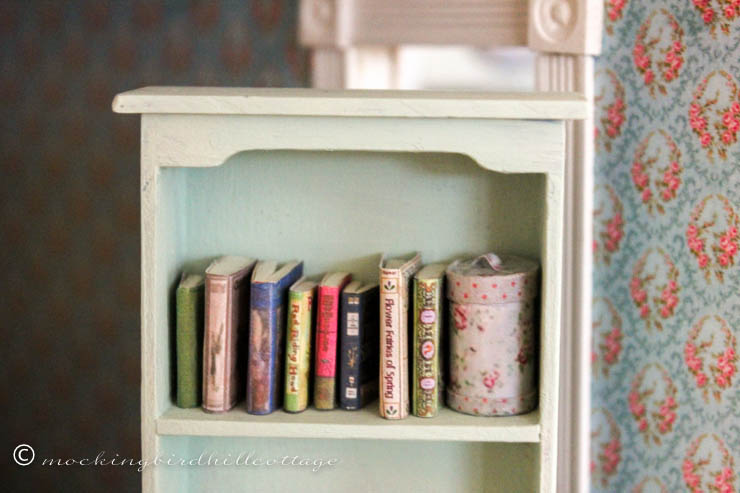
I’ve also been making miniature books:

dhbooks

I have a lot more to go!

dollhouse-acupoftea

I made a MacBook Pro laptop (like the one I use to write this blog) from a printable I found online. Added a teacup and saucer and some paperwork. And, of course, the coat hook/rack that I made for the Mini Swap that I’m a part of.

dollhousestudio

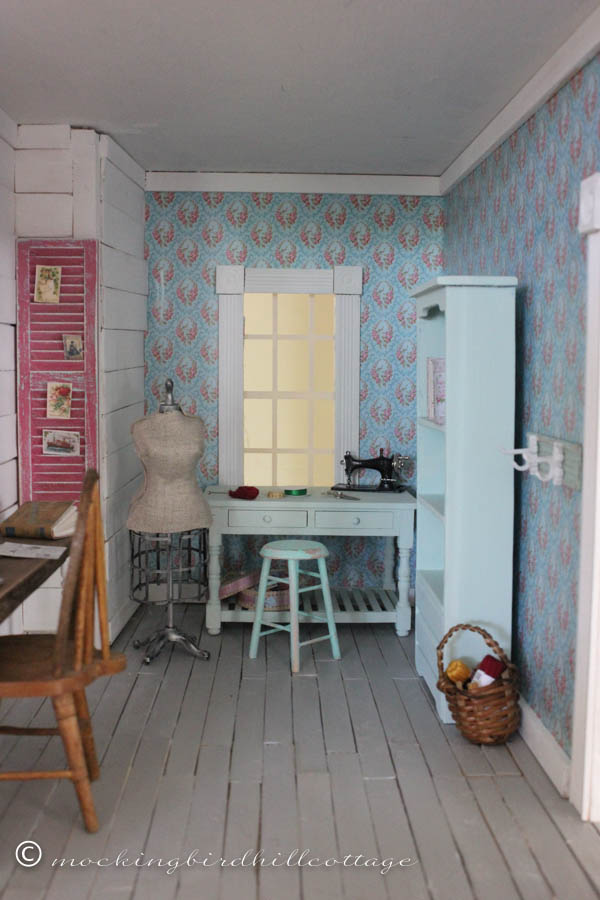
And here you go! This is pretty much the current state of the room. Oh! I forgot the work stool that is a very recent addition. I got it unfinished from miniatures.com and painted/sanded it to make it look nicely aged.

Still have to get a rug. And some lights. And some bolts of fabric. And make more books. And….and….

You get the picture. It’s always a work in progress.

Part 6 will concentrate on the Potting Room/Shed.

Happy Thursday.

ClaudiaSignature140X93

Tagged With: decorating, dollhouseFiled Under: decorating, DIY, dollhouse 50 Comments

  • « Previous Page
  • 1
  • 2
  • 3
  • 4
  • Next Page »
  • Email
  • Instagram

Welcome!

Welcome!

I live in a little cottage in the country with my husband. It's a sweet place, sheltered by old trees and surrounded by gardens. The inside is full of the things we love. I love to write, I love my camera, I love creating, I love gardening. My decorating style is eclectic; full of vintage and a bit of whimsy.

I've worked in the theater for more years than I can count. I'm currently a voice, speech, dialect and text coach freelancing on Broadway, off Broadway, and in regional theater.

Thanks for stopping by.

Searching?

The Dogs

The Dogs

Scout & Riley. Riley left us in 2012. Scout left us in February 2016. Dearest babies. Dearest friends.

Winston - Our first dog. We miss you, sweetheart.

Lambs Like to Party

Lambs Like to Party

A Note

Thanks for visiting! Feel free to browse, read and enjoy. All content is my own; including photos and text. Please do not use anything on this site without permission.

Disclosure/Privacy Policy can be found in the Navigation Bar under ‘About MHC.’

Also, I love receiving comments! I do, however, reserve the right to delete any comment that is in poor taste, offensive or is verging on spam. It’s my blog. If you’re a bot or a troll you’ll be blocked. Thanks!

Archives

All Content © 2008 - 2025 Mockingbird Hill Cottage · Log in

This website uses cookies to improve your experience. We'll assume you're ok with this, but you can opt-out if you wish.Accept Reject
Privacy & Cookies Policy

Privacy Overview

This website uses cookies to improve your experience while you navigate through the website. Out of these, the cookies that are categorized as necessary are stored on your browser as they are essential for the working of basic functionalities of the website. We also use third-party cookies that help us analyze and understand how you use this website. These cookies will be stored in your browser only with your consent. You also have the option to opt-out of these cookies. But opting out of some of these cookies may affect your browsing experience.
Necessary
Always Enabled
Necessary cookies are absolutely essential for the website to function properly. This category only includes cookies that ensures basic functionalities and security features of the website. These cookies do not store any personal information.
Non-necessary
Any cookies that may not be particularly necessary for the website to function and is used specifically to collect user personal data via analytics, ads, other embedded contents are termed as non-necessary cookies. It is mandatory to procure user consent prior to running these cookies on your website.
SAVE & ACCEPT