Day three of rain and dark skies, with not even a wee bit of sunshine. Both Don and I find it depressing. But, it’s a gentle rain, rather than what hit the Bay area yesterday. I need to do some reading about it, but it was very intense with lots of damage, that’s for sure. Take care of yourselves.
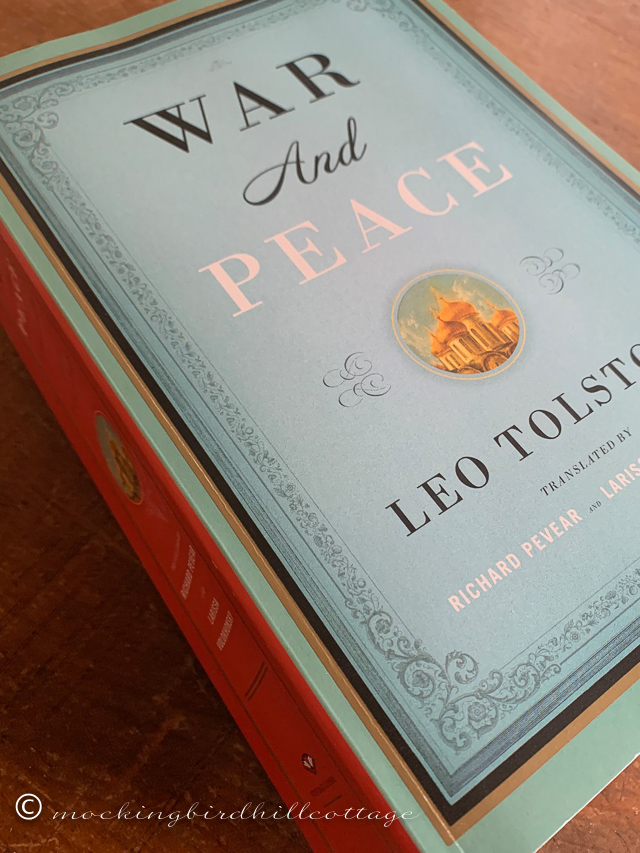
This arrived in yesterday’s mail. Oh boy! So far, I’ve been keeping up with reading a chapter a day. I may have to play catch-up when I’m dealing with long, long days in the city. It’s too bulky to carry with me on the commute. That, a script, and another book? Nope. So far, the chapters are on the short side.
I walked down to the mailbox to get it, brought it inside and took it out of its packing. Then I walked over to Don to show him the size of the book. I had previously had a conversation with him about the readalong, explaining that I would be reading a chapter a day. Much to my surprise, Don saw the book and said “I should do this, too.” What??? Don is a nonfiction guy. So I was surprised and happy. I think the ‘chapter a day’ idea makes the thought of reading the book so much less formidable. So, he ordered his own copy. I’m looking forward to future discussions.
Other than that, nothing else is new. It’s too dreary outside to take walks. We’ve been watching the GOP members of the house and their complete disarray – a clown show. The next two years will be full of ‘investigations’ and performative ‘look at me!’ faux outrage. Legislation to help Americans? Don’t think so. There certainly wasn’t any positive legislation during their previous reign. It’s depressing. But, it’s like watching a car wreck – you can’t take your eyes off of it.
When having power for the sake of power is the only thing that matters to you, perhaps running for office as a public servant isn’t your best option.
Sigh.
I’m definitely too old for all of this.
Stay safe.
Happy Thursday.

