Mockingbird Hill Cottage

Mockingbird Hill Cottage

  • About MHC
    • Disclosure
  • Dollhouses/Minis
    • Hummingbird Cottage
    • The Studio (Formerly TSP)
    • Dove Cottage
    • The Lake House
    • The Folk Art Dollhouse
    • The Modern Dollhouse
    • The Beacon Hill Dollhouse
    • Dollhouse Source List, Information and Tutorials
  • On the Road
  • Collecting
    • Roseville Pottery
    • McCoy Pottery
    • Egg Cups
    • Bakelite
  • Press
  • Privacy Policy
You are here: Home / Archives for dollhouse

Let’s Take A Walk

May 14, 2014 at 8:36 am by Claudia

Let’s take a little walk around the property and see what’s growing and blooming in this late-to-get-going Spring.

wwildhoneysuckle

The wild honeysuckle that grows all over this property is blooming, much to the delight of the bee population.

wbigshotofhydrangea

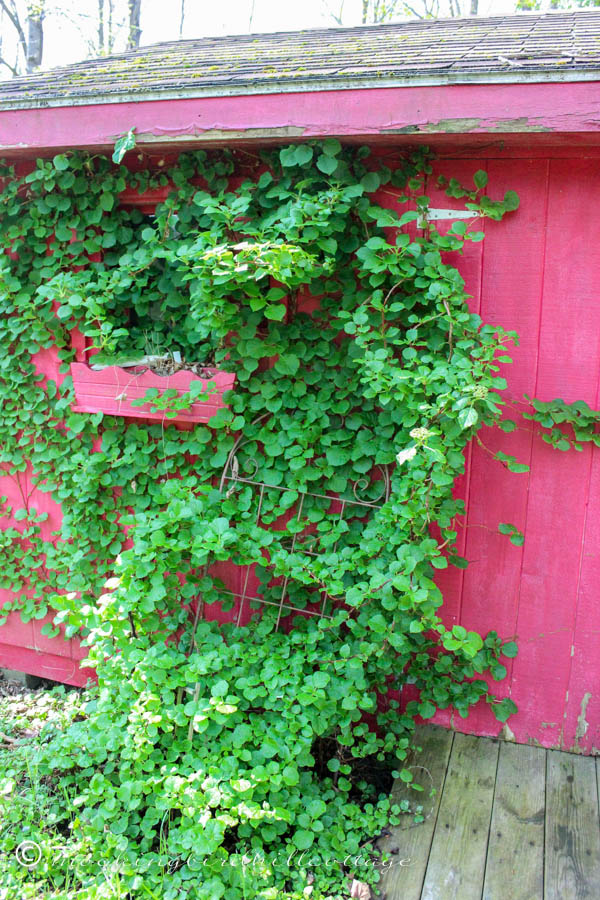
The climbing hydrangea that I planted about 6 years ago is taking over the shed. It’s supposed to start blooming after 4 or 5 years but nary a bloom has been sighted.

wclimbinghydrangea

Until now. I couldn’t believe my eyes. In fact, I had just finished a sentence that included the words, “I guess this will never bloom,” when I saw these. Only two, but who cares? A small victory.

wlilacs

The lilacs have bloomed. I walk over to that side of the driveway several times a day and inhale. What a glorious scent.

wfield

Our woods open up to this big field, which is owned by my fellow blogger Breida and her husband. I walk through our woods daily and always take a moment to stand and gaze out at this vista.

wwoodpile

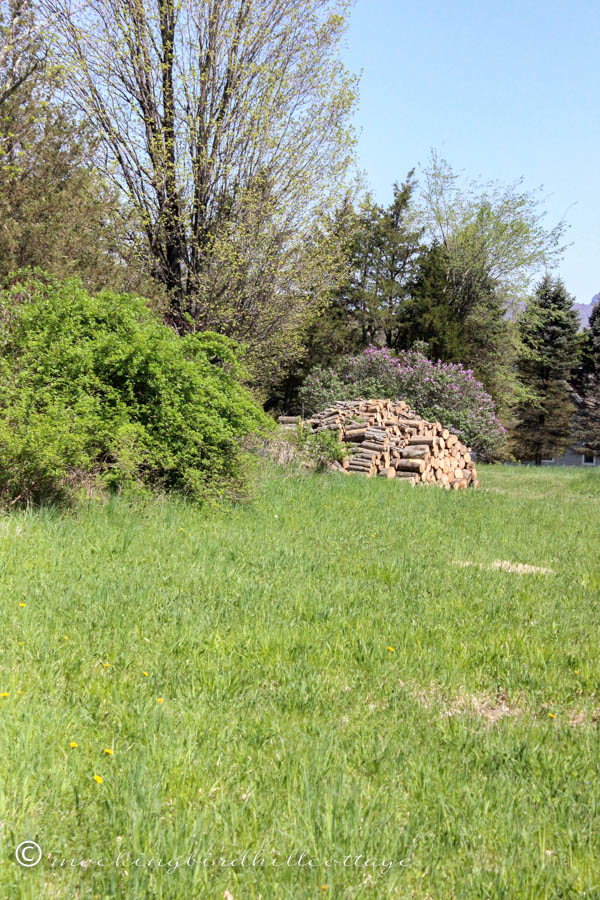
To the left is the back of our neighbor’s property. He’s been busy stacking enough wood to last him through the apocalypse. Check out his beautiful lilac bush.

wwhiteflowerstree

This tree is on the edge of my other neighbor’s property, which also abuts Breida’s field. Isn’t it pretty?

wquince

The flowering quince is still blooming.

wtulips3

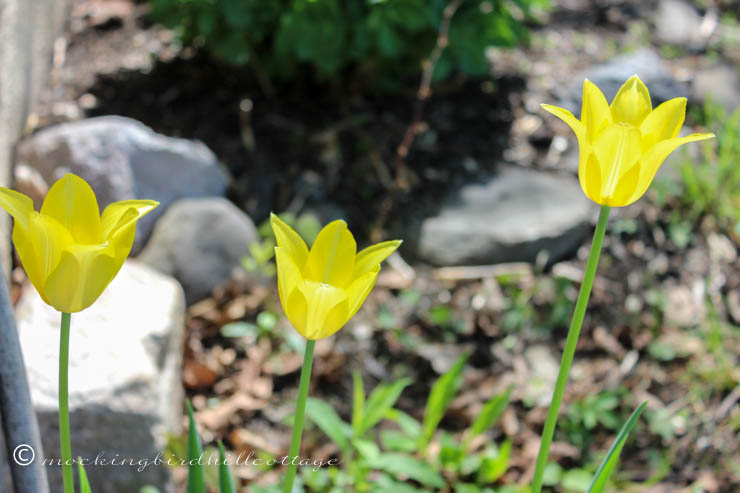
My delicate yellow tulips are open. These were planted long before we moved here, as were the daffodils and a couple of the hostas and sedum.

wedbiggardenbed

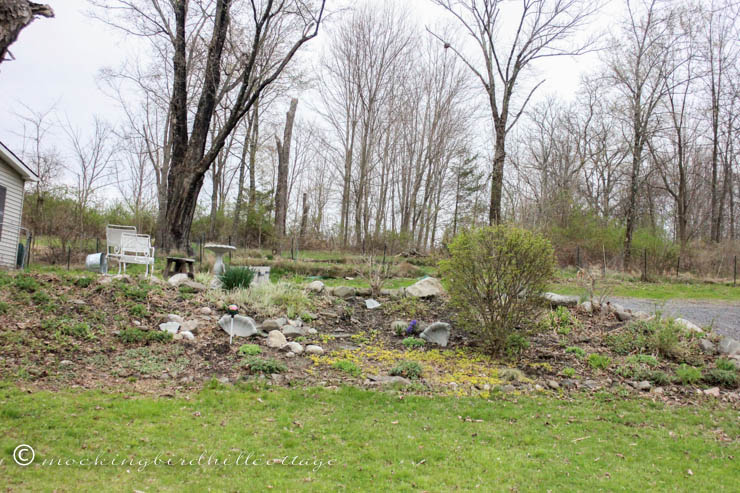
The big garden bed on April 30th.

Wgardenview

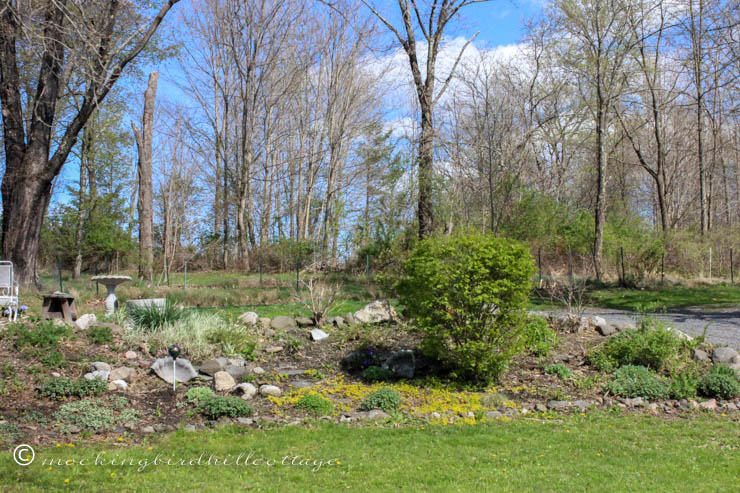
On May 7th.

wbiggardenbed3

And on May 13th. As you can see, the trees have really filled in, there’s green everywhere, and the perennials are much bigger.

I planted lots of morning glory seeds the other day, as well as zinnias. I haven’t filled my barrels or my galvanized planter with flowers yet – my budget is very, very tight – and I haven’t bought any hanging plants for the porch. Those things will have to wait a bit. Waaah! I want them now!

whihoparking

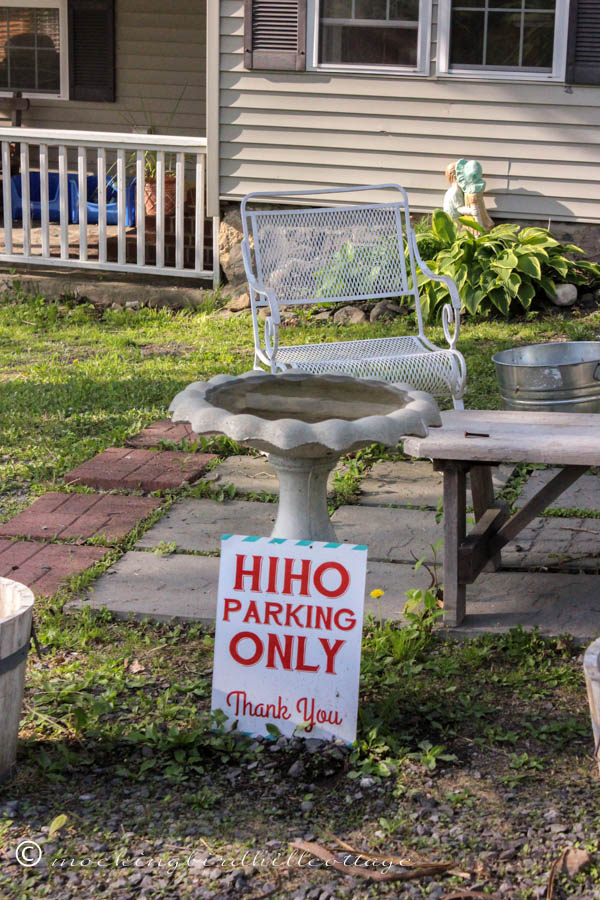
When my friend Heidi’s shop (which was called Hi Ho Home Market) closed, she gave me one of her signs, which we have placed in front of the birdbath – right where we park our car. Sort of perfect for the funky patio area, don’t you think? We love signs and if they can be used with a sense of humor, all the better.

wtowelsdh

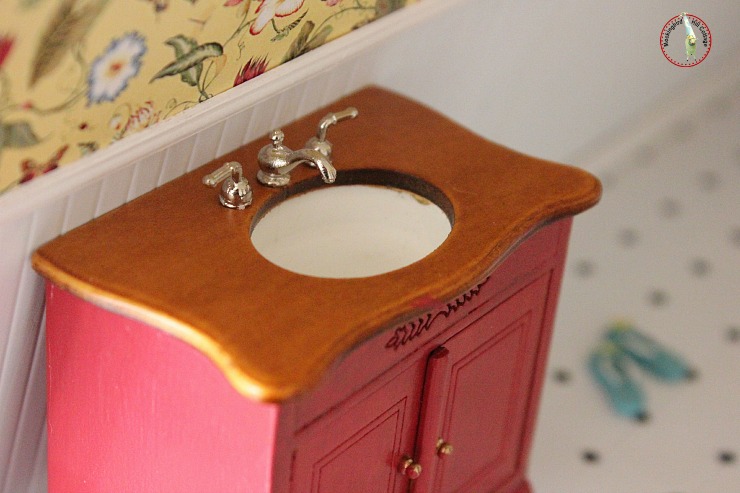
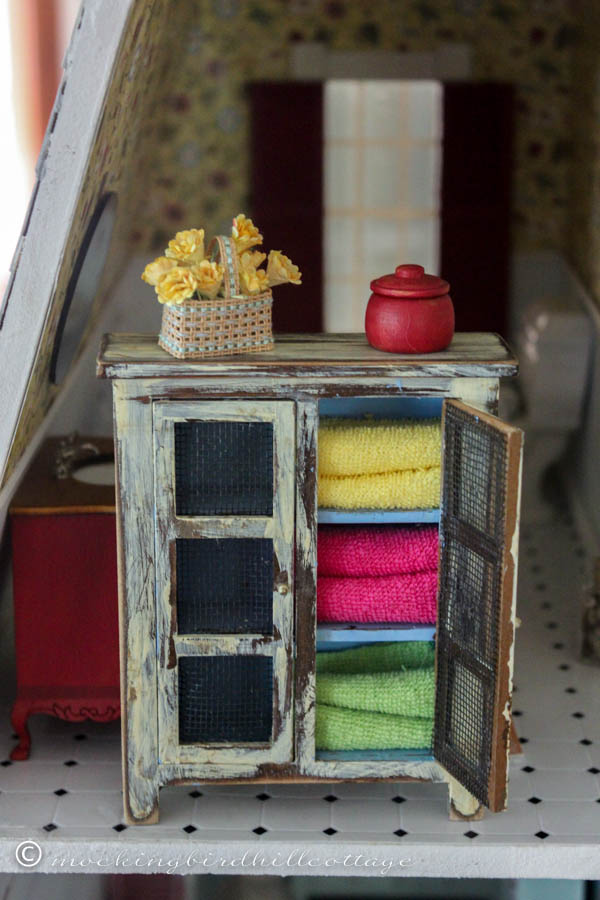
I made some towels for the dollhouse bathroom by using baby washcloths, a tip I picked up somewhere on the Internet. I think they look neat but they’re too bulky at the moment. I’m going to trim them down a bit.

Today I have to mail off all the items I made for the swap. I spent most of yesterday morning wrapping each item and figuring out how to pack everything so that nothing is damaged. Can’t wait to see what everyone else has created!

Happy Wednesday.

ClaudiaSignature140X93


Filed Under: dollhouse, flowers, garden, spring, trees 41 Comments

Crafting Minis for a Swap. Yes, I Did!

May 9, 2014 at 7:28 am by Claudia

I’ve been awake since 4:45 am. I’m not real happy about that. Lack of sleep, the inability to concentrate or remember things, a short temper, spontaneous tears; all are, I’m sure, part of the grieving process. Don has to fill in the blanks for me when I say something like, “You know….that series with Kevin Spacey….the one we like…. you know…”

“House of Cards?”

Frustrated. “Yes. Why can’t I remember that?”

And so it goes.

But, hey, it’s 6:34 am and I’m already writing my post for the day while Scout snoozes in the ‘Tunnel.’ That can’t be all bad.

Let’s talk about what I did yesterday for seven hours straight, in my painting clothes, hair unwashed. Because once I get going on something I am like a dog with a bone, I push myself beyond the point at which I should stop.

The talented Amy Powers, who blogs at Inspire Co., created Club Little House (for all of us who love miniatures) several years ago and occasionally, she conducts a swap. The last one I can remember was when I was first getting into my dollhouse and I didn’t feel remotely qualified to take part. I still don’t.

But when Debby told me that Amy had a new swap going on, I bit the bullet and signed up. Now, I am really not a miniaturist. I tweak, I play, I build a few things, but I’m very much a beginner. In this swap, we are to come up with some miniature that we can make 12 of. We send our creations to Amy and she puts everything together and soon we are opening a box with 12 different miniatures created by members of the swap. Sounds like fun, doesn’t it?

I racked my brain trying to come up with something. When I finally did, I had to order some supplies that took a while to get here because they were sent from England, though I somehow didn’t get that fact because this website has an American version as well, so I thought everything was being shipped here. I was a little panicked about whether my supplies would arrive in time. But they did. Everything arrived on Wednesday.

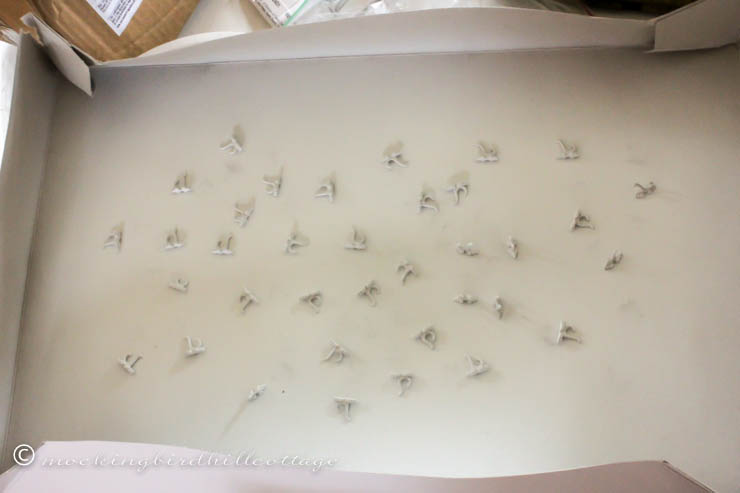
My first idea was to make a small hanging/coat/hook/rack. The mini hooks were brass, so the first thing I did was spray paint them white.

frihooks

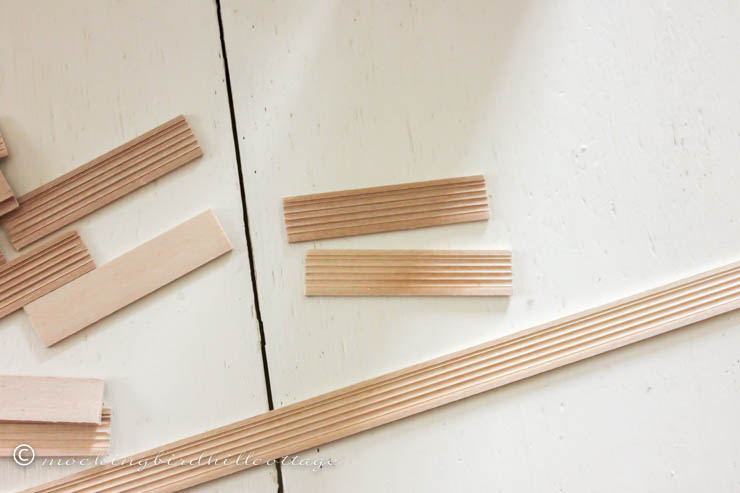
fripiecesofwood

Then I used some of the wood trim I had on hand and cut several pieces 2¼” long – since the scale is 1:12, that means that one mini inch equals one foot in the real world. So this would be 2¼’ long in reality.

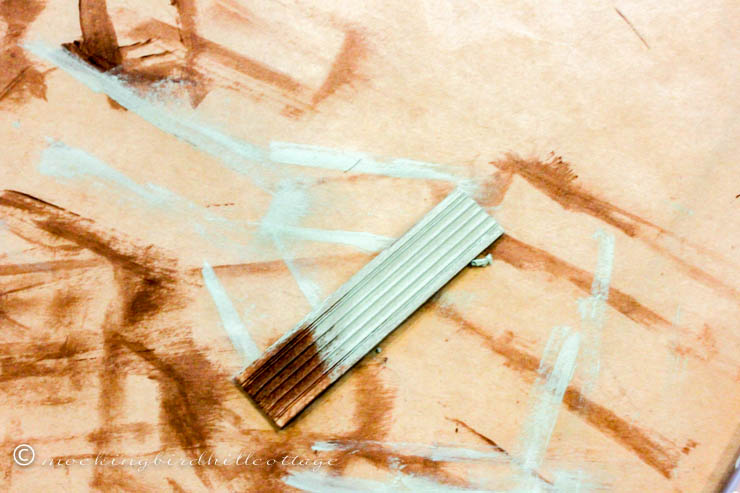
fripaintedwood

I stained and painted each piece of wood. Then I sanded the painted pieces down in order to give them a more rustic look.

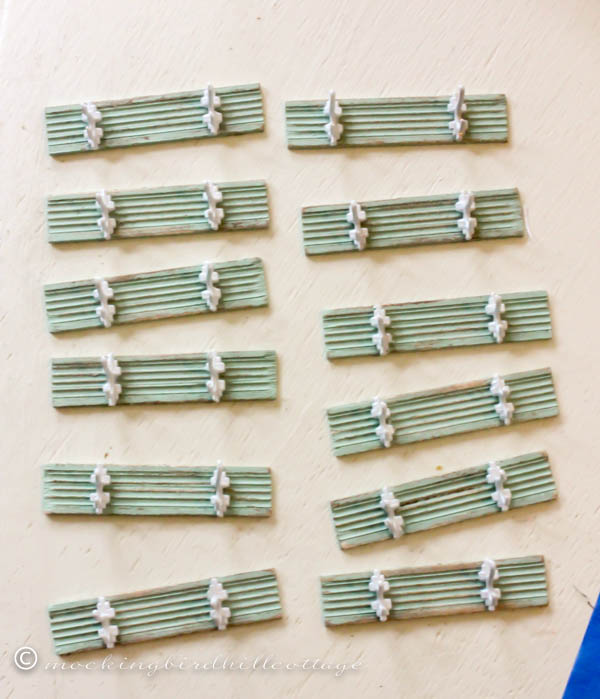
Then I glued the hooks on.

frif12hangers

Twelve hanging hook/coat/racks. (I never know what to call them.)

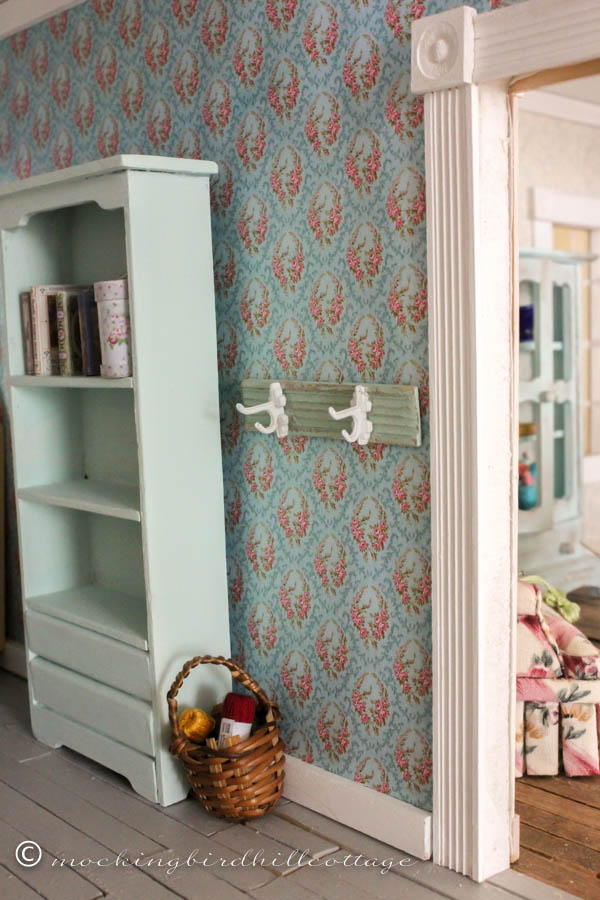
I made a prototype for myself and here is what it looks like in the dollhouse:

frihangersondhwall

I think I’ll make one to hang towels on in the bathroom.

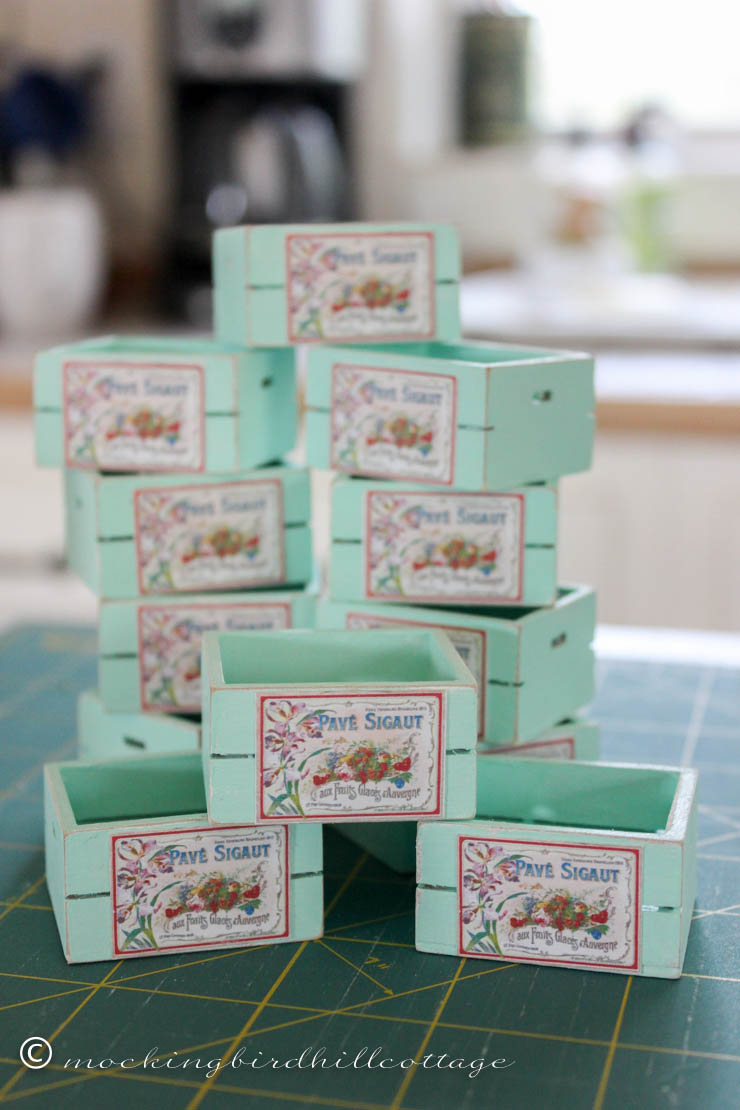
The other mini that I made was inspired by the wooden crate I bought from a seller on Etsy. He did such a nice job with it. The same miniature site that had the hooks in stock also had mini crates, so I ordered them as well. I searched the internet for free printable miniature images and finally settled on a label that I really liked. I finally figured out how to print several of the same image on one page (I know. It’s probably perfectly obvious to you. But not to me.) I cut out each of the labels with the aid of a metal ruler and an Exacto knife.

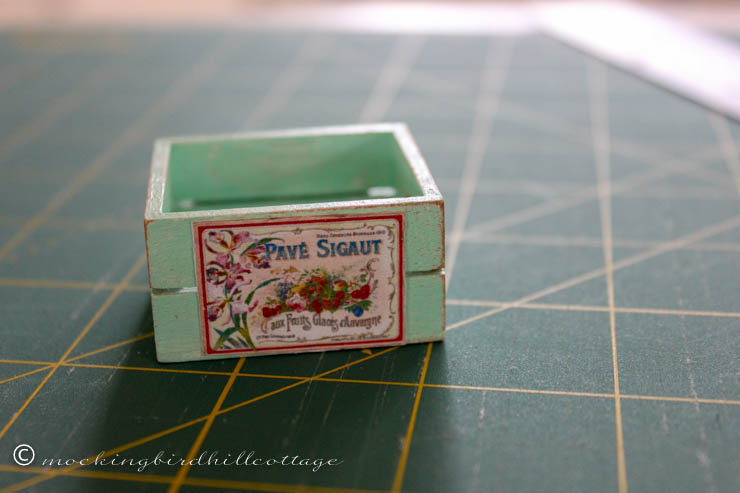
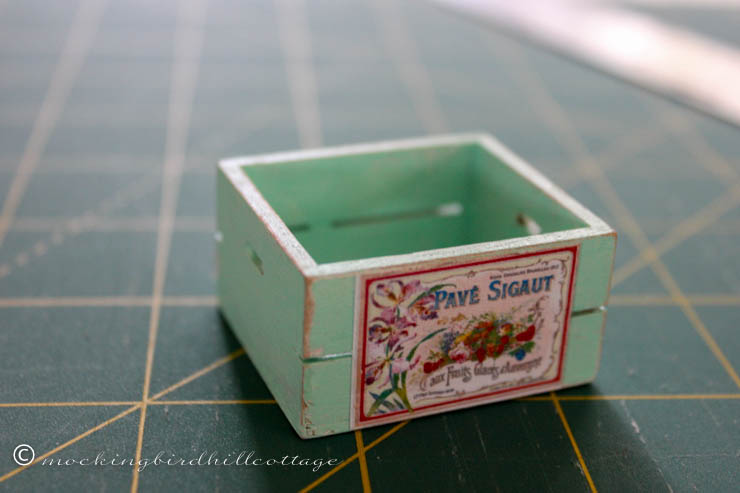
Here’s the prototype I made:

friprototypecrate

friprototypecrate2

Because French labels are pretty. They just are. There is a label on the front and the back.

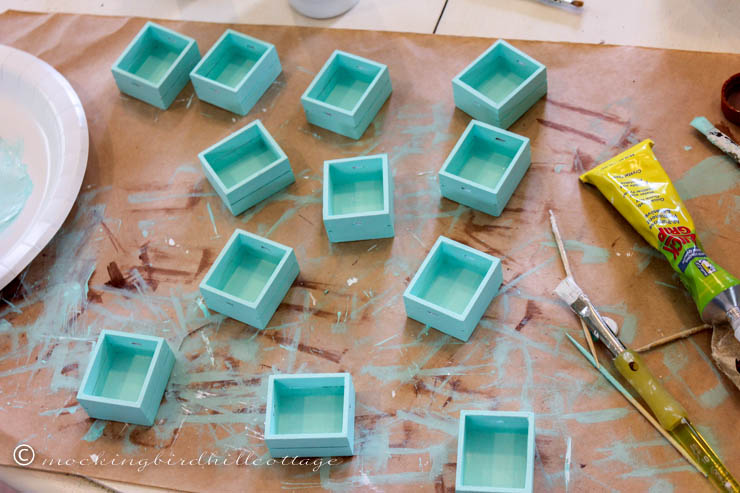
Each crate was first painted with a base coat of white.

frilotsofcrates

Then they were painted in aqua and the corners were sanded to age them a bit. Next, I glued the labels on to each crate.

And voilà!

frifinishedcrates

Nothing complex or intricate; nevertheless, it took me a long time to add each element, to paint, layer, sand and glue .

I’m pretty happy with these and I’ll wrap them up and send them off to Amy on Monday. Can’t wait to see what other swap participants have created!

Happy Friday.

ClaudiaSignature140X93


Filed Under: DIY, dollhouse, Fellow bloggers, miniatures 65 Comments

Evolution of the Dollhouse – Part 3

May 6, 2014 at 9:15 am by Claudia

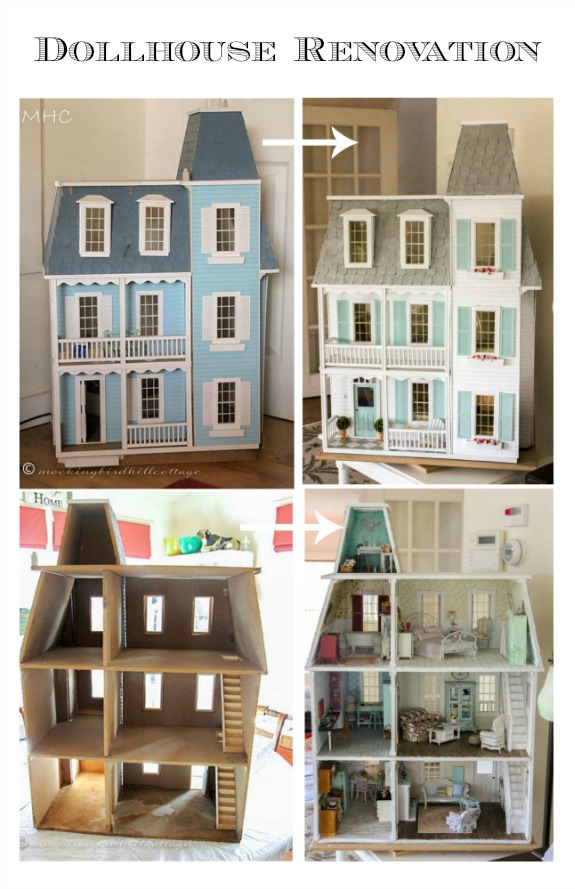
dhevolutiongraphicI’m finally adding a graphic for this series. Better late than never!

When last we met, I had added wood floors to the living room, den and kitchen. What did I do next?

dhrenovationbedroomfloor2

I added a floor to the bedroom. My back story for the bedroom was that it had been an unfinished attic before the homeowner started her renovation and had wide plank floors that were damaged. She wanted to keep those floors, so she painted them white to cover up any damaged floorboards. Unfortunately, I didn’t take a photo until I had added the wallpaper and part of the trim. (Boy, I cannot tell you what a difference a good camera makes – I’ve tried to improve these older, pre-current-camera photos, but there’s only so much a photo editing program can do!)

Anyway, I used wider craft sticks that were the size of a tongue depressor, cut off the rounded ends, painted each one individually and then glued them in place.

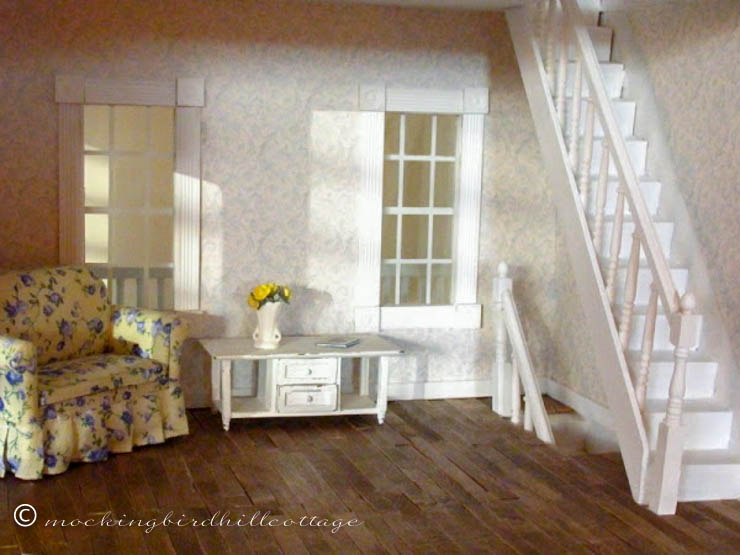
Next: I added wallpaper and some window trim. I was nervous about wallpapering; I’d never done it in my life-sized abodes, but it definitely seemed the thing to do in the dollhouse. I researched lots of dollhouse mini wallpaper manufacturers. A lot of it was very predictable – cutesy “country” images that were not my taste, designs that were too childlike. I wanted timeless sophistication.

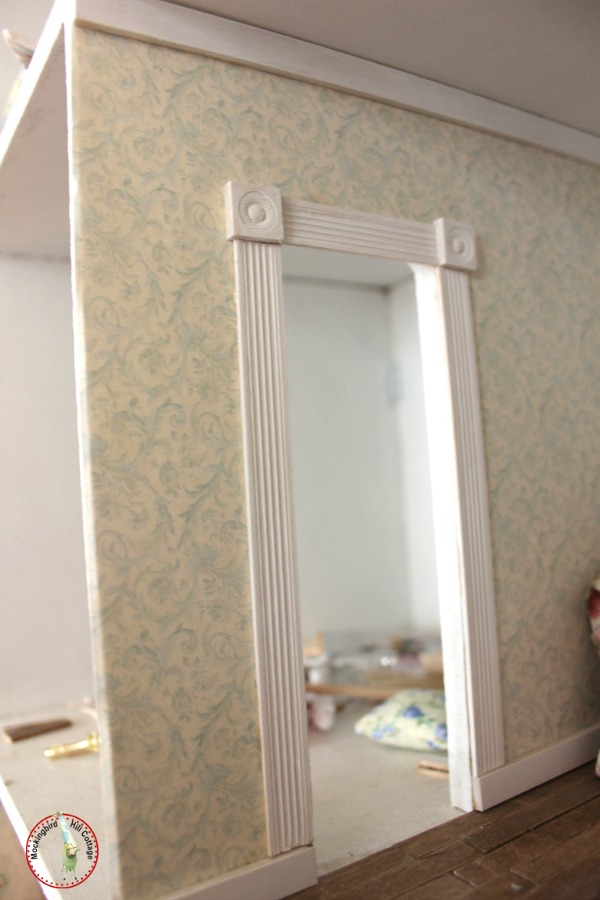
I found Itsy Bitsy Mini, a website that carries the most beautiful patterns. Eventually, I settled on 4 different wallpaper designs for the living room, den, bedroom and kitchen. You can order wallpaper paste/glue that is easy to use from any miniature site. The wallpaper comes in sheets. My method was to cut a template for each wall out of regular paper, label it, then trace the template onto the wallpaper. I did all of this very carefully. “Measure twice, cut once” goes for dollhouses, too. Some miniaturists choose to glue the wallpaper onto cardboard and then attach it onto the wall, but I just glued it directly onto the walls.

dhrenovationlrwallpaper

This was the pattern I chose for the living room. Confession: I loved it so much that I used the same pattern, in blue, for the den. For this wall, I measured the length and height of the wall, cut the sheet, and attached it to the wall. Then, I cut around the window and the door with an exacto knife. For me, that works much more easily than cutting the windows and doorways out before pasting. Less room for error.

I also bought trim and corner blocks for each of the windows. After wallpapering, I measured the trim, painted it, and finished out the windows.

dhrenovationdenwallpaper

Here’s that same wallpaper in blue in the den, with trim added to the windows.

dhrenovationkitchenwallpaper

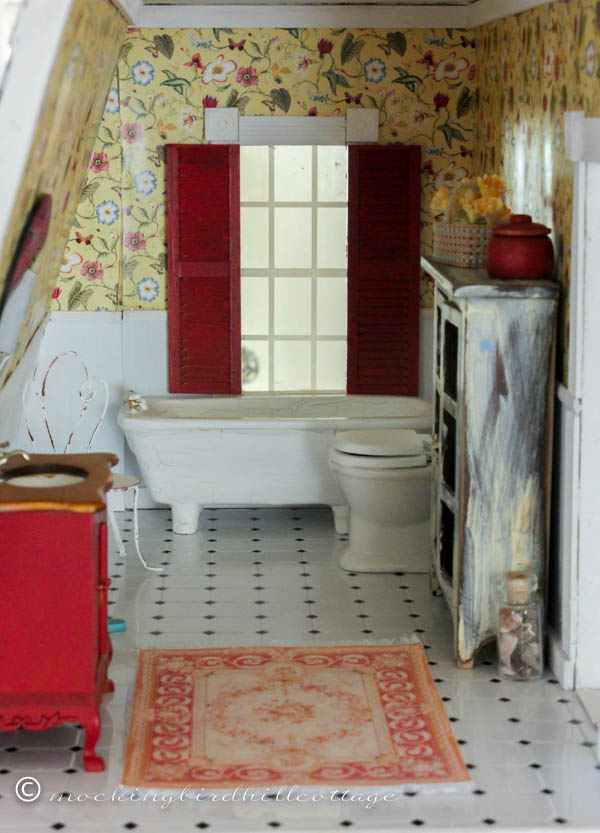
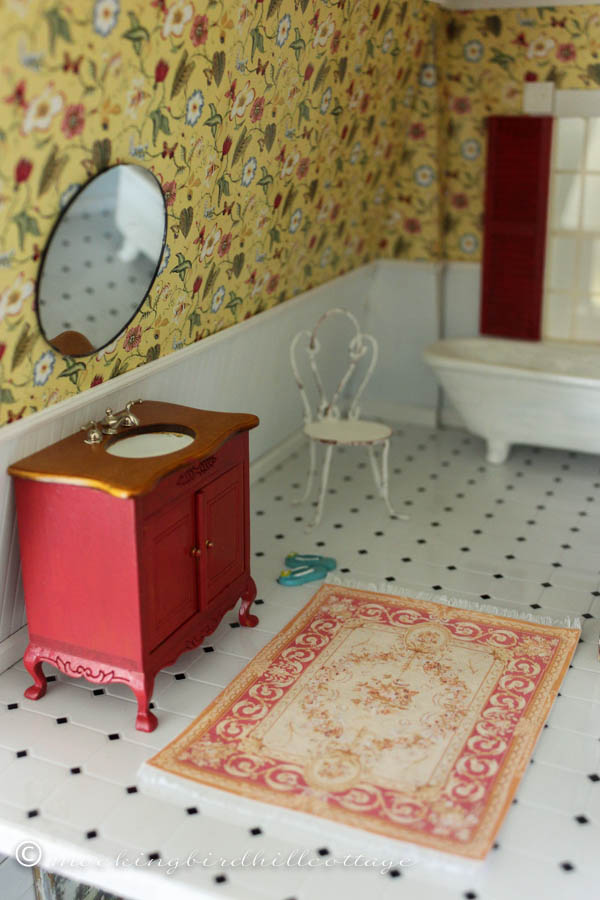
I chose an old-fashioned, charming design for the kitchen. This room marks the start of adding beadboard to the lower half of each wall. I ended up doing that in the kitchen, bedroom and bathroom. (I got the beadboard, which is vinyl, from miniatures.com. Sometimes I wish I had done all the beadboard in real wood, but I didn’t. Next dollhouse.) I measured the beadboard the same way I measured the wallpaper. I also painted it so it looked less vinyl-y. Here you can see the kitchen in progress; beadboard in place, wallpaper attached, trim around the window and the beginnings of the chair rail.

dhrenovationbedroombricks

I did the same thing in the bedroom. Beadboard, chair rail, and wallpaper. I chose a small, flowery wallpaper for this room. Do you remember me mentioning that when this dollhouse was assembled by the previous owner, somehow a section of the cladding ended up inside the bedroom? Don’t ask me how, but there was cladding/siding in this room. That wouldn’t do. I wanted to cover it up and finally came up with the idea of using these faux bricks that are sold in sheets. I measured the area where the cladding was – a triangle of sorts – and made another template, which I traced onto the bricks. Then I painted them and glued them to the cladding. I like the look, which reminds me of the painted brick chimney in MHC’s living room.

You can see that I had also started to add baseboards in each room at this point.

Lots of time spent measuring, cutting, gluing. Every time I thought I had enough trim for the baseboards and moldings, I ended up running out and I had to order more. Sometimes I measured incorrectly and had to chuck a piece or recycle it in another part of the house.

Just like in real life.

More in this series soon.

I wrote about this yesterday, but I wanted to add it again today. I’ve changed some things in the settings for the email delivery of this blog’s posts, since recent changes by major email carriers have virtually stopped the delivery of blog subscriptions. (See yesterday’s post for an explanation.) Since I subscribe to my own blog via AOL, Gmail and Yahoo, I can monitor the delivery by those carriers. After making adjustments, I’m getting the posts again on AOL and Gmail. Not in Yahoo. Susan researched some of this and found that Yahoo, AT&T and SBC Global have merged, so if you subscribe via one of these carriers, you still may not be receiving updates. It isn’t a Feedburner problem. It comes from the email delivery services who are trying to stem the tide of spam and spoof emails. Can you let me know if you are receiving your email subscriptions? If you aren’t, you might want to consider subscribing via another email address, or, as I have mentioned frequently, bookmark the site. Cause that’s about all I can do at this point. xo

Happy Tuesday.

ClaudiaSignature140X93

Filed Under: decorating, DIY, dollhouse, life 30 Comments

  • « Previous Page
  • 1
  • …
  • 94
  • 95
  • 96
  • 97
  • 98
  • …
  • 130
  • Next Page »
  • Email
  • Instagram

Welcome!

Welcome!

I live in a little cottage in the country with my husband. It's a sweet place, sheltered by old trees and surrounded by gardens. The inside is full of the things we love. I love to write, I love my camera, I love creating, I love gardening. My decorating style is eclectic; full of vintage and a bit of whimsy.

I've worked in the theater for more years than I can count. I'm currently a voice, speech, dialect and text coach freelancing on Broadway, off Broadway, and in regional theater.

Thanks for stopping by.

Searching?

The Dogs

The Dogs

Scout & Riley. Riley left us in 2012. Scout left us in February 2016. Dearest babies. Dearest friends.

Winston - Our first dog. We miss you, sweetheart.

Lambs Like to Party

Lambs Like to Party

A Note

Thanks for visiting! Feel free to browse, read and enjoy. All content is my own; including photos and text. Please do not use anything on this site without permission.

Disclosure/Privacy Policy can be found in the Navigation Bar under ‘About MHC.’

Also, I love receiving comments! I do, however, reserve the right to delete any comment that is in poor taste, offensive or is verging on spam. It’s my blog. If you’re a bot or a troll you’ll be blocked. Thanks!

Archives

All Content © 2008 - 2026 Mockingbird Hill Cottage · Log in