Welcome to week number three of our ‘Defending the Small House” series. Brenda and I thought we would chat about cozy lighting this week.
(Apologies to those of you who thought I published this post last night! I hit publish accidentally – with no text other than our logo. Yikes.)
Let me say, right at the top, I do not like most overhead lighting in a room. I’m not talking about chandeliers, necessarily. I’m really speaking about those fixtures that sit in the ceiling in the middle of a room. We all have them. Each bedroom in the house I grew up in had a ceiling fixture and even at a young age, I begged for a lamp instead. The light from those fixtures is harsh and doesn’t create a cozy, warm space.
Tip#1: Avoid relying on overhead fixtures. Create a warm look and feel with lamps scattered around the room. The only overhead lights I use are the 6 pot lights in the kitchen ceiling. And in the evening, I warm up the light in the kitchen by using this lamp.
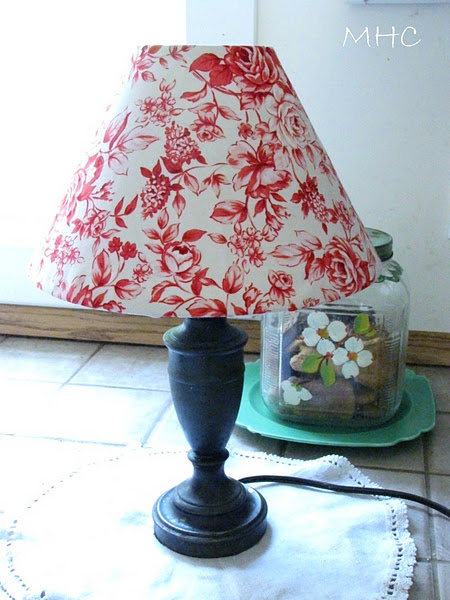
I find myself turning it on even when the overhead lights are on. It somehow softens the light and adds warmth to the room. After I’m done in the kitchen for the night, off go the pot lights and this little lamp stays on. (By the way, I covered the shade with fabric from my stash. It has so much more personality now.)
The other overhead lights in this house are in the hallway and upstairs bathroom. Still haven’t found something for the bathroom (I’m looking) but in the hallway, which is also my studio, I use this lamp in the evening.
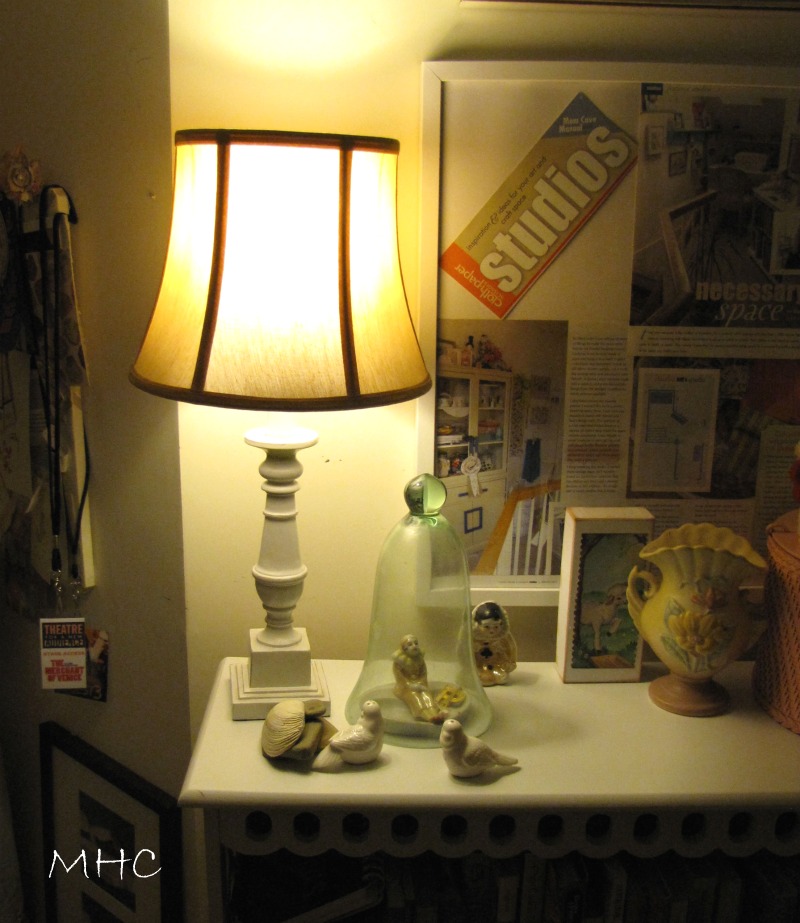
It sits on the bookcase and immediately adds warmth to the the hallway/studio. Be gone, overhead light!
I like the soft pools of light that lamps produce. Overhead lights, even the ever popular chandeliers, just don’t do that.
Tip #2: Reading lamps should be plentiful. They should provide good, strong light for you and your family and guests. I’ve been a guest at a few homes where there weren’t enough lamps available for reading. Sometimes there’s a lamp available but the lightbulb isn’t a high enough wattage to provide good light. If you’re worried about the wattage being too strong, get one of those 3-way bulbs. Or put the lamp on a dimmer. I’d rather have too many lamps than too few.
I don’t know about you, but I need reading glasses now and I need good light!
In our home we have reading lamps by all the main seating pieces.

There’s a floor lamp that you can’t see by the loveseat. You’ll see it later. It lights the reading area for both the loveseat and the chair. There’s another floor lamp between the piano and the yellow chair. It works nicely for reading or playing the piano. As you look through the french doors into the den, the lamp that is lit is by my blogging chair. We also have lamps on either side of the sofa.
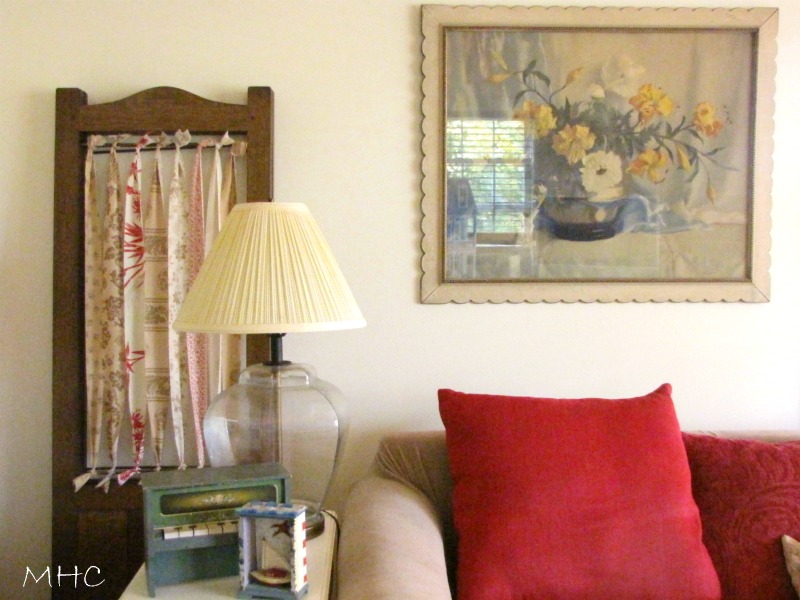
By the way, I bought this lamp (in the den) when I was in my early twenties at Hudson’s warehouse sale. Hudson’s used to be the major department store in the Detroit area. Unfortunately it has been swallowed up by Macy’s. Just wanted to mention that it has had many shades and has been with me for, ahem, many years and it still works like a charm.
Is this the time for me to say I detest CFLs? I know they are supposedly good for the environment, although the fact that they need special clean-up and disposal because they have mercury in them is worrisome. But until the light is softer and warmer I will be staying with incandescent bulbs – even if I have to order them from some far-off place.
Tip #3: Add small lamps that are wonderfully quirky and bring warmth to a corner or two. I call these personality lamps. I have a few of them. I love placing them in a corner where they add to the evening ambiance.
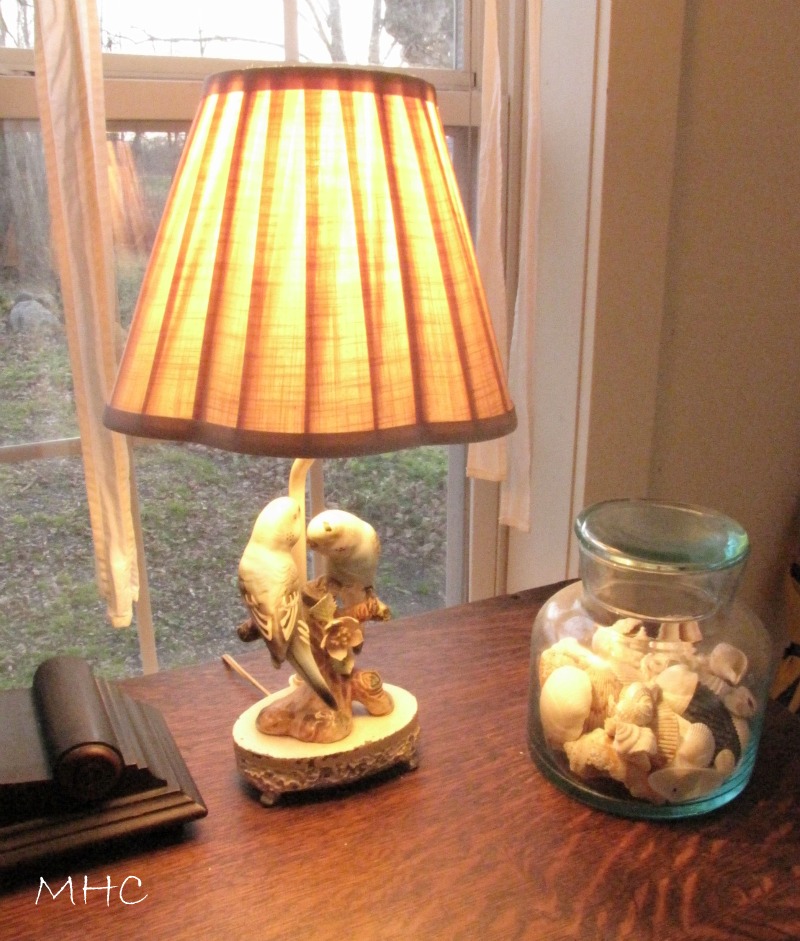
This is my parakeet lamp. It provides a soft, subtle glow.

Don and I found this little lamp several years ago and fell in love with it. Eventually I found the perfect red shade. It sits on our spinet desk and softly lights the base of the staircase.

Tip#4: Take your standard issue lamps and add shades that make them stand out. We have a floor lamp that I bought many years ago from Pottery Barn. It’s had several shades over the years and frankly, I wasn’t happy with any of them. Two years ago, I was working in California and I found this shade at Christie Repasy’s shop. I fell in love with it.

Beautiful, vintage – it changes the whole room. (Don isn’t as crazy about it as I am, but it’s staying.)

Here’s what it looks like in the evening. (Still haven’t painted the base white. I will.)

Our other floor lamp was missing it’s original glass shade when we bought it. It came with a paper shade that just didn’t work. But the lamp itself had beautiful green glass in the stem and base. I carried the measurements with me for months until I found the right shade. The green (which is around the rim of the shade) perfectly matches the green glass on the base.
Tip#5: Grab that glue gun and decorate your lampshade! Take a run-of-the-mill lampshade and add buttons or flowers or fabric or burlap or vintage hankies and change it out completely. That’s what I did with the kitchen lamp. The shade was old and stained and one day I grabbed some fabric from my stash and covered it. It made a huge difference.
Add some buttons or lace around the rim. What about some fringe? A bit of whimsey can completely change the look of a standard shade.
What’s on my wish list? Sconces for the sides of the cupboards on either side of the kitchen sink. A small light in the upstairs half bath. It would have to take up very little space and be hung on the wall because of the size restrictions in that room. That’s it. We can’t have a chandelier because this is an old house with low ceilings and my husband is 6’4″ – that would be disaster. Though I love the look of them, they really aren’t a good fit for this little cottage.
I just have to add: I’ve been watching a lot of House Hunters in the evenings. Don’s been working late. Am I the only one who’s sick of seeing young buyers look at a large walk-in closet and say it’s too small? Or complain, yet again, that the appliances aren’t stainless? They really haven’t a clue, have they?
I hope you’ve enjoyed this week’s edition of Defending the Small House. We love to hear your comments, ideas and suggestions. Make sure you visit Brenda and see her ideas on cozy lighting. See you next week!