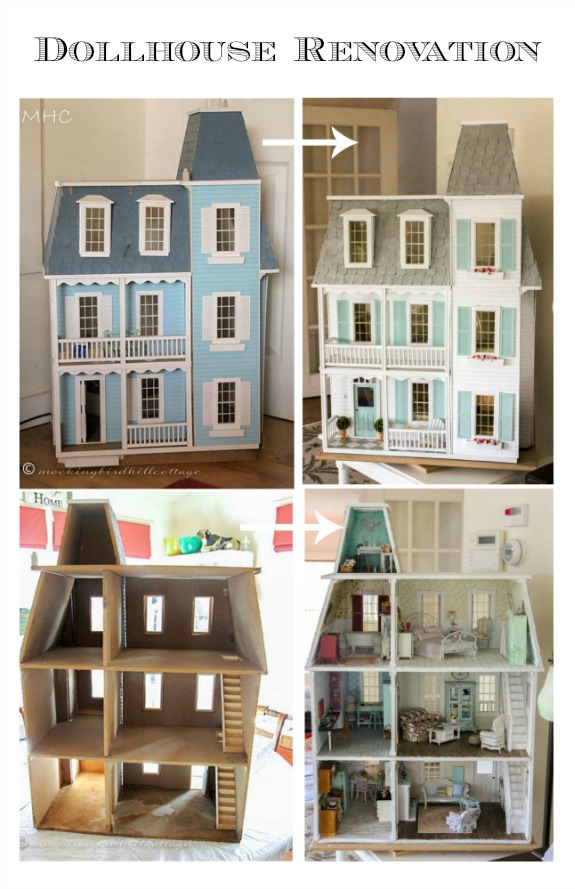
 I’m finally adding a graphic for this series. Better late than never!
When last we met, I had added wood floors to the living room, den and kitchen. What did I do next?
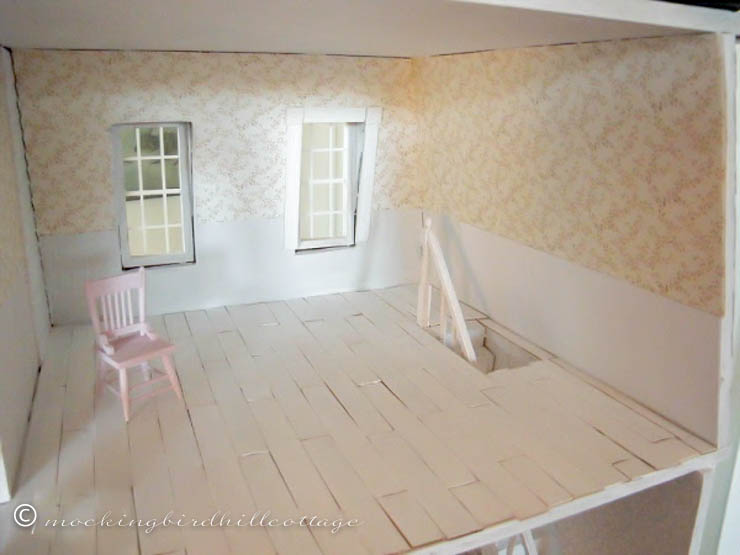
I added a floor to the bedroom. My back story for the bedroom was that it had been an unfinished attic before the homeowner started her renovation and had wide plank floors that were damaged. She wanted to keep those floors, so she painted them white to cover up any damaged floorboards. Unfortunately, I didn’t take a photo until I had added the wallpaper and part of the trim. (Boy, I cannot tell you what a difference a good camera makes – I’ve tried to improve these older, pre-current-camera photos, but there’s only so much a photo editing program can do!)
Anyway, I used wider craft sticks that were the size of a tongue depressor, cut off the rounded ends, painted each one individually and then glued them in place.
Next: I added wallpaper and some window trim. I was nervous about wallpapering; I’d never done it in my life-sized abodes, but it definitely seemed the thing to do in the dollhouse. I researched lots of dollhouse mini wallpaper manufacturers. A lot of it was very predictable – cutesy “country” images that were not my taste, designs that were too childlike. I wanted timeless sophistication.
I found Itsy Bitsy Mini, a website that carries the most beautiful patterns. Eventually, I settled on 4 different wallpaper designs for the living room, den, bedroom and kitchen. You can order wallpaper paste/glue that is easy to use from any miniature site. The wallpaper comes in sheets. My method was to cut a template for each wall out of regular paper, label it, then trace the template onto the wallpaper. I did all of this very carefully. “Measure twice, cut once” goes for dollhouses, too. Some miniaturists choose to glue the wallpaper onto cardboard and then attach it onto the wall, but I just glued it directly onto the walls.
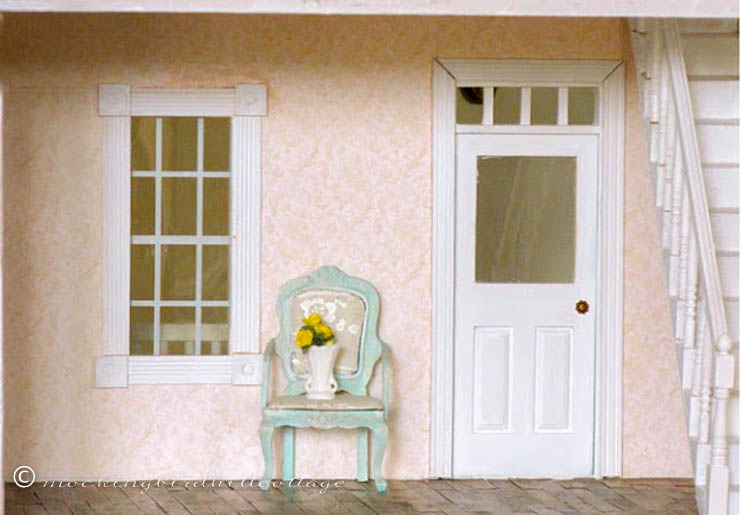
This was the pattern I chose for the living room. Confession: I loved it so much that I used the same pattern, in blue, for the den. For this wall, I measured the length and height of the wall, cut the sheet, and attached it to the wall. Then, I cut around the window and the door with an exacto knife. For me, that works much more easily than cutting the windows and doorways out before pasting. Less room for error.
I also bought trim and corner blocks for each of the windows. After wallpapering, I measured the trim, painted it, and finished out the windows.
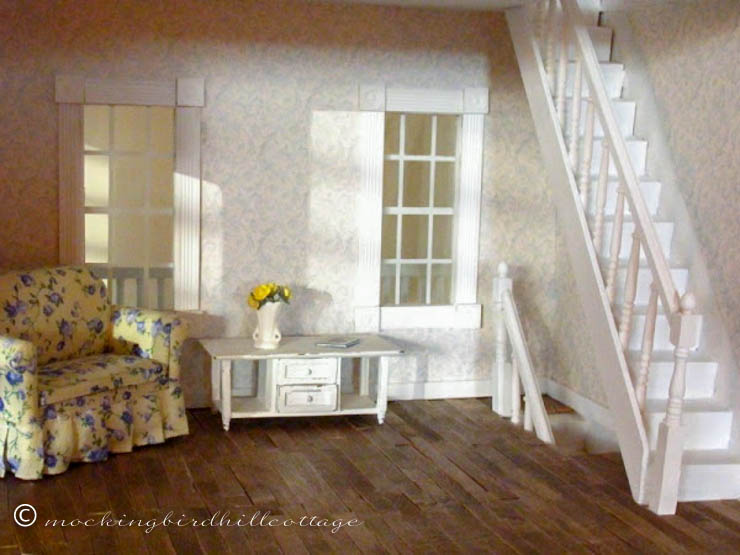
Here’s that same wallpaper in blue in the den, with trim added to the windows.
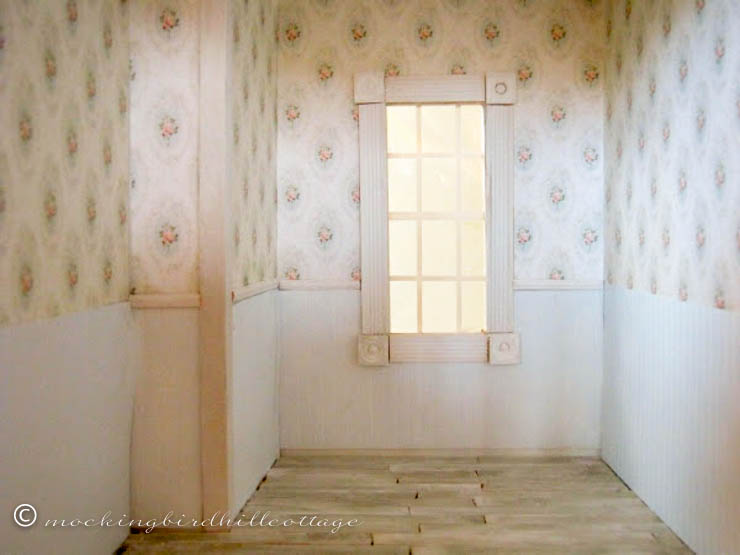
I chose an old-fashioned, charming design for the kitchen. This room marks the start of adding beadboard to the lower half of each wall. I ended up doing that in the kitchen, bedroom and bathroom. (I got the beadboard, which is vinyl, from miniatures.com. Sometimes I wish I had done all the beadboard in real wood, but I didn’t. Next dollhouse.) I measured the beadboard the same way I measured the wallpaper. I also painted it so it looked less vinyl-y. Here you can see the kitchen in progress; beadboard in place, wallpaper attached, trim around the window and the beginnings of the chair rail.
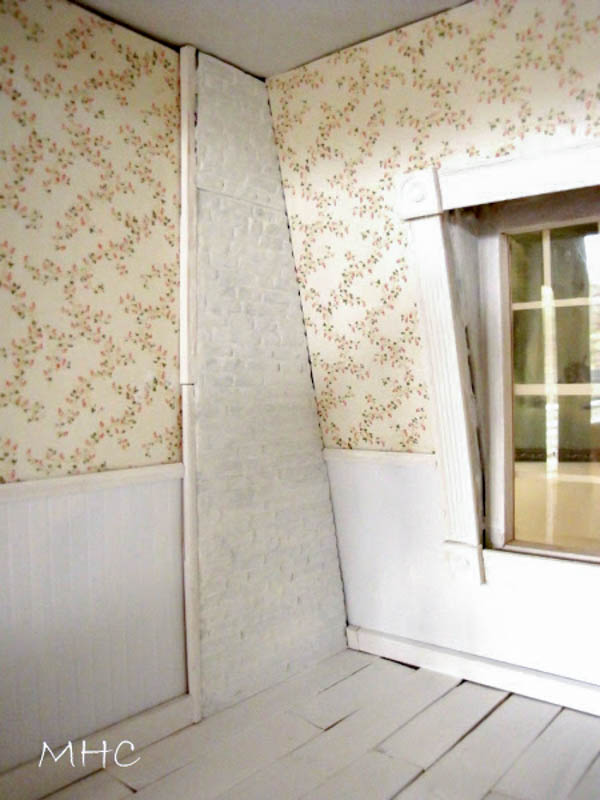
I did the same thing in the bedroom. Beadboard, chair rail, and wallpaper. I chose a small, flowery wallpaper for this room. Do you remember me mentioning that when this dollhouse was assembled by the previous owner, somehow a section of the cladding ended up inside the bedroom? Don’t ask me how, but there was cladding/siding in this room. That wouldn’t do. I wanted to cover it up and finally came up with the idea of using these faux bricks that are sold in sheets. I measured the area where the cladding was – a triangle of sorts – and made another template, which I traced onto the bricks. Then I painted them and glued them to the cladding. I like the look, which reminds me of the painted brick chimney in MHC’s living room.
You can see that I had also started to add baseboards in each room at this point.
Lots of time spent measuring, cutting, gluing. Every time I thought I had enough trim for the baseboards and moldings, I ended up running out and I had to order more. Sometimes I measured incorrectly and had to chuck a piece or recycle it in another part of the house.
Just like in real life.
More in this series soon.
I wrote about this yesterday, but I wanted to add it again today. I’ve changed some things in the settings for the email delivery of this blog’s posts, since recent changes by major email carriers have virtually stopped the delivery of blog subscriptions. (See yesterday’s post for an explanation.) Since I subscribe to my own blog via AOL, Gmail and Yahoo, I can monitor the delivery by those carriers. After making adjustments, I’m getting the posts again on AOL and Gmail. Not in Yahoo. Susan researched some of this and found that Yahoo, AT&T and SBC Global have merged, so if you subscribe via one of these carriers, you still may not be receiving updates. It isn’t a Feedburner problem. It comes from the email delivery services who are trying to stem the tide of spam and spoof emails. Can you let me know if you are receiving your email subscriptions? If you aren’t, you might want to consider subscribing via another email address, or, as I have mentioned frequently, bookmark the site. Cause that’s about all I can do at this point. xo
Happy Tuesday.